
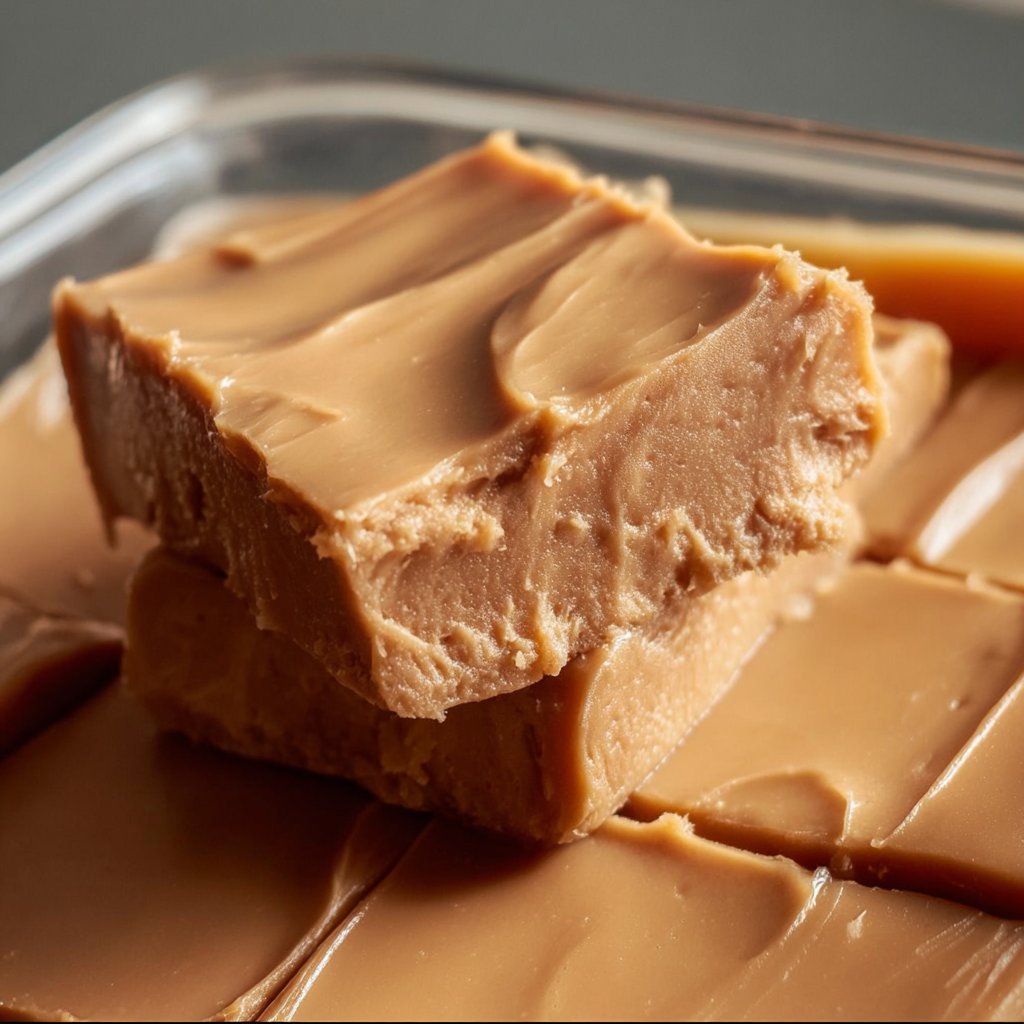
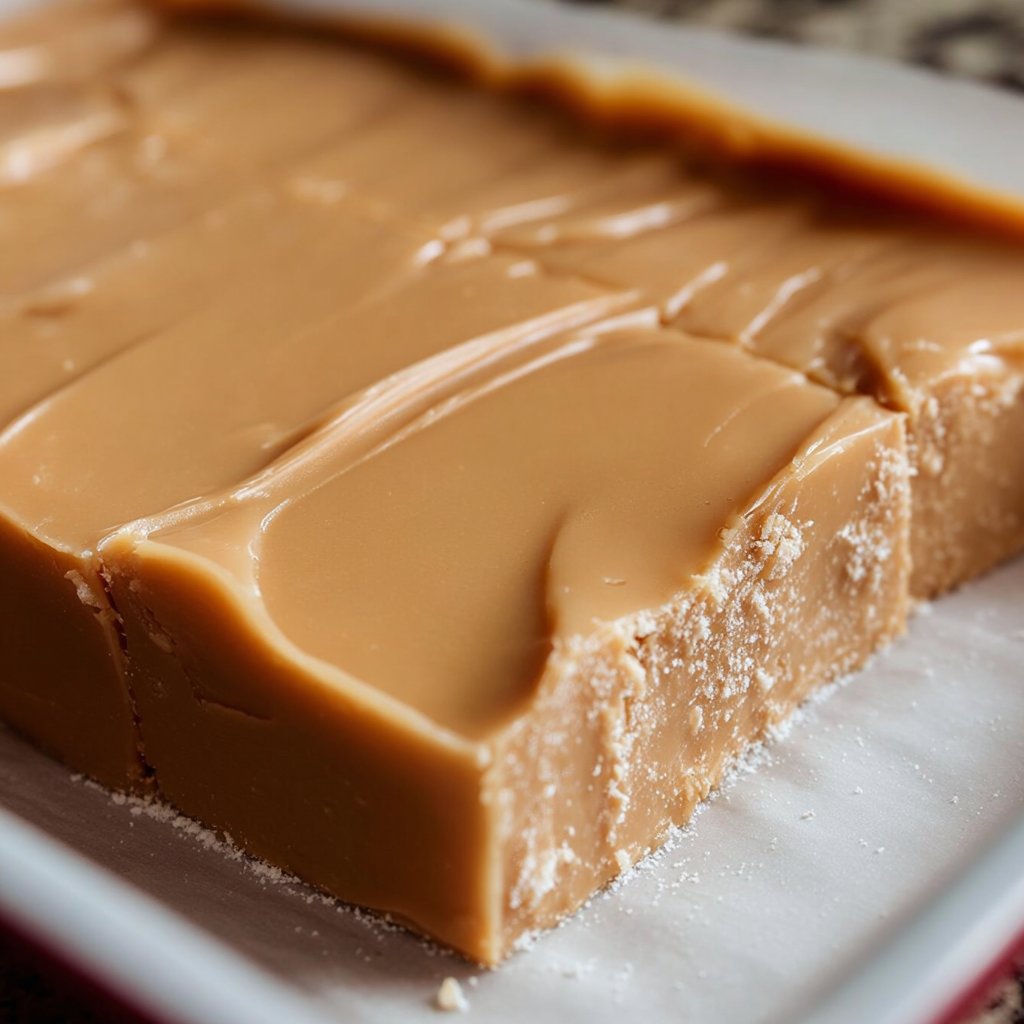
Alright, Here’s the Story Behind My Fudge Habit
Look, I’m not proud of how many times I’ve made this 4-ingredient peanut butter fudge in my pajamas, hair doing its own thing, with the weather absolutely refusing to cooperate outside. (Stormy days scream for fudge, don’t they?) Anyway, my first dance with this recipe was actually the night before my cousin’s baby shower when I realized—oh brilliant—I’d promised to bring a dessert. And all I had were pantry odds and ends and, if I remember, a slightly frantic attitude. But you know what? The fudge was a hit, and my aunt even asked for the recipe! Imagine that.
Why I Keep Coming Back to This Fudge
I make this when the craving for something sweet just won’t let go but my motivation is hiding under the couch. My family goes a bit bananas for it because it’s super creamy (but not tooth-achingly sweet, which was always my fudge beef growing up). Plus, no candy thermometer, no fancy gear, and no swearing under your breath when it seizes up—none of that. True story: the first time I made it, I managed to drop a spoonful on the stovetop, and it was still delicious. So, low-stress, high reward. What’s not to love?
What You’ll Need (But Don’t Sweat It)
- 1 cup peanut butter (I’m usually team creamy, but my brother swears by crunchy. Any decent supermarket version does the trick. My nan used to use Jif, but honestly, Aldi’s works too.)
- 1/2 cup unsalted butter (if you’ve only got salted, just cut back a tad on any added salt—if you even add any)
- 2 cups powdered sugar (I’ve tried regular sugar in a pinch. Don’t. It gets weirdly grainy, unless you blitz it first in a blender.)
- 1 teaspoon vanilla extract (sometimes I double this, or once I accidentally forgot it; nobody noticed. But it’s better with, trust me.)
Optional: I’ve tossed in a handful of mini chocolate chips on top, or swapped in almond butter once when my peanut-allergic mate dropped by unexpectedly. That worked, surprisingly.
How I Actually Make This Fudge (Warts and All)
- Line a small square pan (8×8-ish, but I’ve used a loaf pan when all the others were MIA) with parchment paper. Or just butter it, if you’re feeling wild.
- In a saucepan, melt the butter and peanut butter together over medium-low heat. Stir a bunch. If it starts to bubble, turn that heat down. (This is where I always sneak a taste. Quality control, obviously.)
- Once it’s all smooth and melty, pull it off the heat. Toss in the vanilla. Stir again and breathe in the peanutty aroma. I’m always tempted to eat it right here with a spoon… but resist (or don’t, I’m not judging).
- Add the powdered sugar in a couple of goes. It’ll look lumpy at first—don’t worry if it seems like a hot mess. Keep stirring; it’ll come together. Sometimes I swap to a wooden spoon when my whisk gives up, but you do you.
- Scrape the mixture into your pan. Smooth the top out with a spatula or the back of a spoon (or just bang the pan on the counter a couple times if you’re in a rush).
- Pop it in the fridge for at least 2 hours. Actually, it sets faster in the freezer if you’re in a jam, though it gets a bit crumblier.
- Slice into squares, or rectangles, or abstract fudge shapes. Eat immediately, preferably before anyone else sees it.
Notes from My Many Attempts
- I once tried doubling the recipe and pouring it all into a giant lasagna pan. Bad move—it set weird and the middle stayed soft. Stick to smaller pans or divide between two.
- If it ever feels too stiff to stir, microwave it for 10 seconds. That’s saved my arm more than once.
- On second thought, if you want a bit of crunch, sprinkle crushed pretzels on top before chilling. I’ve done it, and wow.
Stuff I’ve Tried (Some Hits, Some Misses)
- White chocolate chips mixed in? Sweet but a bit over the top, maybe for proper sweet tooths only.
- I once tried using honey instead of some of the sugar. Didn’t set right. Wouldn’t recommend, unless you like eating fudge with a spoon.
- Nutella swirl—looks super pretty but the flavor’s a bit muddled. Still, fun for a change.
What You Need (And What To Improvise)
- Saucepan (a microwave-safe bowl works too, but the stovetop gives you more control, in my opinion)
- 8×8 pan (but like I said, anything vaguely square or rectangular will do; I’ve even used a Tupperware container in a pinch)
- Wooden spoon or sturdy spatula—unless you like a good arm workout, then go with a whisk, but it gets thick fast
- Parchment paper (I’ve skipped it, more than once, and just greased the pan. Fudge still comes out, just needs a bit more coaxing.)
Keeping It Fresh (If That’s Even Possible)
Technically, you can stash this fudge in an airtight container for about a week in the fridge—or a couple days at room temp if it’s not sweltering. But honestly, in my house it never lasts more than a day! And if you freeze it, it stays good for a month or so. Not that I’ve ever managed to forget fudge in the freezer, but maybe you have more self-control.
How We Serve It (And Occasionally Squabble Over)
So here’s what usually happens: I cut the fudge into tiny squares, line ’em up on a mismatched plate, and someone inevitably grabs two before I even sit down. Sometimes I’ll top each piece with a peanut or, if I’m feeling fancy, a drizzle of melted chocolate. My uncle likes his with a big mug of black coffee (proper builder’s brew style), while my niece just grabs and runs. To each their own, right?
Lessons Learned (Aka, My Fudge Fails)
- I once tried rushing the chilling step and regretted it—soggy fudge is nobody’s friend. Just let it set, even if you’re impatient.
- Don’t try to cut it straight out of the freezer unless you’ve got Popeye arms (I bent a butter knife once). Let it sit for a bit to soften.
- If you use natural peanut butter, it can get oily or weirdly crumbly, so maybe try mixing in a bit less butter. Or just accept it’ll be rustic—still tasty though.
Your Questions, Answered (Real Ones I’ve Heard!)
- Can I use crunchy peanut butter?
Absolutely! Actually, I think it’s even better but my partner disagrees. Go with your gut (and your pantry). - What if I don’t have powdered sugar?
I’ve blitzed granulated sugar in a blender until it’s like snow. Works in a pinch, just not as smooth. - Is there a way to make this vegan?
Yep—swap in vegan butter or coconut oil. I found coconut oil works, though it tastes, well, coconutty. Check this vegan fudge recipe if you want a proper guide. - Can you double the recipe?
You can, but use two pans or the middle gets weirdly gooey. Or just eat the gooey middle with a spoon. No judgment. - Where can I get good vanilla extract?
I really like King Arthur’s vanilla but, honestly, supermarket stuff works fine (I wouldn’t splash out unless it’s for a big occasion). - Does this taste better the next day?
I tend to think so, but it depends if you hide it from your family (good luck with that).
Now, before I forget, if you want more easy desserts that don’t require a degree in chemistry, check out Sally’s Baking Addiction for some lovely inspiration. And if you’ve read this far, you probably deserve some fudge already. Go on, treat yourself.
Ingredients
- 1 cup creamy peanut butter
- 1/2 cup unsalted butter
- 2 cups powdered sugar
- 1 teaspoon vanilla extract
- 1/4 teaspoon salt
- 1/4 cup chopped peanuts (optional, for topping)
- 1 tablespoon milk (optional, for smoother texture)
Instructions
-
1Line an 8×8-inch baking pan with parchment paper, leaving an overhang for easy removal.
-
2In a medium saucepan over medium heat, melt the unsalted butter and peanut butter together, stirring until smooth and fully combined.
-
3Remove the saucepan from heat. Stir in the vanilla extract and salt.
-
4Gradually add the powdered sugar, mixing until the mixture is thick and smooth. If needed, add milk 1 teaspoon at a time for a creamier consistency.
-
5Spread the fudge mixture evenly into the prepared pan. Sprinkle chopped peanuts on top if desired, and gently press them into the surface.
-
6Refrigerate for at least 1 hour, or until set. Lift the fudge out of the pan using the parchment overhang, slice into squares, and serve.
Approximate Information for One Serving
Nutrition Disclaimers
Number of total servings shown is approximate. Actual number of servings will depend on your preferred portion sizes.
Nutritional values shown are general guidelines and reflect information for 1 serving using the ingredients listed, not including any optional ingredients. Actual macros may vary slightly depending on specific brands and types of ingredients used.
To determine the weight of one serving, prepare the recipe as instructed. Weigh the finished recipe, then divide the weight of the finished recipe (not including the weight of the container the food is in) by the desired number of servings. Result will be the weight of one serving.
Did you make this recipe?
Please consider Pinning it!!


