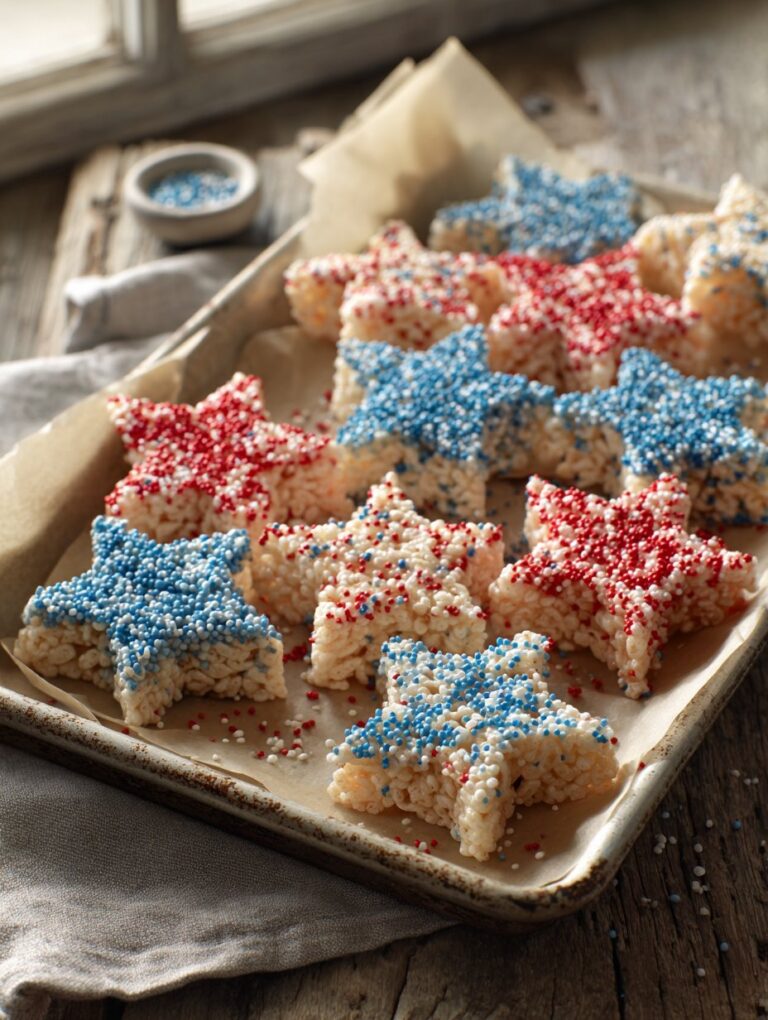
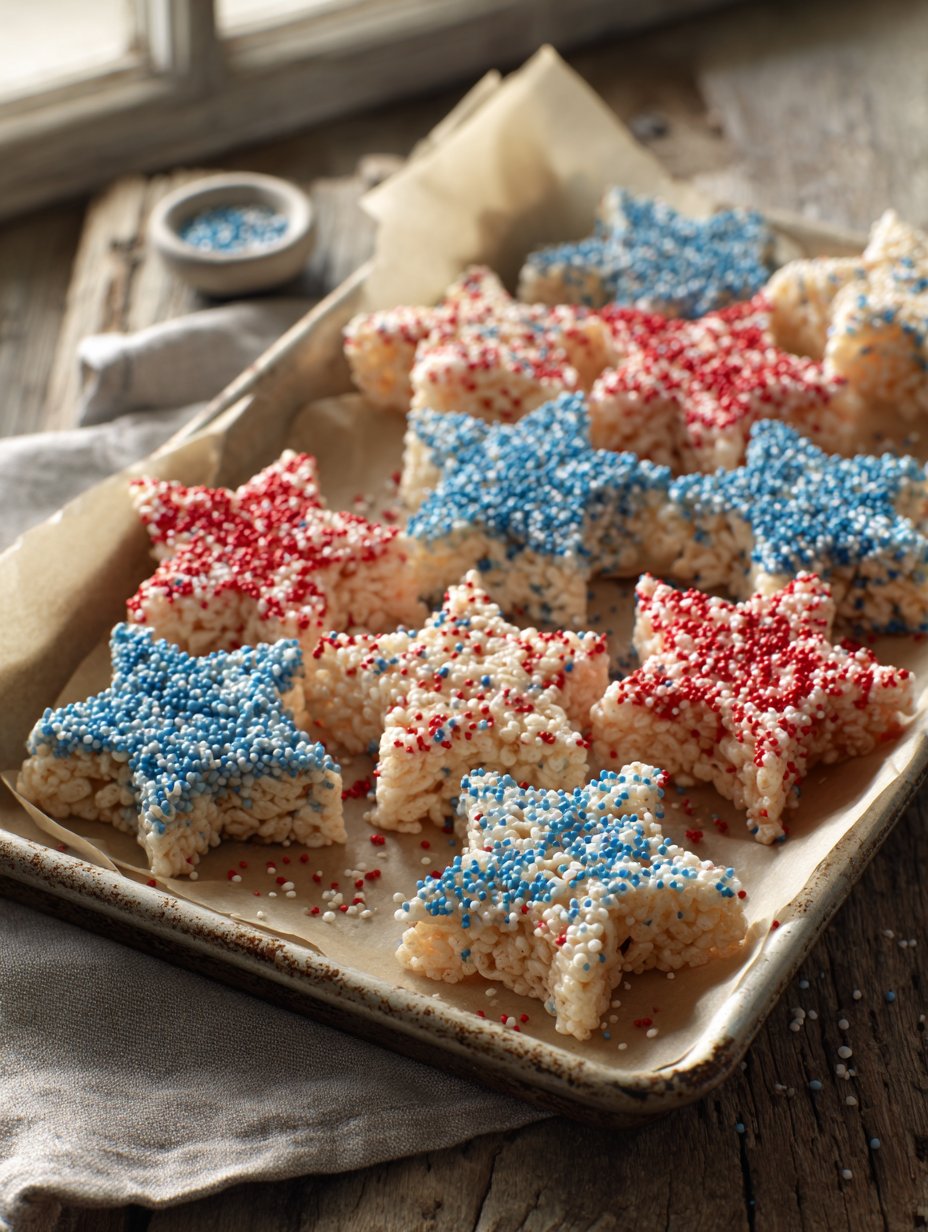
If you want a dessert that basically screams summer and fireworks, you have to try these 4th of July Rice Krispie Stars. Honestly, the first time I made them, my kitchen looked like a confetti cannon exploded. But, that’s half the fun, right? I remember my niece, Ellie, sneaking star-shaped bits before I’d even finished decorating. (She’s speedy for a six-year-old!) And you know, there’s just something about the smell of melting marshmallows on a sticky July afternoon that brings back all those backyard barbecue memories. Anyway, let’s get into it before I get too sappy or sidetracked talking about my neighbor’s dog—who, by the way, has a serious vendetta against my star-shaped cookie cutter.
Why You’ll Love This (I sure do… most of the time!)
I pull out this recipe when I need something festive but don’t want to fire up the oven (because who wants to sweat more in July?). My family goes crazy for these, even though they pretend not to care about sprinkles. Actually, my brother-in-law tried to sneak some for breakfast last year—no judgment. I will admit, though, trying to get the marshmallow mix off your hands is like wrestling a sticky octopus. But it’s all worth it when the plate is empty in minutes. Sometimes I make them just so I have an excuse to eat the scraps; perks of being the cook, right?
What You’ll Need (and what you can swap out)
- 6 cups Rice Krispies cereal (I’ve used off-brand—no one noticed. My grandmother would probably haunt me for saying that!)
- 1 bag (about 10 oz) mini marshmallows (If you only have big ones, just chop ’em up. Or don’t. They’ll melt… eventually.)
- 3 tablespoons butter (Salted, unsalted, whatever you’ve got. Margarine works in a pinch, but it’s a bit bland.)
- Red, white, and blue sprinkles (Or skip the white; nobody will notice. Sometimes I use colored sugar if I’m out of sprinkles.)
- Star-shaped cookie cutter (I had to borrow one from my neighbor once. A glass and a knife work if you’re desperate.)
- Optional: A handful of white chocolate chips to drizzle or dip (I like to melt these on top if I’m feeling fancy.)
Here’s How I Make Them (with a few honest detours)
- First, grease a 9×13-inch pan with butter or spray. Don’t skimp here—trust me, you do not want to pry sticky cereal out later.
- In a big saucepan, melt the butter over low heat. I always think I can rush this, and it always backfires. Take it slow.
- Dump in the marshmallows. Stir constantly, or you’ll get weird toasty bits (unless you like that, in which case, go wild).
- Once it’s all melted and gooey, pull off the heat. Pour in your Rice Krispies. Stir like mad (this is where I sneak a taste, but watch out, it’s hot!).
- Scrape the mixture into your pan. Get your hands slightly damp (or buttered up) and press it down evenly. Don’t press too hard or they’ll end up dense enough to build a house with. Unless you like that sort of thing.
- Sprinkle on your colors while it’s still a little warm so they stick. Sometimes I get carried away and just dump half the bottle on—no regrets.
- Let it cool for about 20 minutes. Or ten if you’re impatient like me. Then take your star cutter and get to work. Re-press the scraps together to make more stars, or just eat them. Up to you.
- If you’re using white chocolate, melt it and drizzle over the top. I once tried to dip the whole star and it was a disaster (messy, but tasted great).
Notes I Wish Someone Had Told Me
- Butter your cookie cutter. Otherwise, it sticks like you wouldn’t believe.
- Don’t use super-fresh marshmallows—they’re weirdly hard to melt. Actually, I don’t know why, but trust me.
- There’s no shame in eating the bits that don’t make it into stars. That’s just quality control.
Things I’ve Tried (and Some That Flopped)
- Added freeze-dried strawberries for a pop of red. Tasted like breakfast cereal—so not bad, just… different.
- Used cocoa Rice Krispies once. Kids loved them, but the colors looked odd with the sprinkles. Kind of a 4th of July in the dark thing.
- Tried shaping by hand—10/10 would not recommend. Unless you’re aiming for abstract art.
Do You Need Fancy Equipment? (Nope, but…)
Star-shaped cutters make these look sharp, but I’ve totally used a glass rim and just cut out wonky shapes with a butter knife. They all get eaten anyway, so who’s judging? If you’re short a pan, just use a cookie sheet—just watch out, mixture spreads thinner.
How to Store (if you have any left!)
Pop them in an airtight container. Room temp is fine, and they’ll stay soft for a couple days. (Though honestly, in my house it never lasts more than a day! I suppose you could freeze them, but I never have because… well, see previous sentence.)
How I Like to Serve These (and a family tradition)
I pile them on a big platter and let everyone grab their own. Sometimes, we stick sparklers (the safe indoor kind) in a few for birthday parties. My cousin dips hers in vanilla ice cream, which is, let’s be honest, probably genius.
Lessons I’ve Learned the Hard Way
- Don’t try to cut them before they cool. I once rushed and just got a sticky mess that looked like a starfish gone rogue.
- Stir the marshmallows constantly—burnt bits are impossible to hide (unless you call them caramelized and hope for the best).
Real Questions I Get (and my honest answers)
- Can I make these ahead? Sure thing, but I think they taste better the next day. Just store in a sealed container.
- Can I use margarine instead of butter? Yep. I just find it’s not quite as tasty, but no biggie if that’s what you’ve got.
- What if I don’t have a star cutter? Any shape works! Or just cut big squares. Or triangles if you’re feeling edgy.
- Can I add food coloring? You can, but I tried blue marshmallows once and, well, let’s just say it was… vibrant. Maybe too vibrant.
- Wait, did you really eat the scraps? Absolutely. (Look, someone’s gotta do it.)
Oh, and if you want to get more creative, I found some fun sprinkle options at Sweetapolita, and tips for super-sharp cookie cutter shapes on Sally’s Baking Addiction—worth a peek if you’re a perfectionist, unlike me. Alright, that’s about it—I should probably clean the marshmallow off my phone now. Enjoy your 4th of July Rice Krispie Stars and don’t sweat the mess. It’s all part of the magic.
Ingredients
- 6 cups Rice Krispies cereal
- 4 cups mini marshmallows
- 3 tablespoons unsalted butter
- 1/2 teaspoon vanilla extract
- 1/4 teaspoon salt
- 1/2 cup red, white, and blue sprinkles
- 1/2 cup white chocolate, melted
- Red and blue food coloring
Instructions
-
1Grease a 9×13-inch baking dish and set aside. In a large pot, melt the butter over low heat.
-
2Add mini marshmallows and stir until completely melted and smooth. Remove from heat and stir in vanilla extract and salt.
-
3Divide the melted marshmallow mixture into three bowls. Tint one bowl red and one bowl blue with food coloring, leaving the third bowl plain.
-
4Quickly mix 2 cups of Rice Krispies cereal into each bowl. Press each colored mixture into the prepared pan in layers, smoothing each layer with a greased spatula.
-
5Allow to cool for 10 minutes, then use a star-shaped cookie cutter to cut out stars.
-
6Drizzle with melted white chocolate and decorate with red, white, and blue sprinkles. Let set before serving.
Approximate Information for One Serving
Nutrition Disclaimers
Number of total servings shown is approximate. Actual number of servings will depend on your preferred portion sizes.
Nutritional values shown are general guidelines and reflect information for 1 serving using the ingredients listed, not including any optional ingredients. Actual macros may vary slightly depending on specific brands and types of ingredients used.
To determine the weight of one serving, prepare the recipe as instructed. Weigh the finished recipe, then divide the weight of the finished recipe (not including the weight of the container the food is in) by the desired number of servings. Result will be the weight of one serving.
Did you make this recipe?
Please consider Pinning it!!


