
Let Me Tell You About My Air Fryer Orange Chicken Obsession
So, the first time I made orange chicken in the air fryer, I was honestly just trying to avoid another night of sad takeout. You know those moments when you want something that tastes like you put effort into it (even if you didn’t)? Well, this is my go-to for that. I even told my neighbor about it once while waiting for the mail, and now she asks for the recipe every few months. One time, I accidentally doubled the orange zest, and everyone thought it was intentional gourmet flair—sometimes happy accidents are the best.
Why You’ll Love Making This
I make this when my family starts dropping hints about that “famous crispy chicken” (like, come on, you could just ask me). My kids go absolutely bonkers for the sweet-tangy sauce; honestly, if I let them, they’d eat just the sauce with a spoon. Plus, there’s no deep frying mess (hallelujah for small victories), and the air fryer means I don’t have to babysit a pot of oil. I used to think homemade orange chicken was a hassle, but this way, it’s… dare I say, fun? (Except when my orange juice-to-zest ratio goes sideways, which, okay, happens about once in a blue moon.)
Here’s What You’ll Need (But Feel Free to Improvise a Bit)
- 500g (about 1 lb) chicken breast, cut into bite-sized pieces (sometimes I use boneless thighs if I want it extra juicy, but breast is usually what I have in the freezer)
- 1 egg (I’ve used two egg whites in a pinch and it still worked)
- 1/2 cup cornstarch (my grandma swears by potato starch, but I’m not picky)
- 1/2 cup all-purpose flour (gluten-free blend works, too, if that’s your jam)
- 1/2 teaspoon salt
- 1/4 teaspoon black pepper
- Oil spray (I use canola, but olive oil or avocado oil spray is fine)
- For the sauce:
- 1/2 cup orange juice (fresh is best, but bottled OJ works fine—don’t worry)
- Zest of 1 orange (or two, if you’re feeling zesty)
- 2 tablespoons soy sauce
- 2 tablespoons rice vinegar (white vinegar is okay, but the flavor’s a bit sharper)
- 1/4 cup brown sugar (sometimes I swap in honey if I’m out)
- 1 garlic clove, minced (I’ve used jarred and no one noticed…shh)
- 1 teaspoon grated ginger (or a dash of ground ginger in a pinch)
- 1 tablespoon cornstarch mixed with 2 tablespoons water (for thickening)
- 1/2 teaspoon chili flakes (optional, but yum if you like a kick)
- Sesame seeds & green onions for garnish (or not—sometimes I skip these and nobody complains)
Let’s Make This Thing (No Need to Stress)
- Prep the chicken: Toss your chicken pieces with salt, pepper, the egg, cornstarch, and flour. Use your hands or a big spoon—just get everything good and coated. I know it looks a bit gloopy at this point; just trust the process.
- Get the air fryer ready: Preheat to 200°C (about 400°F) for a few minutes if your machine does that. I forgot once and, honestly, it still worked, but the chicken was a little less crispy.
- Arrange and spray: Plop the chicken pieces into the basket in a single layer (ish; sometimes I squish them a bit if hungry, and it’s fine). Give them a good spray with oil. This is when I usually sneak a tiny piece to check the coating’s not falling off.
- Cook: Air fry 8-10 minutes, shake halfway, and spritz again if things look dry. They’re done when golden and cooked through. (Don’t panic if they stick a little; just wiggle them loose with a fork.)
- Make the sauce: While the chicken cooks, mix all the sauce ingredients except the cornstarch slurry in a small saucepan. Simmer over medium heat. When bubbly, stir in the cornstarch mix. Stir constantly—it thickens fast. (I once wandered off and came back to orange caramel. Still tasty, just, uh, not chicken sauce.)
- Sauce it up: Toss cooked chicken in the sauce. Sometimes I do this right in the air fryer basket, but a bowl works too. If it looks too saucy, let it sit 2-3 minutes; the coating soaks up the magic.
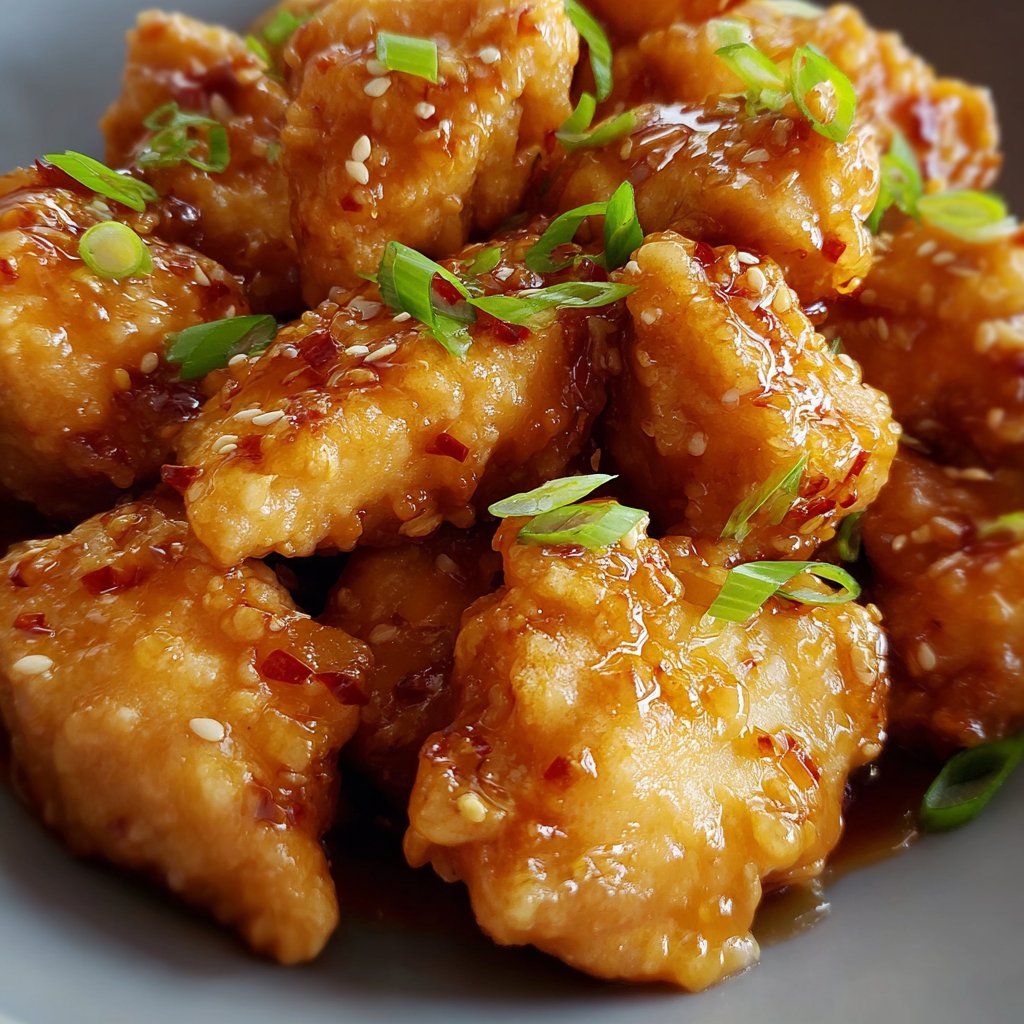
- Garnish: Sprinkle with sesame seeds and sliced green onions. Or honestly, just dig in.
Notes—Little Lessons From My Many Tries
- If you use thighs, chop them smaller so they cook evenly. Or just keep an eye out and pull the little ones early. (I learned that the awkward way.)
- I’ve made the sauce with orange marmalade in a pinch. It was… fine? But a bit sweet for my liking.
- Don’t worry if the coating goes a bit patchy—once it’s sauced, nobody notices.
- If you’re curious, Serious Eats has a great breakdown on chicken for stir-fry. I don’t always follow it, but it’s pretty cool for the science bit.
Variations I’ve Actually Tried (Some More Than Once)
- Tried it with tofu instead of chicken once—tasted great, but the texture was kind of odd (I probably pressed the tofu too much? Who knows!)
- Sometimes I swap the orange juice for pineapple. That makes it a whole different dish, but still pretty tasty and very summery.
- I’ve added broccoli to the air fryer basket before. If you like your veg a bit crispy and weirdly orange-flavored, give it a go.
- Don’t try with store-bought barbecue sauce as the base—I learned the hard way. Tasted like a confused picnic.
Equipment—But Don’t Stress If You’re Missing Stuff
- Air fryer: Any brand, really. I use a basic basket style. If you don’t have one, high-heat oven roasting works—just takes longer and needs more oil.
- Mixing bowls
- Saucepan (or a microwave-safe jug if you’re feeling lazy; just heat in 30-second bursts and whisk)
- Tongs, fork, or even chopsticks if you’re feeling fancy
How I Store It (Sort Of)
Technically, you can keep this in the fridge in an airtight container for up to 2 days. Reheat in the air fryer for crispy magic. But… it rarely survives more than a few hours in my house. Maybe we’re just greedy, or maybe it’s actually that good?
How To Serve (Here’s What I Do)
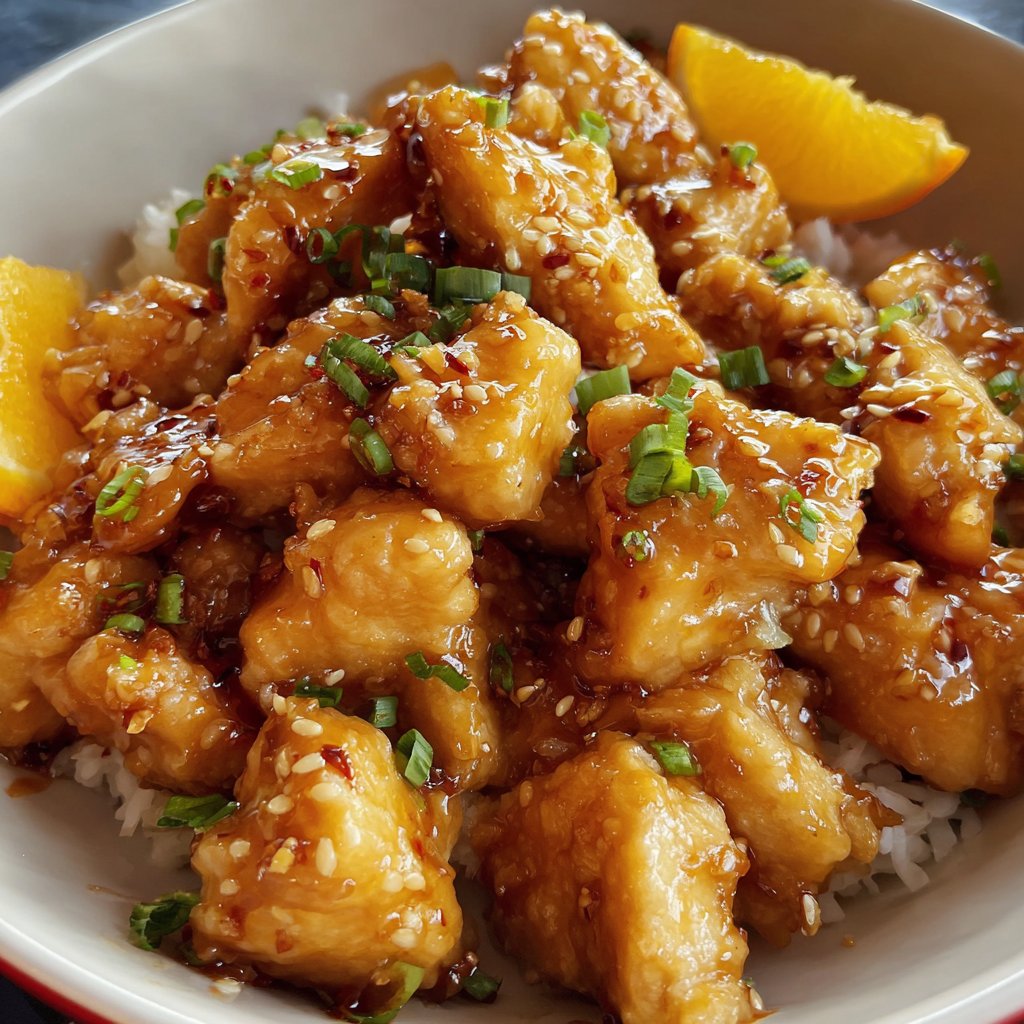
I almost always serve this over jasmine rice. Sometimes I sprinkle extra orange zest on top because I think it looks fancy, but my husband says that’s overkill. Also, a side of steamed broccoli is basically required, at least according to my mom (and she’s stubborn about her greens).
What I Wish I’d Known (Pro Tips From My Mishaps)
- Don’t rush the air fryer preheat, even if you’re starving. I tried it, and the first batch stuck like crazy.
- Let the sauce cool for a minute before tossing the chicken. If you do it too soon, the coating can slip off (and then it’s just… soggy chicken).
- Mixing the cornstarch and flour really well means you avoid weird floury nubs on the chicken. Or, you know, just pick them off and pretend it’s rustic.
FAQs—You Asked, I Answered
- Can I use frozen chicken? Sure, just thaw it first. Otherwise, it cooks weirdly and the coating won’t stick—ask me how I know.
- What if I don’t have an air fryer? Oven at 220°C (about 425°F), bake on a rack for 20ish minutes, flipping halfway. Not quite as crispy but still delish.
- Can I make the sauce in advance? Yes! It thickens in the fridge, but a quick microwave brings it right back. Actually, I think it tastes better the next day.
- Why is my chicken not crispy? Could be not enough oil spray or too crowded in the basket. Or maybe you just like it a bit softer—no judgment!
- Is this spicy? Only if you add chili flakes. My kids can be spice-wimps so I leave them out, but when it’s just me, I go wild.
So, there you have it. Air Fryer Orange Chicken, from my kitchen to yours—complete with tiny mishaps, questionable shortcuts, and more than a few happy taste-testers. If you want an even deeper dive into air frying, check out Nagi’s air fryer recipe guide—she’s got some wild ideas (I’m still too chicken—ha!—to try the Scotch eggs, though). Anyway. Hope you love it!
Ingredients
- 1 lb boneless, skinless chicken breast, cut into 1-inch pieces
- 1/2 cup cornstarch
- 2 large eggs, beaten
- 1/2 teaspoon salt
- 1/4 teaspoon black pepper
- 1 tablespoon vegetable oil
- 1/2 cup orange juice
- 2 tablespoons soy sauce
- 2 tablespoons honey
- 1 tablespoon rice vinegar
- 1 tablespoon brown sugar
- 1 teaspoon garlic, minced
- 1 teaspoon fresh ginger, grated
- 1 tablespoon cornstarch mixed with 2 tablespoons water (slurry)
- 1 tablespoon green onions, sliced (for garnish)
- 1 teaspoon sesame seeds (for garnish)
Instructions
-
1Preheat the air fryer to 400°F (200°C).
-
2Season the chicken pieces with salt and pepper. Dip each piece into the beaten eggs, then coat with cornstarch.
-
3Lightly brush or spray the air fryer basket with vegetable oil. Arrange the coated chicken pieces in a single layer in the basket.
-
4Air fry the chicken for 16-18 minutes, shaking the basket halfway through, until golden and cooked through.
-
5While the chicken cooks, combine orange juice, soy sauce, honey, rice vinegar, brown sugar, garlic, and ginger in a saucepan. Bring to a simmer over medium heat.
-
6Stir in the cornstarch slurry and cook until the sauce thickens, about 2 minutes. Toss the cooked chicken in the sauce until evenly coated. Garnish with green onions and sesame seeds before serving.
Approximate Information for One Serving
Nutrition Disclaimers
Number of total servings shown is approximate. Actual number of servings will depend on your preferred portion sizes.
Nutritional values shown are general guidelines and reflect information for 1 serving using the ingredients listed, not including any optional ingredients. Actual macros may vary slightly depending on specific brands and types of ingredients used.
To determine the weight of one serving, prepare the recipe as instructed. Weigh the finished recipe, then divide the weight of the finished recipe (not including the weight of the container the food is in) by the desired number of servings. Result will be the weight of one serving.
Did you make this recipe?
Please consider Pinning it!!


