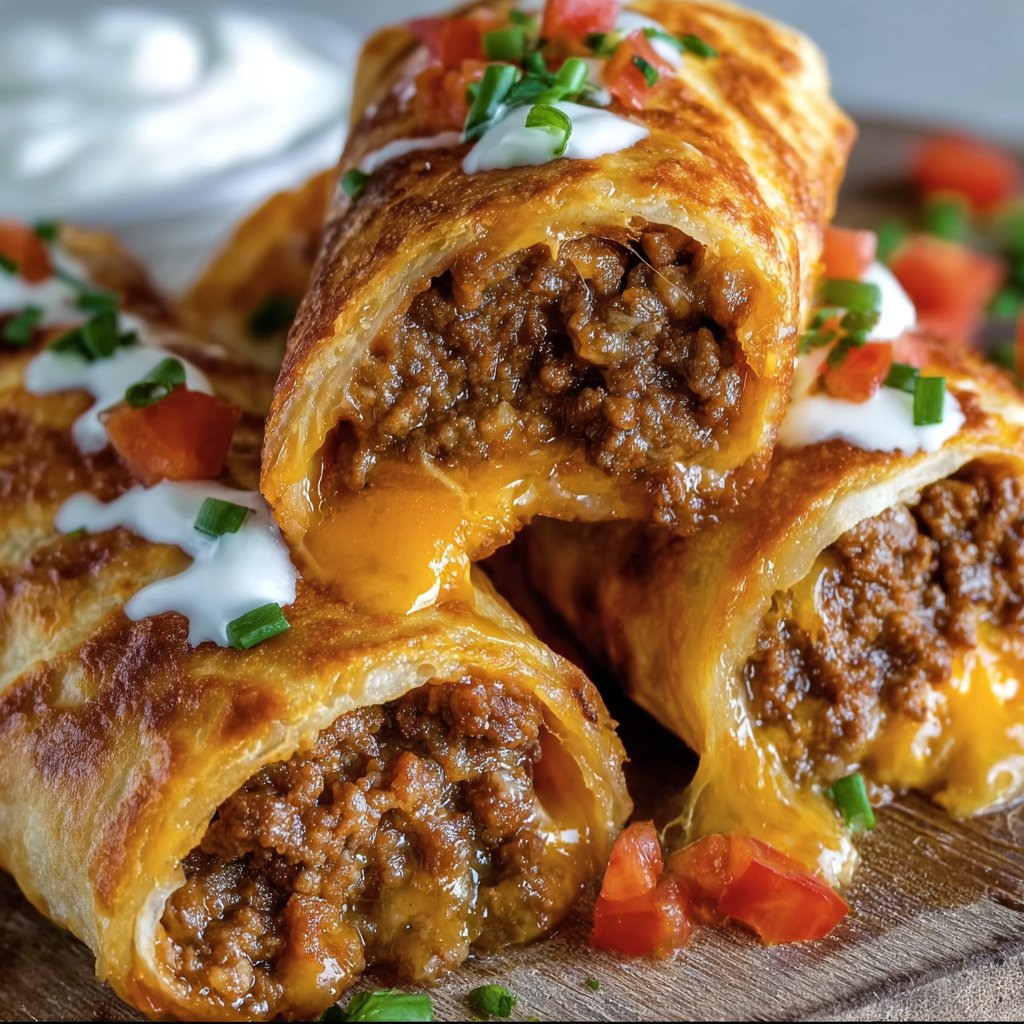
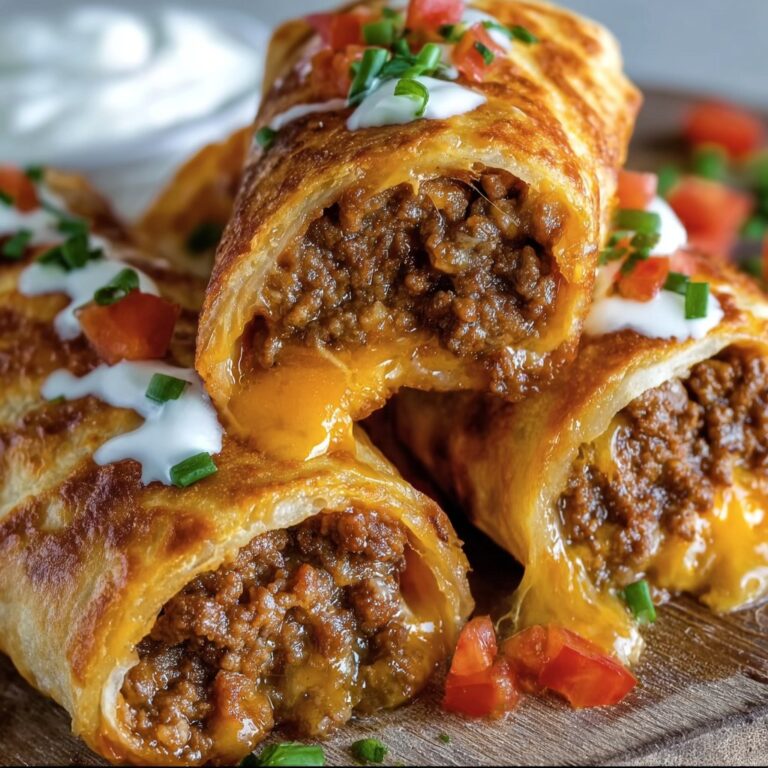
If You Like Crispy, Cheesy Comfort, You’re in for a Treat
So there was this one rainy Tuesday when I was determined to make dinner feel like a party, despite the weather trying to turn the whole thing into a snoozefest. Enter: crispy beef & cheese chimichangas. I still remember my son’s face when he bit into that golden, crunchy shell—pure delight (and a little cheese on his chin, if I’m being honest). These are basically my secret weapon when I need to chase the blahs away—and honestly, who can resist something that’s deep-fried and stuffed with gooey cheese and spicy beef? Not me, apparently.
Why I Keep Coming Back to This Recipe
I make these when I really want everyone to stop fussing and just dig in (usually Friday nights, when I don’t feel like arguing about broccoli). My family goes nuts for them, literally fighting over the last one sometimes—oh, and I’ve learned the hard way that doubling the batch is a good idea if you want leftovers. Occasionally, I get lazy and use ground turkey instead of beef, but shh, don’t tell my husband; he claims he can always taste the difference (he can’t!).
What You’ll Need (But, You Can Tweak It)
- 1 pound ground beef (or turkey if that’s what you have—you do you!)
- 1 small onion, diced (skip if onions haunt your dreams, honestly)
- 2 garlic cloves, minced
- 1 tsp chili powder (or taco seasoning—I’ve used both, and the world kept spinning)
- 1/2 tsp ground cumin
- Salt & pepper to taste (grandma always said to use Kosher salt, but I just grab what’s closest)
- 1 can (4 oz) diced green chiles (I’ve swapped in jalapeños, which was… intense)
- 1 cup shredded cheddar cheese (Monterey jack is also great, even that pre-shredded stuff works fine)
- 6-8 large flour tortillas (Burrito size. I once tried whole wheat. Regret.)
- Vegetable oil for frying (enough for about 1/2-inch depth—I’ve used canola, and nothing exploded)
Alright, Here’s How I Do This
- Cook the Beef: Toss the ground beef in a big skillet over medium-high heat. Break it up with a spoon, and cook until brown—the bits stuck to the pan are flavor! Add the onion and cook until it’s soft (I sometimes get impatient here. Don’t rush, or you’ll get weird crunchy bits).
- Add Flavors: Throw in the garlic, chili powder, cumin, salt, and pepper. Stir for a minute until it smells amazing (this is where I sneak a taste—watch out for that hot pan!).
- Mix It Up: Stir in the green chiles. Cook another minute. Remove from heat, and let it cool a bit—if you add cheese while it’s volcanic, it’ll get too melty and ooze everywhere. Unless you like that, then by all means.
- Add Cheese: Mix in the cheese. Actually, I find it works better if you use a little less cheese in the filling and save some for the top, but that’s just me.
- Assemble: Spoon the beef mixture down the center of each tortilla. Fold the sides in, then roll up; try to keep everything tucked in (but, real talk, some always sneaks out).
- Fry: Heat about 1/2-inch oil in a large pan over medium. When a scrap of tortilla sizzles, add your chimichangas seam side down. Fry 2-3 at a time, a couple minutes per side, until golden and crispy. Don’t overcrowd—unless you like soggy results, which I do not. Drain on a paper towel (I sometimes use a newspaper when I run out—don’t judge).
Notes From My Kitchen
- If you overstuff the tortillas, they’ll burst open. Looks messy but tastes just as good.
- I once tried baking these instead of frying. They got crispy-ish, but let’s just say, my family noticed. If you’re watching calories, it’s not bad, just not the same.
- Chimichangas freeze surprisingly well, but reheat in the oven, not the microwave, or you’ll get the dreaded soggy bottom.
- And oh, don’t use corn tortillas—they just crack and make a sad mess. Been there.
Variations I’ve Actually Tried (And a Fail)
- Chicken instead of beef: Yup, tastes great! Rotisserie chicken is a shortcut I use on busy nights.
- Black beans for a veg version: Add a can of black beans (drained). Sort of a Tex-Mex spin. Tasty with avocado.
- Breakfast chimichangas: Scrambled eggs, sausage, and cheese. Honestly, this one worked better in theory, but my kids still ask for it.
- Spicy version: Jalapeños and pepper jack cheese—whew, that was a wild ride. Maybe too wild for my Midwest family, but hey, I liked it.
Tools I Use (But You Can Improvise)
- Large skillet: Cast iron is my favorite, but anything that fits the job works. I’ve used a wok once, and it was a little weird, but it did the trick.
- Tongs: For flipping, but if you don’t have ’em, two spatulas or even a fork will do. Just be careful!
- Paper towels: Or, in a pinch, that stack of napkins you’ve been hoarding.
- Thermometer: Only if you’re fancy. I usually just go by the “does it sizzle” test.

How to Store These (If You Actually Have Leftovers)
Stick any leftover chimichangas in an airtight container and pop them in the fridge. They’ll keep for about 2-3 days, but honestly, in my house it never lasts more than a day! Reheat in the oven at 350F to get that crunch back. Microwave works in a pinch, though—they just get a bit chewy.
How We Serve Them at My Table
I love mine with a big dollop of sour cream, salsa, and sometimes guac if I’m feeling fancy (try this one). My mom swears by serving them with a crunchy slaw on the side. And on birthdays? We do a big toppings bar and let everyone loose—makes dinner way more fun. If you want to get creative, check out these Tex-Mex sides for inspiration.
Stuff I’ve Learned (Probably the Hard Way)
- Don’t rush rolling the tortillas. I once tried to speed through and ended up with beef all over the stovetop. Not my finest hour.
- If your oil isn’t hot enough, you’ll get soggy chimichangas—and nobody wants that.
- Actually, I find it works better if you let the filling cool just a bit before rolling. It’s less likely to leak (been there, got the shirt stains to prove it).
FAQ: Real Questions I’ve Gotten (And My Honest Answers)
- Can I bake these instead of frying?
Yeah, totally. Brush them with oil, pop them in a 425F oven, and bake about 20 minutes, flipping halfway. They get crispy-ish, but not quite the same. - Is there a gluten-free option?
Sure—if you can find big enough gluten-free tortillas (I’ve only seen them once at Trader Joe’s, but maybe you’ll have better luck). They tend to crack, so warm them first. - Can I freeze them?
Yup! I wrap them in foil and freeze after frying. Reheat at 375F for, I don’t know, 18 minutes or so. They’re actually almost better that way, if you ask me. - What’s the best cheese?
I like sharp cheddar because it holds its flavor under all that beef, but Monterey Jack is super gooey. I wouldn’t do mozzarella—tried that once, and it just got stringy and weird. - Why do mine sometimes fall apart?
Could be overstuffing, or maybe not rolling tight enough. Or on second thought, maybe it’s just the universe keeping you humble.
Alright, that’s it. If you give these a try, let me know—unless you hate them, in which case, let’s just pretend we never had this conversation. And if you want more weeknight inspiration, Budget Bytes has some fun ideas—I get lost on there all the time.
Ingredients
- 1 lb ground beef
- 1 cup shredded cheddar cheese
- 1/2 cup diced onion
- 1/2 cup salsa
- 1 teaspoon ground cumin
- 1 teaspoon chili powder
- 1/2 teaspoon garlic powder
- 1/2 teaspoon salt
- 8 large flour tortillas
- Vegetable oil, for frying
Instructions
-
1In a large skillet over medium heat, cook the ground beef and diced onion until the beef is browned and the onion is soft. Drain excess fat.
-
2Stir in salsa, ground cumin, chili powder, garlic powder, and salt. Cook for 2-3 minutes until well combined and heated through. Remove from heat and let cool slightly.
-
3Place about 1/4 cup of the beef mixture and 2 tablespoons of shredded cheddar cheese in the center of each tortilla. Fold in the sides and roll up tightly to form chimichangas.
-
4Heat about 1 inch of vegetable oil in a deep skillet over medium-high heat. Fry the chimichangas in batches, seam side down, for 2-3 minutes per side or until golden and crispy.
-
5Remove chimichangas from oil and drain on paper towels. Serve hot with your favorite toppings such as sour cream, guacamole, or extra salsa.
Approximate Information for One Serving
Nutrition Disclaimers
Number of total servings shown is approximate. Actual number of servings will depend on your preferred portion sizes.
Nutritional values shown are general guidelines and reflect information for 1 serving using the ingredients listed, not including any optional ingredients. Actual macros may vary slightly depending on specific brands and types of ingredients used.
To determine the weight of one serving, prepare the recipe as instructed. Weigh the finished recipe, then divide the weight of the finished recipe (not including the weight of the container the food is in) by the desired number of servings. Result will be the weight of one serving.
Did you make this recipe?
Please consider Pinning it!!


