
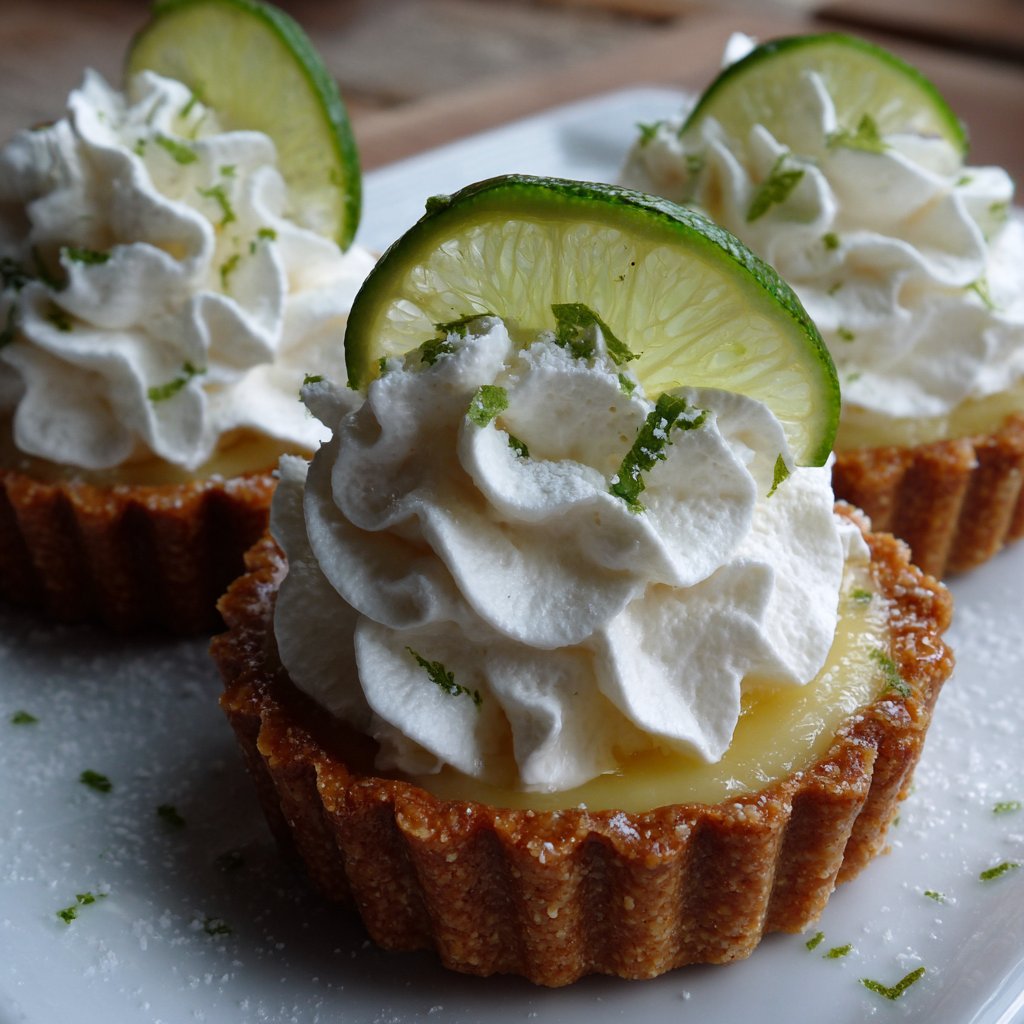
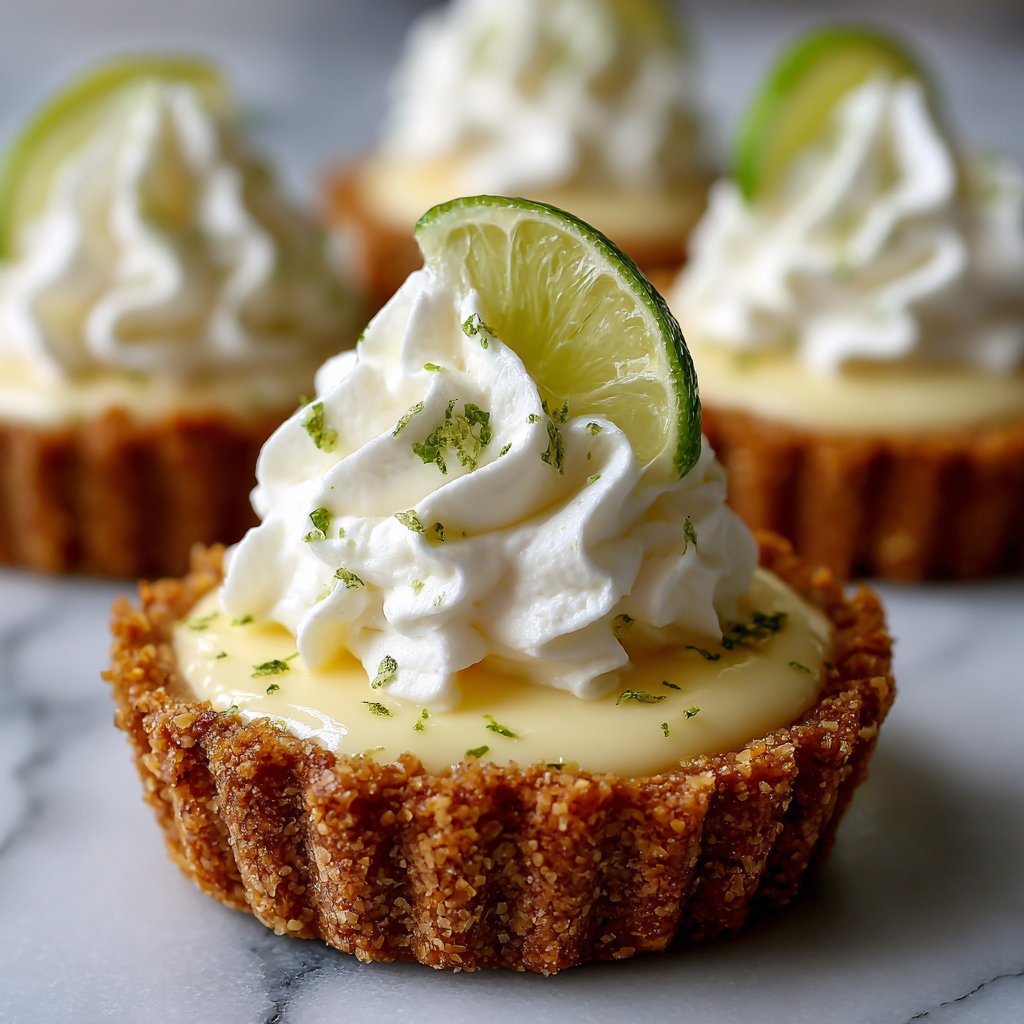
Let Me Tell You Why Mini Key Lime Pies Are My Summer Sidekick
Alright, so, confession time: I first made these Mini Key Lime Pies one sweltering July afternoon when my oven and I were barely on speaking terms. We’d had a falling out after a botched lasagna, don’t ask. But I needed dessert (who doesn’t?), and I had a random bag of key limes, a tin of sweetened condensed milk, and this urge to make something that’d impress my neighbor, Patty, who always casually mentions her award-winning brownies. Well, these pies saved my reputation—and my sanity. They’re a little zippy, a little creamy, and perfectly snack-sized, so you can eat two and pretend it’s just portion control. Oh, and don’t be surprised if you lick the bowl—happens to the best of us.
Why I Keep Coming Back to This Recipe
I make these every time we’re having a backyard get-together or, honestly, when I see limes on sale at the grocery store and can’t resist. My family goes absolutely wild for these—my youngest swears they’re better than birthday cake (and that’s saying something, considering the drama when I forgot the candles last year). Plus, they’re so easy, you can practically make them with one hand while shooing the dog away from the kitchen. Also, I used to dread making pie crust from scratch, but with these, you just smash up some cookies—total game changer!
The Messy but Honest Ingredients List
- 1 1/2 cups graham cracker crumbs (Sometimes I use digestive biscuits when I run out, and no one seems to notice. My gran always swore by the classic Nabisco ones, but really, any brand—or even ginger snaps in a pinch—will do.)
- 1/3 cup melted unsalted butter (Salted works too if you like things a bit savory.)
- 1/4 cup sugar (I’ve used brown sugar when it’s all I had left. Adds a bit of a caramel vibe.)
- 2 large egg yolks
- 1 can (14 oz) sweetened condensed milk (Trust me, don’t bother with low-fat. It’s just not the same.)
- 1/2 cup key lime juice (fresh is best, but the bottled stuff from Nellie & Joe’s is actually fine—I won’t judge)
- 1 tablespoon lime zest (optional, but it makes things look fancy)
- Whipped cream, for topping (Sometimes I go with spray can whipped cream if I’m pressed for time. Or give this homemade whipped cream a try if you’re feeling ambitious!)
- Extra lime slices, for garnish (if you’re feeling fancy, but I usually forget this step)
How It All Comes Together—A Play-by-Play
- Preheat and Prep: Set your oven to 350°F (180°C). Line a muffin tin with paper liners—trust me, makes cleanup a breeze. If you don’t have liners, just grease the pan well; maybe cross your fingers too.
- Smash That Crust: Mix graham cracker crumbs, melted butter, and sugar in a bowl. I usually use the end of a rolling pin to bash the crackers in a zip bag. No food processor? No worries, elbow grease works. Spoon enough mixture into each liner to cover the bottom (about a heaping tablespoon). Press it down—bottom of a shot glass works wonders here (or your fingers, if you don’t mind sticky hands).
- Bake the Crust: Pop the tray in the oven for about 5-6 minutes. Just don’t wander off and get lost on TikTok—these go from golden to, uh, less than golden in a blink.
- Make the Filling: While the crusts are cooling a bit, whisk the egg yolks until they lighten in color (I usually count to 80 while whisking, but who’s counting). Add the sweetened condensed milk and key lime juice, plus that zest if you’re using it. Stir until smooth. (This is where I always sneak a spoonful. Too good not to.)
- Fill and Bake Again: Pour the filling onto your slightly cooled crusts, filling each up almost to the top. I always spill a little, but that’s just, you know, extra flavor on the liner. Bake for 12-15 minutes—don’t wait for it to set up completely; a slight jiggle in the middle is perfect.
- Chill Out: Let the pies cool in the pan for about 15 minutes, then transfer to the fridge for at least 2 hours (overnight is better, honestly, if you can resist them that long).
- Topping Time: Just before serving, plop some whipped cream on top and garnish with lime slices if you remembered to buy extra limes. If not, nobody will miss it; promise.
My Notes from the Trenches
- If you accidentally use regular limes instead of key limes, it’ll still taste good. Maybe a bit less “zing.” I’ve done it more than once—blame it on the grocery store mix-up.
- The crust can get a bit crumbly if you skimp on butter. I’ve tried to make this “healthier” and, well, let’s just say the results were…dusty.
- Actually, letting them chill overnight really does make a huge difference (I used to think this was a myth, but nope).
- Don’t panic if the tops look a bit cracked after baking—they’re getting covered with cream anyway!
Mini Key Lime Pie Experiments—Some Winners, Some Not
So, I once tried making these with a chocolate cookie crust—thought I was being fancy. Honestly, it didn’t really work; the flavors just didn’t want to play nice together. But I have swapped in coconut cookies for the crust, and that turned out pretty dreamy! You can add a pinch of shredded toasted coconut to the filling if you want to lean tropical (I did this for a Luau party and felt like an absolute genius).
What You Need—And What to Do If You Don’t Have It
- Muffin tin (you can use silicone muffin cups on a baking sheet if you’ve lost your pan like I once did—just watch out for wobbles)
- Mixing bowls (one big, one medium, maybe one for the dog to lick… kidding, sort of)
- Hand whisk or electric mixer (both work; or a fork in a pinch, though expect a little arm workout)
- Zester (but honestly, a cheese grater’s fine if you go slow)
- Spoon and something flat for pressing crust (shot glass, spatula, your good old knuckles—all fair game)
How to Store ‘Em (Not That You’ll Need To)
If, by some miracle, you have leftovers, keep these in an airtight container in the fridge for up to 3 days. Though honestly, in my house they never last more than a day! I once tried freezing them, and they were okay, but the crust got a bit soggy when thawed, so I usually just eat ‘em fresh.
How I Like to Serve Mini Key Lime Pies
I’m not fancy, but if it’s a special occasion, I’ll pile them on a cake stand and add a drizzle of raspberry sauce on the side (kids love this, by the way). Or, for casual BBQs, just hand ‘em out with a dollop of whipped cream—paper napkins at the ready. My cousin dips hers in extra crushed cookies, which, honestly, is a pretty solid move.
Pro Tips I Learned the Hard Way
- Don’t rush the chilling step—I once tried to serve them after 30 minutes in the fridge, and…let’s just say they were more like mini key lime soup.
- If you think your crust looks too dry, add a smidge more melted butter—that’s one of those “feel” things you pick up after making it a few times.
- You can make the crusts a day ahead, but the filling’s best fresh. I tried making both too early once and, well, the crust went a bit chewy. Lesson learned!
FAQ—Real Questions Form Real People
- Can I use regular limes instead of key limes?
- Absolutely. I do it all the time when the little ones are too pricy or just missing from the shop. The flavor is a bit different, but still tart and tasty.
- What if I don’t have paper liners?
- Just grease the pan well—though you might need to run a knife around the edges to get them out. Actually, I find it works better if you let them cool completely before trying to pry them loose.
- Can I make these gluten-free?
- Yep. Use gluten-free graham crackers (I’ve used Kinnikinnick brand before), and you’re good to go. The rest is naturally gluten-free.
- Do I have to use sweetened condensed milk?
- I mean, technically, you could try another base, but it’s really not the same. I’ve experimented with Greek yogurt, and it just wasn’t as luscious.
- Why did my crust fall apart?
- It’s probably either too little butter or not pressing it down enough. But hey, it still tastes good—call it “deconstructed pie” and you’ll sound fancy.
Anyway, whether you use real key limes or just make do with what’s at hand, these mini pies always bring a little sunshine to my table. If you make them, let me know—unless you eat them all before anyone else gets a chance. I won’t judge.
Ingredients
- 1 cup graham cracker crumbs
- 3 tablespoons unsalted butter, melted
- 2 tablespoons granulated sugar
- 1 can (14 oz) sweetened condensed milk
- 1/2 cup key lime juice (fresh or bottled)
- 1 tablespoon key lime zest
- 2 large egg yolks
- Whipped cream, for topping
Instructions
-
1Preheat the oven to 350°F (175°C). Line a muffin tin with paper liners or lightly grease it.
-
2In a bowl, combine graham cracker crumbs, melted butter, and sugar. Mix until the crumbs are evenly coated.
-
3Press about 2 tablespoons of the crumb mixture into the bottom of each muffin cup to form a crust. Bake for 5 minutes, then remove from the oven.
-
4In another bowl, whisk together sweetened condensed milk, key lime juice, key lime zest, and egg yolks until smooth.
-
5Pour the key lime filling evenly over the baked crusts. Bake for 10 minutes, or until the centers are set but still slightly jiggly.
-
6Cool the pies to room temperature, then refrigerate for at least 2 hours. Top with whipped cream before serving.
Approximate Information for One Serving
Nutrition Disclaimers
Number of total servings shown is approximate. Actual number of servings will depend on your preferred portion sizes.
Nutritional values shown are general guidelines and reflect information for 1 serving using the ingredients listed, not including any optional ingredients. Actual macros may vary slightly depending on specific brands and types of ingredients used.
To determine the weight of one serving, prepare the recipe as instructed. Weigh the finished recipe, then divide the weight of the finished recipe (not including the weight of the container the food is in) by the desired number of servings. Result will be the weight of one serving.
Did you make this recipe?
Please consider Pinning it!!


