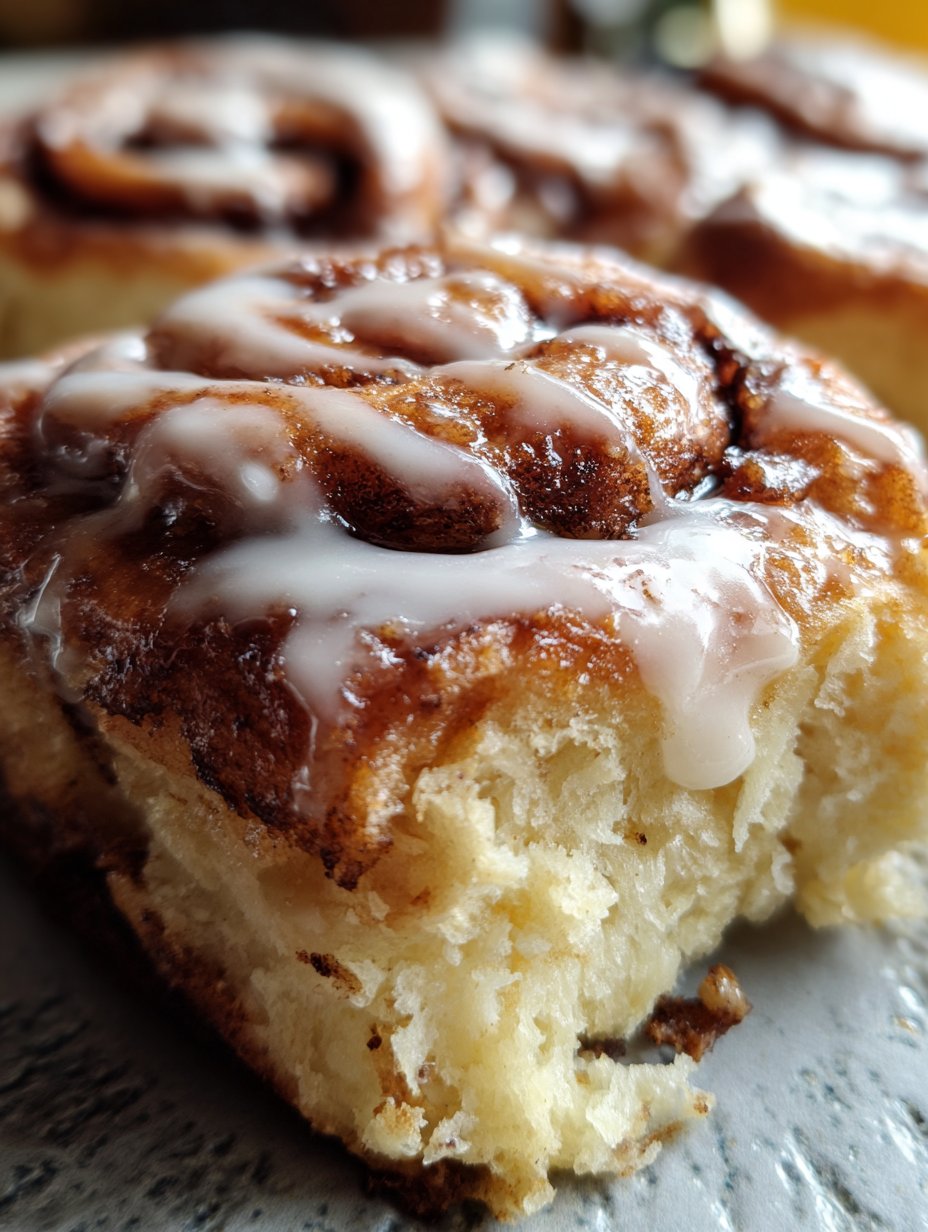
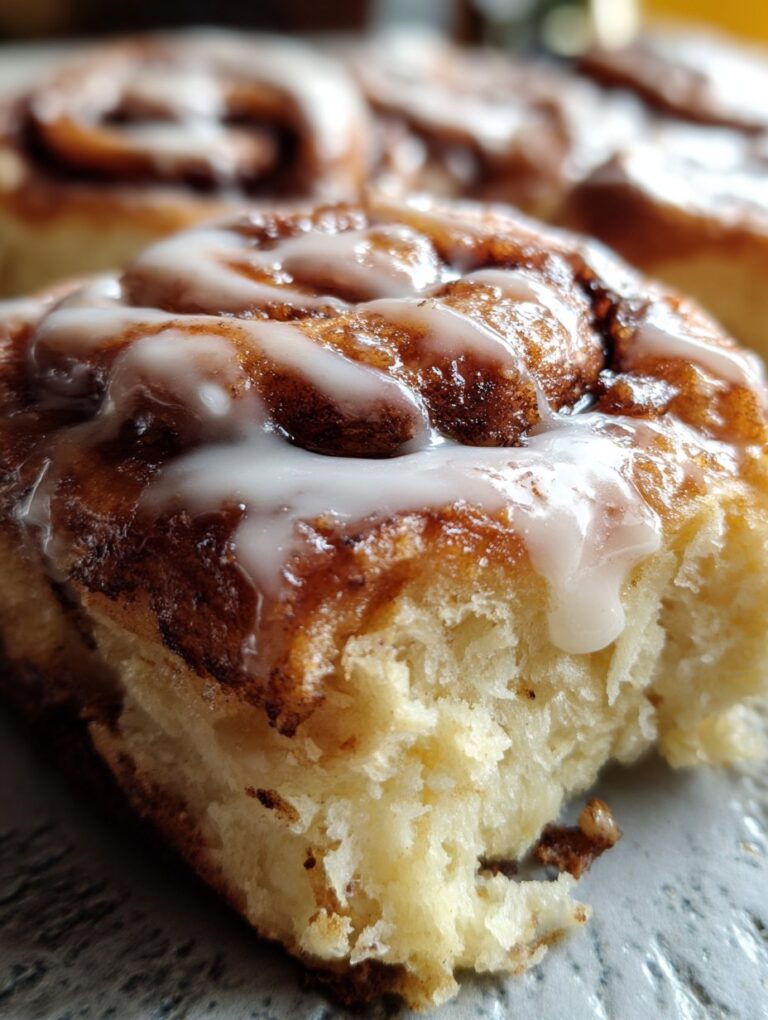
Alright, Let Me Tell You About These Banana Bread Cinnamon Rolls
So, not to brag (okay, maybe a little), but these are the rolls that made my neighbor stop mid-dog-walk and ask, what smells like heaven in here? I first made Banana Bread Cinnamon Rolls one rainy Saturday, chasing the kind of mood where you want something warm but not fussy. Honestly, I’d just forgotten about a couple bananas in the fruit bowl (classic), and instead of making the usual banana bread, I thought, why not try swirling that cozy banana flavor into cinnamon rolls? Plus, rolling dough is weirdly therapeutic for me. If you end up with flour in your hair, you’re doing it right. Or at least, that’s what I tell myself.
Why You’ll Love This (Or At Least I Hope You Will!)
I make these when I’ve got sad bananas, or when the kitchen feels too tidy. My family goes bananas (ha) for them because they’re soft, sweet but not tooth-achingly so, and—this is the main thing—they taste like effort, even though they’re secretly not much trouble. Sometimes I just need a recipe that’s forgiving. Like, I’ve forgotten the yeast for 20 minutes before, and it still turned out edible. If you’re the kind of person who gets distracted by a good podcast and leaves dough to rise way too long, these are for you. Plus, the banana keeps things moist (sorry, but it’s true)—so even if you overbake a little, no one’s the wiser.
What You’ll Need: Ingredients
- 2 overripe bananas (if they’re spotty and sad, they’re perfect; I’ve used frozen ones in a pinch—just thaw and drain off the extra liquid)
- 1/4 cup melted butter (or, my mate swears by coconut oil—gives a nice twist)
- 3/4 cup milk (I usually use whole, but honestly, I’ve done it with oat milk when I ran out—no one noticed)
- 1 packet active dry yeast (or about 2 1/4 tsp—my grandmother insisted on Fleischmann’s, but store brand is fine)
- 1/4 cup granulated sugar
- 1/2 tsp salt
- 3 1/4 cups all-purpose flour (plus more for dusting—sometimes I add a handful of whole wheat, but not more than half or they’ll get a bit heavy)
- 1 egg
- For the filling:
- 1/2 cup brown sugar (dark is best, but light works, too)
- 2 tbsp ground cinnamon (sometimes I add a shake of nutmeg—up to you)
- 1/4 cup softened butter
- For the glaze:
- 1 cup powdered sugar
- 2 tbsp milk (or a splash more, depending how runny you like it)
- 1/2 tsp vanilla extract (I’ve left it out once when I ran out—tasted fine, but maybe less magical)
Let’s Get Rolling: Directions (With a Dash of Chaos)
- Mash the bananas in a big bowl. You want them pretty smooth, but not baby-food level—some small lumps are fine. Add the melted butter, milk, and sugar, then sprinkle the yeast over top. Let it sit for about 5 minutes. Sometimes I get distracted and it sits for 10—no biggie.
- Add the egg and salt, then give it a good stir. Start adding flour, a cup at a time. Mix until it forms a sticky dough. You might not need all the flour, or you might need a little more, depending on those bananas.
- Knead it on a floured counter for about 5 minutes—or until it’s kind of smooth and bounces back when you poke it. (Honestly, this is where I sneak a taste. Don’t tell anyone.)
- Plop the dough in a lightly oiled bowl. Cover with a tea towel and let it rise somewhere warm till doubled—usually an hour or so. If my kitchen’s cold, I’ll sit the bowl near the oven (not ON it, learned that the hard way once).
- Mix up your filling: stir together brown sugar and cinnamon, then set aside. Roll out the dough into a rectangle (ish) about 1/4-inch thick. Slather with softened butter, then cover with the cinnamon-sugar mixture.
- Roll it up, jelly roll style (long side facing you), and slice into 12 fat rolls. I use dental floss for this, but a sharp knife works. If you squish a few, they’ll puff up in the oven.
- Arrange in a greased 9×13-inch baking dish. Cover and let rise again for 20–30 minutes—just enough time to make a cup of tea and wonder why your hands are always sticky by this point.
- Bake at 350°F (175°C) for 25–30 minutes, until golden and your house smells like a bakery. If the tops look pale, give it another 2–3 min (but keep an eye—they go from pale to brown fast!).
- Whip up the glaze by mixing powdered sugar, milk, and vanilla. Pour over warm rolls. Now, try not to eat them all at once (or do, I don’t judge).
Notes from My Slightly Messy Kitchen
- If the dough feels too sticky, add a handful more flour. But don’t overdo it or they’ll get dense. Actually, I find it works better if you err on the sticky side.
- Once I let these cool completely before glazing, and the glaze just sat there looking sad. Warm rolls = perfect drizzle.
- I used to use a stand mixer for kneading, but now I do it by hand—it’s oddly satisfying, and fewer dishes.
Variations I’ve Tried (and One I Wouldn’t Repeat)
- Chocolate chips in the filling—delicious, but kind of messy when cutting. Maybe sprinkle on top instead?
- Swapped half the flour for spelt flour once. Got way too dense, wouldn’t recommend unless you like a workout chewing.
- Toasted pecans or walnuts are lovely scattered over the filling.
- Maple glaze instead of regular—just use maple syrup in place of milk. So good!
Equipment (and the Odd Workaround)
- Mixing bowls, obviously. Any will do.
- 9×13-inch baking dish (or two 8×8 pans if that’s what you’ve got—done it, works fine)
- Rolling pin—though honestly, a wine bottle works in a pinch. Just wash it first.
- Measuring cups/spoons—but hey, a coffee mug is “about” a cup, right?

How to Store (If They Last That Long)
Cover with foil or bung in an airtight container; they’re fine at room temp for a day or two. Or freeze leftovers (ha, like that’s ever actually happened) for up to a month. Warm in the microwave for 20 seconds to revive the gooey-ness. Though honestly, in my house it never lasts more than a day!
Serving Ideas (And Family Traditions)
I like these best with a big mug of coffee (preferably with a splash of oat milk—don’t knock it). My kids insist on adding extra glaze, but my partner dunks his in cold milk—every family’s got their thing. Sometimes I even eat one for dessert, especially if I’ve got vanilla ice cream. Oh, and one Christmas we served them as a midnight snack while watching cheesy movies—highly recommend.
Things I’ve Learned the Hard Way: Pro Tips
- Don’t rush the rising, no matter how impatient you are. I once tried to speed things up in a hot oven, and ended up with sad, dry rolls.
- Let them cool slightly before glazing. If you’re too eager, the glaze turns into a puddle at the bottom. (But licking the pan is fun, so up to you!)
- Always taste your bananas before adding—once I used one that was a bit too far gone and…well, you can imagine.
FAQ (Real Questions, Honest Answers)
- Can I make these ahead? Sure thing! I usually assemble and refrigerate overnight, then bake in the morning. Just let them come to room temp for 30 min before baking.
- What about gluten-free flour? Haven’t tried it myself, but folks over at Minimalist Baker have a recipe that looks handy. Worth a go!
- Do I have to use brown sugar? Not at all. White sugar works, but the flavor’s a bit less deep. I tend to think dark brown sugar is best, but use what’s in the cupboard.
- Can I freeze the dough? Yep, just wrap tightly after the first rise. Thaw overnight in fridge and proceed as normal. More details here: Sally’s Baking Addiction (she explains it better than I ever could).
- My dough isn’t rising, help? Check your yeast (should be foamy after 5–10 min). If it’s looking sad, start over with fresh yeast. Or just call it banana bread and bake as is. Seriously, no shame.
Oh, before I forget, there was this one time I nearly forgot the glaze and served them anyway—they were still gobbled up, but now it’s sort of a running joke whenever I bake. Anyway, hope you love these as much as we do. If you give them a whirl, let me know (or just imagine me waving a floury spoon in encouragement).
Ingredients
- 2 cups all-purpose flour
- 1/4 cup granulated sugar
- 2 teaspoons baking powder
- 1/2 teaspoon salt
- 2 ripe bananas, mashed
- 1/3 cup milk
- 1/4 cup unsalted butter, melted
- 1 large egg
- 1/2 cup brown sugar
- 2 teaspoons ground cinnamon
- 2 tablespoons unsalted butter, softened (for filling)
- 1/2 cup powdered sugar (for glaze)
- 1-2 tablespoons milk (for glaze)
Instructions
-
1Preheat oven to 350°F (175°C). Grease a 9-inch round baking dish.
-
2In a large bowl, whisk together flour, granulated sugar, baking powder, and salt.
-
3In another bowl, mix mashed bananas, milk, melted butter, and egg. Add wet ingredients to dry ingredients and stir until just combined.
-
4On a floured surface, roll dough into a rectangle. Spread softened butter over dough, then sprinkle with brown sugar and cinnamon.
-
5Roll up the dough tightly from the long side and cut into 8 equal rolls. Place rolls in prepared baking dish.
-
6Bake for 25 minutes or until golden brown. Mix powdered sugar and milk to make glaze, then drizzle over warm rolls before serving.
Approximate Information for One Serving
Nutrition Disclaimers
Number of total servings shown is approximate. Actual number of servings will depend on your preferred portion sizes.
Nutritional values shown are general guidelines and reflect information for 1 serving using the ingredients listed, not including any optional ingredients. Actual macros may vary slightly depending on specific brands and types of ingredients used.
To determine the weight of one serving, prepare the recipe as instructed. Weigh the finished recipe, then divide the weight of the finished recipe (not including the weight of the container the food is in) by the desired number of servings. Result will be the weight of one serving.
Did you make this recipe?
Please consider Pinning it!!


