
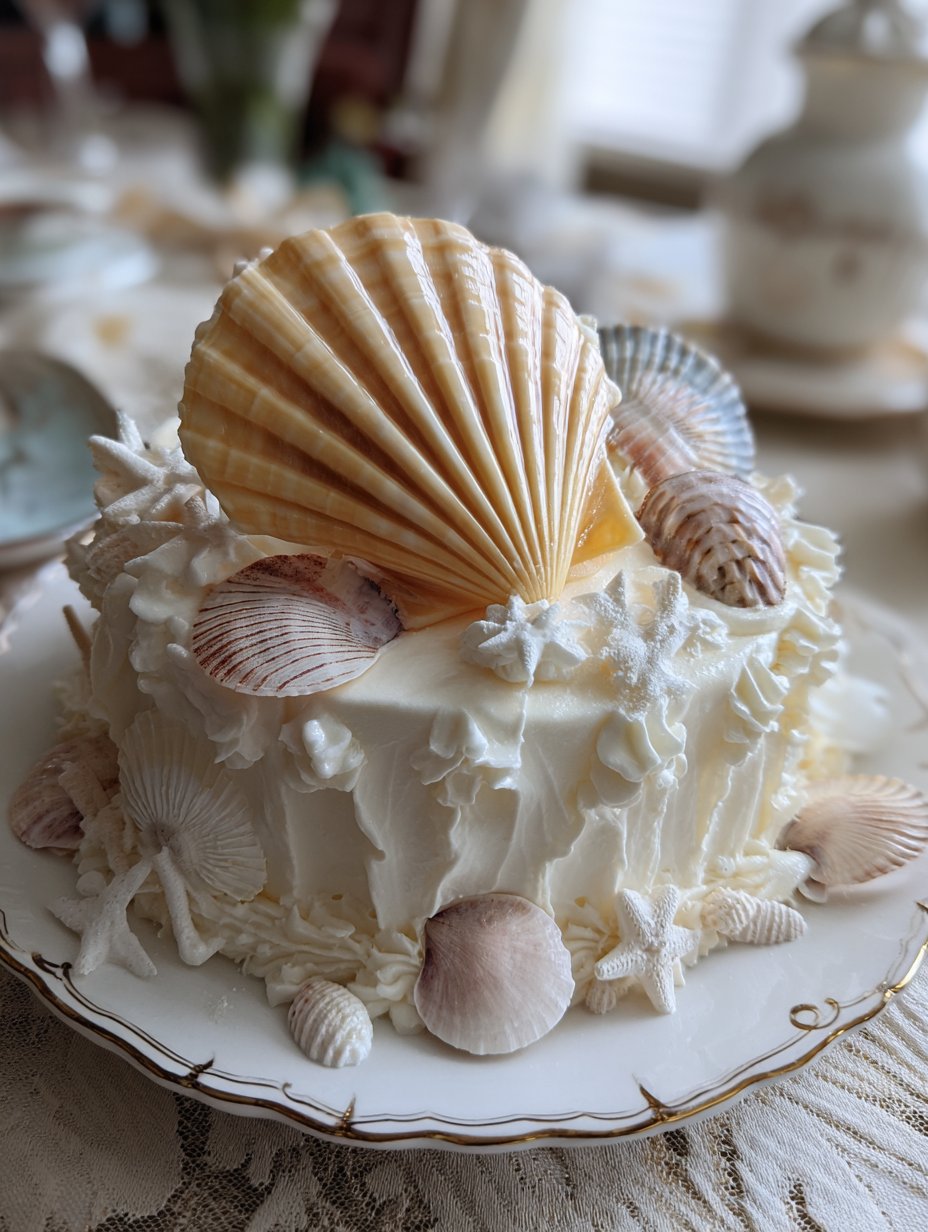
So, How Did I End Up Making a Beach‑Vibe Seashell Cake?
You know those recipes you stumble into by accident? This is one of those. The first time I made a Beach‑Vibe Seashell Cake was for my niece’s birthday, when she insisted on a ‘cake that looks like a beach but tastes like clouds.’ (Kids, right?) I thought she’d forget—she didn’t. The kitchen was a disaster, flour everywhere, and I may or may not have gotten blue food coloring on my favorite hoodie. Still, the look on her face! Worth every speck of sand-like graham cracker in my hair. Plus, my neighbor Sheila still brings up that cake every time we run into each other at the co-op. So, if you’re ready for some sugary seaside chaos, let’s get baking.
Why You’ll Love Making This (Even If Your Kitchen Gets Messy)
I make this when the weather’s turning, and everyone in my family starts longing for the sea—maybe it’s just the excuse for crushed cookies and pastel buttercream, but hey. My family goes crazy for this because the decorations are all edible (and I secretly love the part where you get to play with candy seashells). Also, if you’re not great at perfectly smooth frosting (I’m honestly not), the ‘beach’ theme just makes it look intentional. One time my cake just sort of slouched on one side, and my mum said, ‘It’s a sand dune now!’ So, it’s forgiving. Heads up: I once tried skipping the crumb coat—regret. But I’ll get to that later.
The Stuff You’ll Need (and Substitutions That Actually Work)
- 2 1/2 cups all-purpose flour — sometimes I use cake flour if I remember, but regular’s fine
- 1 tablespoon baking powder
- 1/2 teaspoon salt (I just grab what’s in the grinder, honestly)
- 1 cup unsalted butter, room temp. (Brand? Whatever’s on sale)
- 1 3/4 cups granulated sugar or, if you’re out, a mix of white and brown sugar works too
- 4 large eggs — room temp. is better but sometimes I forget
- 2 teaspoons vanilla extract — my grandmother always insisted on Nielsen-Massey, but the cheap stuff is fine in a pinch
- 1 cup milk — full-fat is best, but I’ve used almond milk; no one noticed
- Blue and green food coloring — gel is best, but liquid works, too (just makes things paler)
- 1 batch buttercream frosting (I use Sally’s recipe sometimes)
- Crushed graham crackers or digestive biscuits (for ‘sand’)
- Assorted candy seashells — I buy these premade ones in a pinch, but you can make your own if you’re feeling fancy
- White chocolate, melted (for making little ‘waves’ if you’re feeling extra creative)
How I Actually Make It (Don’t Worry If Yours Looks Weird At First)
- Preheat your oven to 350°F (180°C). Butter and flour two 8-inch cake pans. Or line ‘em with parchment, which is what I usually end up doing because I hate scrubbing pans.
- Mix your flour, baking powder, and salt in a bowl. Give it a whisk. (I sometimes forget the salt—nothing catastrophic.)
- Cream the butter and sugar together in a big bowl. It should look pale and fluffy, and this is where I usually sneak a taste. Add the eggs, one at a time. If it curdles a bit, don’t panic—it always smooths out later.
- Stir in the vanilla. Now, add flour mix and milk, alternating, starting and ending with flour. Don’t overbeat; just mix until it’s all together.
- Divide the batter into two bowls. Tint one half blue, the other green. Or swirl them both into each pan for a sort of ocean effect. I pour them in and kind of swirl with a chopstick. Looks wild but trust me, it bakes up pretty.
- Bake for 28–32 minutes, or until a toothpick comes out clean. Let cool in pans for about 10 minutes, then finish cooling on racks. (Don’t skip this or you’ll have a cake puddle. Learned that the hard way.)
- Frost the cooled cakes with buttercream. Crumb coat first! Then chill it for 20 minutes. Actually, I find it works better if you pop it in the freezer for ten. Then do a final layer—swirl blue and white for a wave look. (If it’s not perfect, that’s fine. The graham cracker ‘sand’ covers a multitude of sins.)
- Press crushed crackers along the bottom edge for ‘sand’. Scatter on your seashell candies and maybe drizzle some melted white chocolate in curvy lines for foam. Or just go wild with whatever ocean-y sweets you have on hand.
Some Notes (Learned the Not-So-Easy Way)
- If your butter isn’t soft enough, microwave it in short bursts. Just don’t melt it totally—been there, turned the cake rubbery. Not fun.
- Food coloring: gel is more vibrant, but the squeeze bottles work if that’s all you’ve got.
- I think this cake actually tastes better the next day—if you can hide it from everyone.
- One time, I tried using brown sugar for all the sugar. The cake was tasty, but it came out tan instead of that sunny yellow, so the blue food coloring went a bit green. Still edible, just…not what I’d planned.
Tried and Tested Variations (And One That Flopped)
- I once swapped in coconut milk for regular milk—gave it a tropical edge that I loved, though my brother thought it was ‘weirdly beachy.’
- Lemon zest in the batter makes it brighter. Like, actual sunshine-in-cake.
- I tried making it gluten-free with almond flour. It fell apart. Still tasted good but needed a spoon. Wouldn’t recommend unless you really know your GF baking.
What You’ll Need (And My Low-Tech Hacks)
- 2 round cake pans (8-inch)
- Mixing bowls—at least two
- Hand mixer or stand mixer (but I’ve mixed this with a wooden spoon. Takes longer, but hey, free arm workout)
- Parchment paper (or just grease the pans extra well if you’re out)
- Offset spatula for frosting—though I’ve used a butter knife when my good one was in the dishwasher
How To Store (But Ours Never Lasts)
Cake keeps in an airtight container for 2-3 days, fridge or counter. (Though honestly, in my house it never lasts more than a day! If you’re feeding a crowd, don’t expect leftovers.) If the weather’s hot, I stick it in the fridge so the frosting doesn’t go soft and slide off—learned that the sticky way.
Serving Time: Here’s What We Do
I like to serve this with big scoops of vanilla ice cream, or sometimes just a pile of berries on top (British strawberries, if you can get ‘em—so juicy). For birthdays, we stick a little paper umbrella or two in there. My dad calls dibs on the largest candy shell. Family tradition?
Pro Tips I Learned The Hard Way
- Don’t rush the cooling stage. I once tried to frost while the cake was still warm—ended up with a puddle of buttercream and a wobbly cake. Never again.
- If your crumb coat looks messy, that’s fine. It’s literally just a base. The more you fuss, the worse it gets, in my experience.
- Start with less food coloring—you can always add, but you can’t take it out. (I once made a cake so blue it looked radioactive.)
FAQ: Stuff People Have Actually Asked Me
- Can I make this ahead?
Yep, you can bake the cakes a day or two in advance, just wrap ‘em up well. Frosting’s best fresh, though. - What if I don’t have candy seashells?
No big deal—just use gummy fish, chocolate buttons, or whatever ocean-themed stuff you can find. Or skip it! The cake still tastes fab. - Can I freeze it?
Sorta. The cake layers freeze great; just don’t frost until you’re ready, or it might sweat all over the place when you thaw. (Long story, trust me.) - Do I have to do the two-tone batter?
Not at all—plain works too. I just like the ocean-y look. - Is this a super sweet cake?
It’s definitely on the sweet side. If you like less sugar, you can dial it back by about 1/4 cup, but I wouldn’t go lower or you’ll lose the fluffy texture.
Oh, by the way, if you need more decorating ideas, this post has some cute inspiration. All in all, this Beach‑Vibe Seashell Cake is the sort of fun, colorful mess that makes people happy—and gives you an excuse to call your kitchen a creative zone, not just a mess. Let me know how yours turns out—unless it’s prettier than mine, in which case, fib a little?
Ingredients
- 2 1/2 cups all-purpose flour
- 1 1/2 cups granulated sugar
- 1 cup unsalted butter, softened
- 4 large eggs
- 1 cup coconut milk
- 2 teaspoons vanilla extract
- 1 tablespoon baking powder
- 1/2 teaspoon salt
- 1 cup sweetened shredded coconut
- Edible seashell decorations (fondant or chocolate)
Instructions
-
1Preheat the oven to 350°F (175°C). Grease and flour two 9-inch round cake pans.
-
2In a large bowl, cream together the butter and sugar until light and fluffy. Add eggs one at a time, beating well after each addition.
-
3In a separate bowl, whisk together the flour, baking powder, and salt. Gradually add the dry ingredients to the wet mixture, alternating with coconut milk. Stir in vanilla extract and shredded coconut.
-
4Divide the batter evenly between the prepared pans. Bake for 30-35 minutes, or until a toothpick inserted in the center comes out clean. Let cakes cool completely.
-
5Frost the cooled cakes with your favorite vanilla or coconut frosting. Decorate with edible seashells and extra shredded coconut for a beachy look.
Approximate Information for One Serving
Nutrition Disclaimers
Number of total servings shown is approximate. Actual number of servings will depend on your preferred portion sizes.
Nutritional values shown are general guidelines and reflect information for 1 serving using the ingredients listed, not including any optional ingredients. Actual macros may vary slightly depending on specific brands and types of ingredients used.
To determine the weight of one serving, prepare the recipe as instructed. Weigh the finished recipe, then divide the weight of the finished recipe (not including the weight of the container the food is in) by the desired number of servings. Result will be the weight of one serving.
Did you make this recipe?
Please consider Pinning it!!


