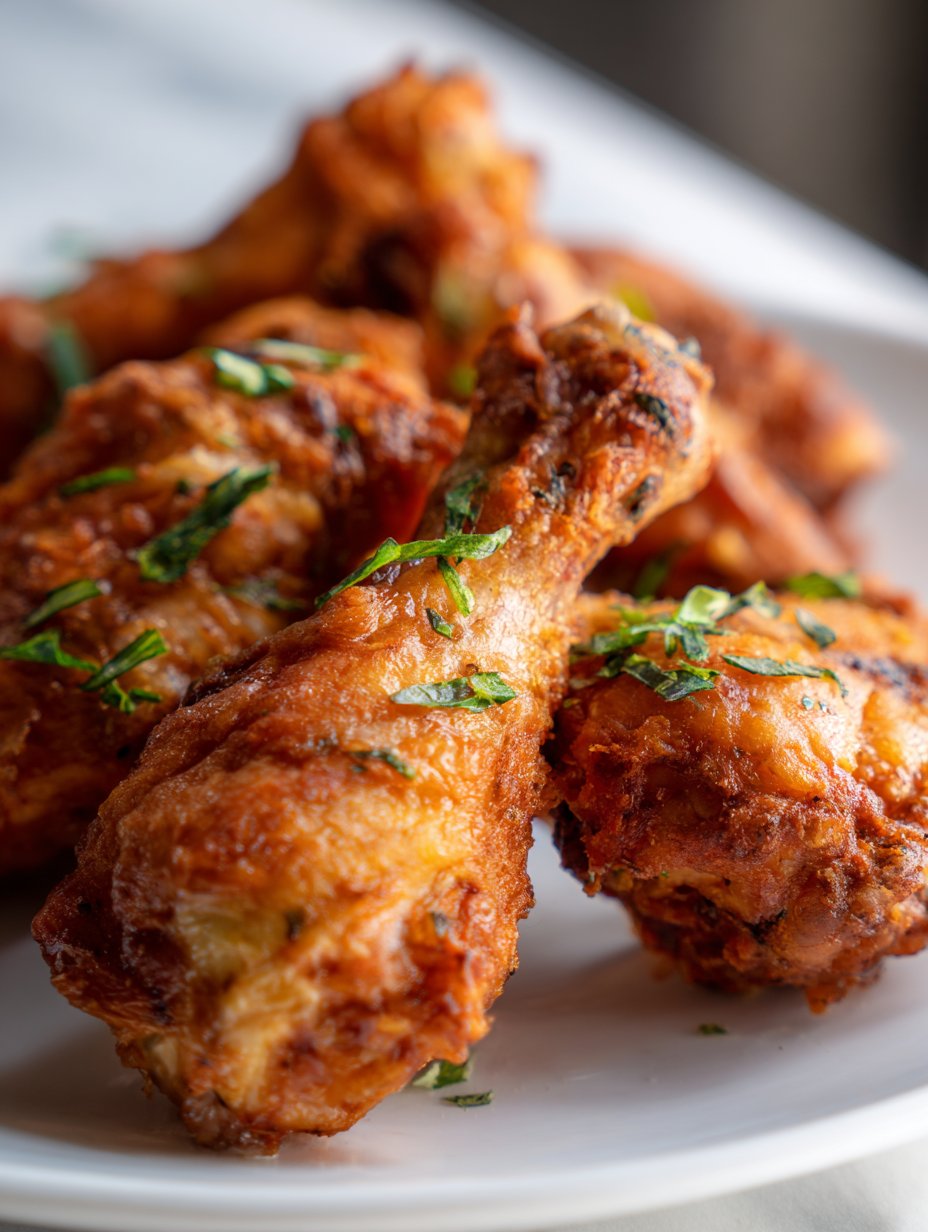
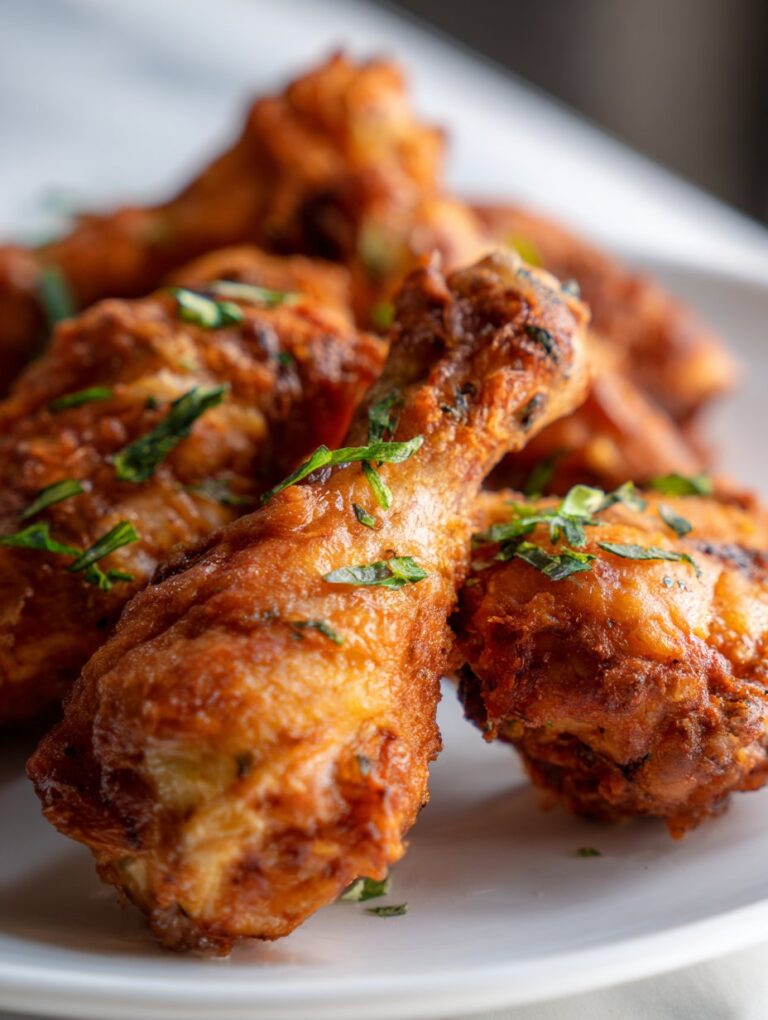
The Story (and Chaos) Behind My Chicken Drumsticks
You know that feeling when you open the fridge at 5:30pm and see a pack of chicken drumsticks just staring at you, like, “Come on, you know what to do?” Yeah, that’s me most Tuesdays. These drumsticks have rescued plenty of my weeknights—especially the ones where I’m juggling a load of laundry, the kids are arguing about who sat where at breakfast, and someone (me) forgot to defrost the fancy dinner stuff. My mum used to make something like this, only she’d throw in way more paprika than I ever dared. Actually, one time she used smoked paprika, and the kitchen smelled like a campfire for a week. It was, honestly, a vibe.
Why I Keep Coming Back to This Drumstick Trick
I make this when I need dinner to just work—no fuss, no weird ingredients that I have to run to the shop for. My family goes a bit mad for it (especially when there are crispy bits stuck to the pan—those are fought over). And, let’s be real, I used to dread handling raw chicken, but now it’s just part of the routine—plus, the mess is minimal. Sometimes the skin sticks, but honestly? That’s where the flavor is hiding anyway. Oh, and the best part: if I get distracted and forget to baste halfway, it still turns out fine. Magic, I swear.
What You’ll Need (Substitutions Welcome—Honestly)
- 8 chicken drumsticks (or however many fit your tray—sometimes I just use thighs if that’s what’s lurking in the fridge)
- 2-3 tablespoons olive oil (sunflower works too; I once used butter in a pinch, tasted great)
- 1 1/2 teaspoons salt (my grandmother swore by Maldon flakes, but regular table salt is fine, I promise)
- 1 teaspoon black pepper (freshly cracked feels fancy but pre-ground is what I usually grab)
- 2 teaspoons smoked paprika (or sweet—depends what you fancy; chilli powder is fun if you’re brave)
- 1 teaspoon garlic powder (I sometimes just smash a clove or two and toss them in whole—up to you)
- Optional: 1 teaspoon dried thyme or oregano (fresh is lovely, but who has fresh herbs in winter?)
- Juice of half a lemon (or a quick splash of vinegar if you’re all out)
How I Actually Make These (With All the Wobbly Bits)
- Preheat your oven to 220°C (428°F). Or, honestly, just whack it up to as high as it goes if you’re in a hurry. Line a baking tray with foil for easier cleaning—unless you fancy scrubbing burnt bits off later (I don’t).
- Pat your drumsticks dry with kitchen paper. This is supposed to make them crispier; I sometimes forget this step, and they’re still good.
- Chuck the drumsticks in a big bowl. Pour over the oil, salt, pepper, paprika, garlic powder, and herbs. Squeeze over the lemon juice. Use your hands (gloves if you’re squeamish) to smoosh everything together until the chicken is properly coated.
- Arrange the drumsticks on your tray, skin side up (if they have skin). Don’t pack them too close or they’ll steam instead of crisp. This is the bit where I sneak a taste of the marinade if no one’s looking.
- Bake for about 30 minutes. Then, give them a flip, baste with pan juices, and bake another 15-20 minutes until the skin’s crisp and the meat pulls away easily with a fork. Sometimes I forget to flip and it’s still delish, just not as even. If you’re not sure, stab one near the bone—the juices should run clear!
Little Things I Learned the Hard Way
- If you crowd the pan, say goodbye to any hope of crispy skin. I’ve tried to stuff too many in, thinking I was clever, and ended up with sad, soggy drumsticks. Just don’t.
- Don’t skip the lemon or vinegar. I did once, and the flavor felt flat—like, it needed a kick.
- Letting them rest for 5 mins before serving actually helps. I used to ignore this, but now I know better.
Variations I’ve Experimented With (For Better Or Worse)
- Sometimes I add a spoonful of honey or maple syrup to the marinade—makes them a bit sticky and sweet, which my mate Sarah loves (but my son, not so much).
- I tried dunking them in yogurt and spices overnight once; it was tasty but made the skin less crispy. Maybe that’s more suitable for grilling?
- Asian-ish: swap paprika for soy sauce, ginger, and a dash of sesame oil. Didn’t taste super authentic, but hey, it’s chicken.
Do I Really Need All This Gear?
I usually use a big roasting tray, but I’ve made these in a battered old cake tin before and nobody noticed. If you don’t have foil, just let the pan soak overnight—trust me, it’ll come off eventually. Oh, and tongs are handy for flipping, but two forks work just as well (my aunt swears by wooden spoons, but I’m not convinced).

How Long Do These Keep? (Not Long, Honestly)
Store leftovers in a sealed container in the fridge—up to 3 days, though honestly, in my house they never last more than a day! Reheat in the oven for 10 mins at 180°C and they’ll crisp up again. Microwaving makes them a bit sad, but it’s fine if you’re in a rush.
What Do I Serve With Drumsticks? (Anything, Really)
My go-to is buttery mash and a pile of steamed green beans—simple and classic. I also love them with a cold pasta salad in summer (just pasta, whatever veg I find, and a quick dressing). At BBQs, these are always the first thing gone, right after the sausages. Oh, and dipping in garlic yogurt sauce? Game changer.
The Little Things I Wish I’d Known
- Don’t rush marinating, even if it’s just 10 minutes. I tried skipping it once—regretted it, tasted a bit bland.
- If you’re using frozen drumsticks, defrost fully or you’ll end up with weirdly cooked bits. I learned this the hard way after a camping trip mishap. Long story, but bring a cooler!
- Actually, I find it works better if you crank the oven at the end for a few minutes to really crisp them up. Just watch they don’t burn—I’ve done that more than once.
Chicken Drumsticks FAQ (Because Folks Always Ask)
- Can I use boneless chicken?
- Sure, but it’ll cook faster and probably won’t be as juicy. I prefer bones-in for this, but sometimes you gotta work with what you’ve got.
- Does it work on the grill?
- Oh, absolutely—just keep an eye out for flare-ups, since the marinade can drip and char the skin quick. I usually finish them on the top rack for less drama.
- What if I’m out of paprika?
- No major drama—try a bit of cumin, or just use more pepper. It’ll be different, but still tasty. (Actually, I quite like it with a pinch of curry powder—unexpected, but nice!)
- Is there a dairy-free version?
- There isn’t any dairy in this as written, but for a creamier vibe, some folks add a bit of yogurt—just use non-dairy if needed!
- Can I prep ahead?
- Yes! Marinate the drumsticks in the morning, or even the night before. The flavor soaks in. Sometimes I forget, but when I remember—wow.
If you want a deep dive on spice combos, Serious Eats has a great guide. For more fun recipes, I sometimes browse BBC Good Food’s drumstick collection—some are a bit posh for a Tuesday, but worth a look!
Anyway, I hope you try this chicken drumstick recipe, and if your family hoards the crispy bits like mine does…well, you’ll know you did it right. Let me know how it turns out—or if you forget to flip them, you’re in good company!
Ingredients
- 8 chicken drumsticks
- 2 tablespoons olive oil
- 1 teaspoon salt
- 1/2 teaspoon black pepper
- 1 teaspoon garlic powder
- 1 teaspoon paprika
- 1/2 teaspoon dried thyme
- 1/2 teaspoon onion powder
Instructions
-
1Preheat the oven to 400°F (200°C). Line a baking sheet with parchment paper or lightly grease it.
-
2In a large bowl, combine olive oil, salt, black pepper, garlic powder, paprika, dried thyme, and onion powder.
-
3Add the chicken drumsticks to the bowl and toss well to coat them evenly with the marinade.
-
4Arrange the drumsticks on the prepared baking sheet in a single layer.
-
5Bake for 35-40 minutes, turning once halfway through, until the chicken is golden brown and cooked through.
-
6Remove from the oven and let rest for a few minutes before serving.
Approximate Information for One Serving
Nutrition Disclaimers
Number of total servings shown is approximate. Actual number of servings will depend on your preferred portion sizes.
Nutritional values shown are general guidelines and reflect information for 1 serving using the ingredients listed, not including any optional ingredients. Actual macros may vary slightly depending on specific brands and types of ingredients used.
To determine the weight of one serving, prepare the recipe as instructed. Weigh the finished recipe, then divide the weight of the finished recipe (not including the weight of the container the food is in) by the desired number of servings. Result will be the weight of one serving.
Did you make this recipe?
Please consider Pinning it!!


