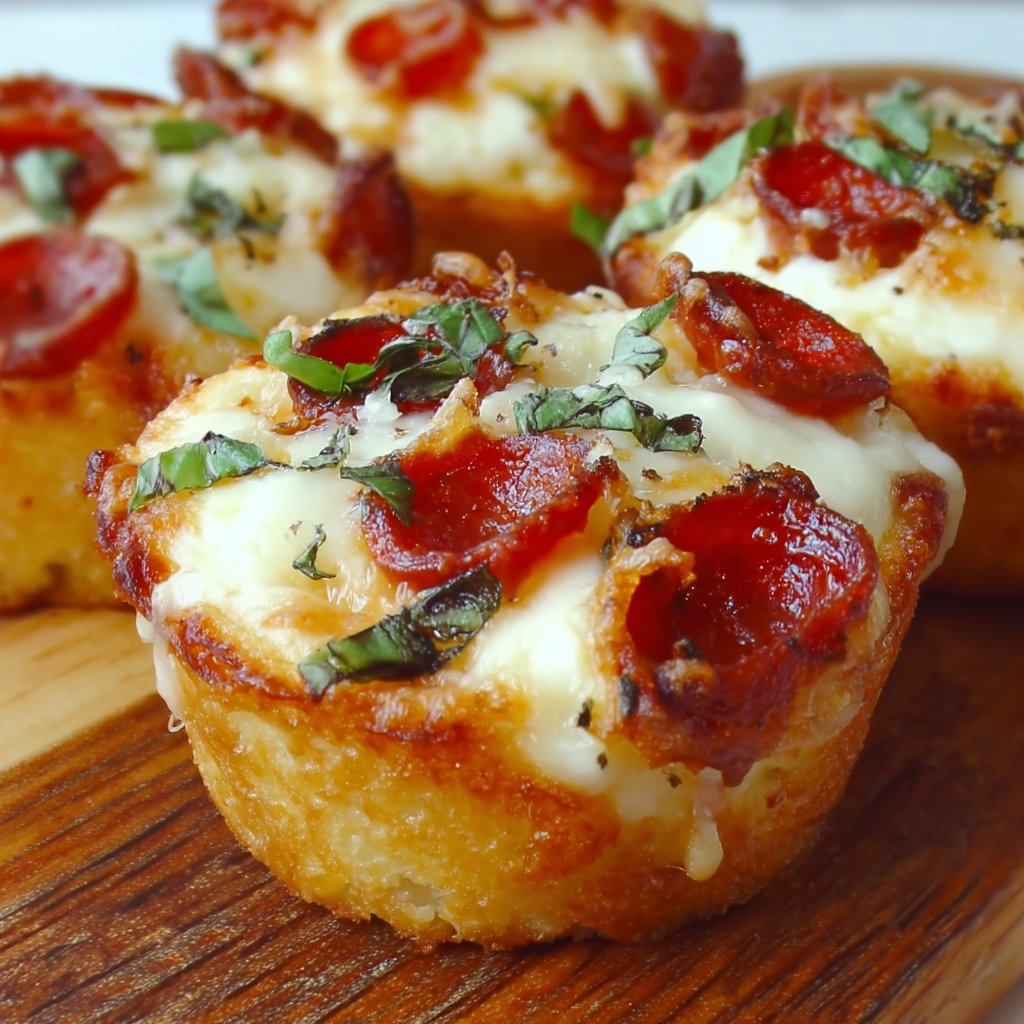
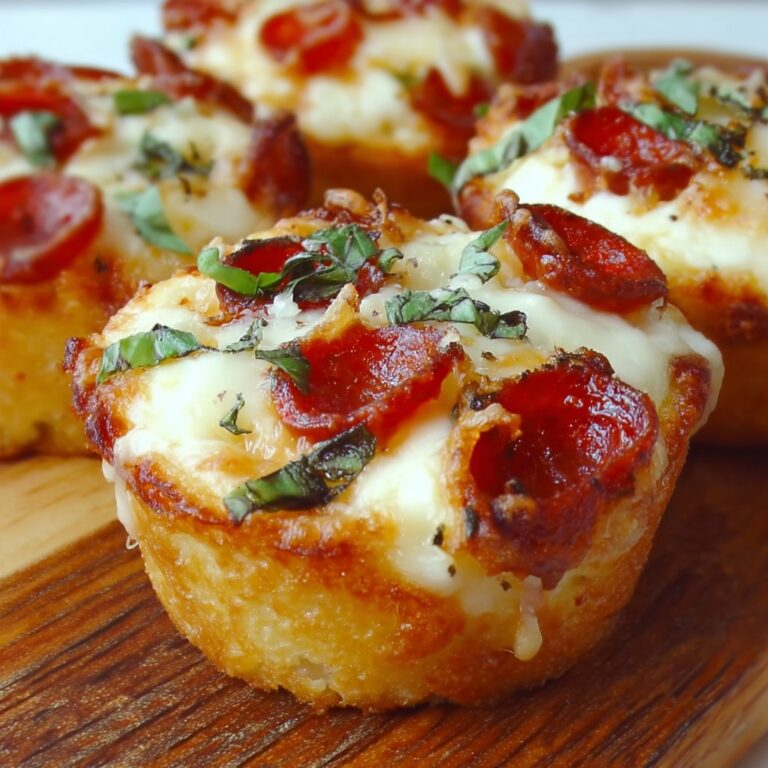
Alright, so here’s the scoop on Easy Pizza Cupcakes
I still remember the first time I made these. It was a rainy Friday, the kind where you just want to stay in pajamas and avoid making anything that requires more than two steps. I’d seen a video floating around somewhere—probably Facebook, because I’m not hip enough for TikTok—and thought, “Well, that looks so easy even I couldn’t mess it up.” Spoiler: The first batch was a little, let’s say, overenthusiastic with the cheese (pretty sure I invented ‘Pizza Lava’ that night). But my nephew, who can be quite the picky eater, went back for thirds. Thirds! If you knew him, you’d realize what a miracle that is.
Why I actually love making these (and maybe you will too)
Honestly, I make these when we’re running late for soccer, or if I’ve run out of energy for a “proper” dinner (whatever that is). My family goes a bit mad for them because they’re just a little messy and very grab-and-go, which somehow makes food taste better? And if you’ve ever had that moment where you realize you forgot to defrost chicken, this is your mighty backup plan. Oh, and sometimes I just want pizza without ordering a huge one that’ll go stale on the counter because—true story—my dog once tried to eat an entire cold slice and I had to chase him around the kitchen. Not my finest hour, but hey, live and learn.
Here’s what you’ll need (plus my rambling on subs)
- 1 can refrigerated biscuit dough (Grands, Pillsbury, or honestly the store brand is fine—I’ve used them all!)
- 1 cup pizza sauce (sometimes I just use leftover marinara or even tomato soup in a pinch, but shh…)
- 1 cup shredded mozzarella cheese (I’ve tried cheddar, and it’s not bad either. My grandmother swears by part-skim, but use what you’ve got.)
- 1/2 cup mini pepperoni slices (or chop up regular slices; sometimes I sneak in mushrooms or bell peppers if I’m feeling healthy)
- 1/4 cup grated Parmesan (optional, but I love the salty kick—leave it out if you’re not a fan)
- 1 tsp dried Italian herbs (or just a few shakes from a mixed herbs jar, no judgement)
- Cooking spray or a bit of olive oil for greasing
How I usually throw these together (with side chatter)
- Preheat your oven to 375°F (190°C)—except that one time I forgot, and things got a bit doughy. Don’t be like me, preheat.
- Grease a muffin tin with cooking spray or smear on some olive oil with your fingers (feels fancy, but it’s really just lazy).
- Pop open the biscuit dough. (Jump scare every time for me. Why are those cans so dramatic?) Take each biscuit, flatten it out with your hands or a rolling pin. If you don’t have a rolling pin, a clean glass works—just don’t let it roll off the counter like I did last week.
- Press each flattened biscuit into the muffin tin, making a little cup. They don’t have to be perfect! Actually, the wonkier, the better—more room for toppings.
- Spoon a dollop (about a tablespoon, but I totally eyeball it) of pizza sauce into each cup. This is where I usually sneak a tiny taste. Perks of being the cook!
- Sprinkle in a generous pinch of mozzarella, then a few pepperoni slices, and add any extras like veggies if you want. Top with a bit of Parmesan and a dusting of Italian herbs.
- Bake for 12-15 minutes, or until they’re golden and bubbly. (Sometimes I get distracted and they end up a bit crispy, but honestly, that’s not always a bad thing.)
- Let them cool a few minutes before you try to pop them out, or you’ll risk a full-on cheese lava burn. Ask me how I know.
Honestly, these notes come from disaster and triumph
- If you fill them too high, the cheese will escape and fuse everything together into a “pizza muffin monster” (still edible, just… interesting).
- Biscuit dough can puff up a lot, so press it down more than you think. Otherwise, you’ll get more bread than pizza.
- Once, I forgot to grease the pan. Getting them out was like wrestling a bear. Use the spray.
Variations I’ve tried (plus one fail)
- Veggie bonanza: Add chopped olives, peppers, or spinach. Makes you feel a bit virtuous.
- BBQ Chicken: Swap the pizza sauce for BBQ and use leftover chicken—my husband claims it’s even better than pizza night.
- Breakfast version: Scrambled egg instead of sauce, with a bit of ham and cheese. Actually, this one’s surprisingly good.
- Don’t try this: I once put pineapple bits in—look, I love pineapple on pizza, but in these? Nope. Way too soggy. Maybe it’s just me, but it didn’t work.
What if I don’t have a muffin tin (been there)?
Honestly, I’ve used silicone cupcake molds on a baking tray, or even just balled up foil to make little rings. They’re a tad lopsided, but hey, it does the trick. Don’t let equipment slow you down! You can also check out some fun alternatives on The Kitchn’s muffin tin hacks if you’re feeling adventurous.

How to stash leftovers (if there are any…)
Pop any leftovers in an airtight box in the fridge, and they’ll be good for 2-3 days. But honestly, in my house, they hardly make it past breakfast the next morning. I think they taste even better cold, but that’s probably just me. If you want to reheat them, a quick zap in the microwave works, or a few minutes in the oven if you’re feeling patient (rare, I know).
Serving ideas (and my family’s odd habit)
We like to dunk these in extra sauce—sometimes ranch, sometimes sriracha if I’m feeling spicy. My sister insists on serving them with a simple green salad, which makes it feel less like we’re eating party food for dinner (but honestly, who cares?).
Pro tips I learned the hard way
- I once tried to rush the cooling step and picked one up straight from the oven—let’s just say my thumb was not happy. Give them a few minutes before trying to pry them out.
- Don’t overstuff, no matter how tempting. Otherwise they’re volcanic. Actually, I find it works better if you use less sauce than you think—the cheese and dough make up for it.
- If you use veggies with lots of moisture (like spinach), squeeze them dry first. Otherwise, soggy city.
FAQ (for my curious friends and actual texts I’ve gotten)
Can I freeze these? Sure can! Just wrap ’em up tight. I usually thaw overnight in the fridge before microwaving, but I’ve microwaved straight from frozen too—worked fine, just takes longer.
Kids won’t eat pepperoni—suggestions? Oh, definitely. Try ham, sausage, or just straight cheese. My nephew likes his with nothing but sauce and cheese, plain as can be. It works.
Can I make them gluten-free? I haven’t tried (I’m not celiac myself), but I’ve seen gluten-free biscuit dough at the store. If you try it, let me know how it goes!
What about vegan? Use plant-based cheese and skip the pepperoni, or use a vegan kind. I’ve seen some good ideas over at Minimalist Baker.
What size muffin pan? Standard is what I use, but if you use minis, just bake for 8-10 minutes instead. Watch them close.
Do I need to let them rest? Yes, or your cheese dreams become cheese nightmares (burns!). A few minutes is all.
And that’s it! If you give these easy pizza cupcakes a try, let me know—my neighbor still claims her batch disappeared faster than mine, but I think she’s just showing off. Oh, and if you want more fun snacky ideas, check out this roundup from Bon Appétit—just don’t blame me if you get lost in a pizza spiral. Enjoy!
Ingredients
- 1 can refrigerated biscuit dough (about 12 biscuits)
- 1 cup pizza sauce
- 1 1/2 cups shredded mozzarella cheese
- 1/2 cup mini pepperoni slices
- 1/4 cup chopped bell peppers
- 1/4 cup sliced black olives
- 1 tablespoon olive oil
- 1 teaspoon dried Italian herbs
Instructions
-
1Preheat the oven to 375°F (190°C) and lightly grease a 12-cup muffin tin with olive oil.
-
2Separate the biscuit dough and flatten each piece into a 4-inch circle. Press each circle into the bottom and up the sides of each muffin cup.
-
3Spoon about 1 tablespoon of pizza sauce into each biscuit cup. Sprinkle with mozzarella cheese.
-
4Top each with mini pepperoni, chopped bell peppers, and sliced black olives. Sprinkle with dried Italian herbs.
-
5Bake for 13-15 minutes, or until the biscuit edges are golden and the cheese is melted and bubbly.
-
6Let cool for a few minutes before removing from the muffin tin. Serve warm.
Approximate Information for One Serving
Nutrition Disclaimers
Number of total servings shown is approximate. Actual number of servings will depend on your preferred portion sizes.
Nutritional values shown are general guidelines and reflect information for 1 serving using the ingredients listed, not including any optional ingredients. Actual macros may vary slightly depending on specific brands and types of ingredients used.
To determine the weight of one serving, prepare the recipe as instructed. Weigh the finished recipe, then divide the weight of the finished recipe (not including the weight of the container the food is in) by the desired number of servings. Result will be the weight of one serving.
Did you make this recipe?
Please consider Pinning it!!


