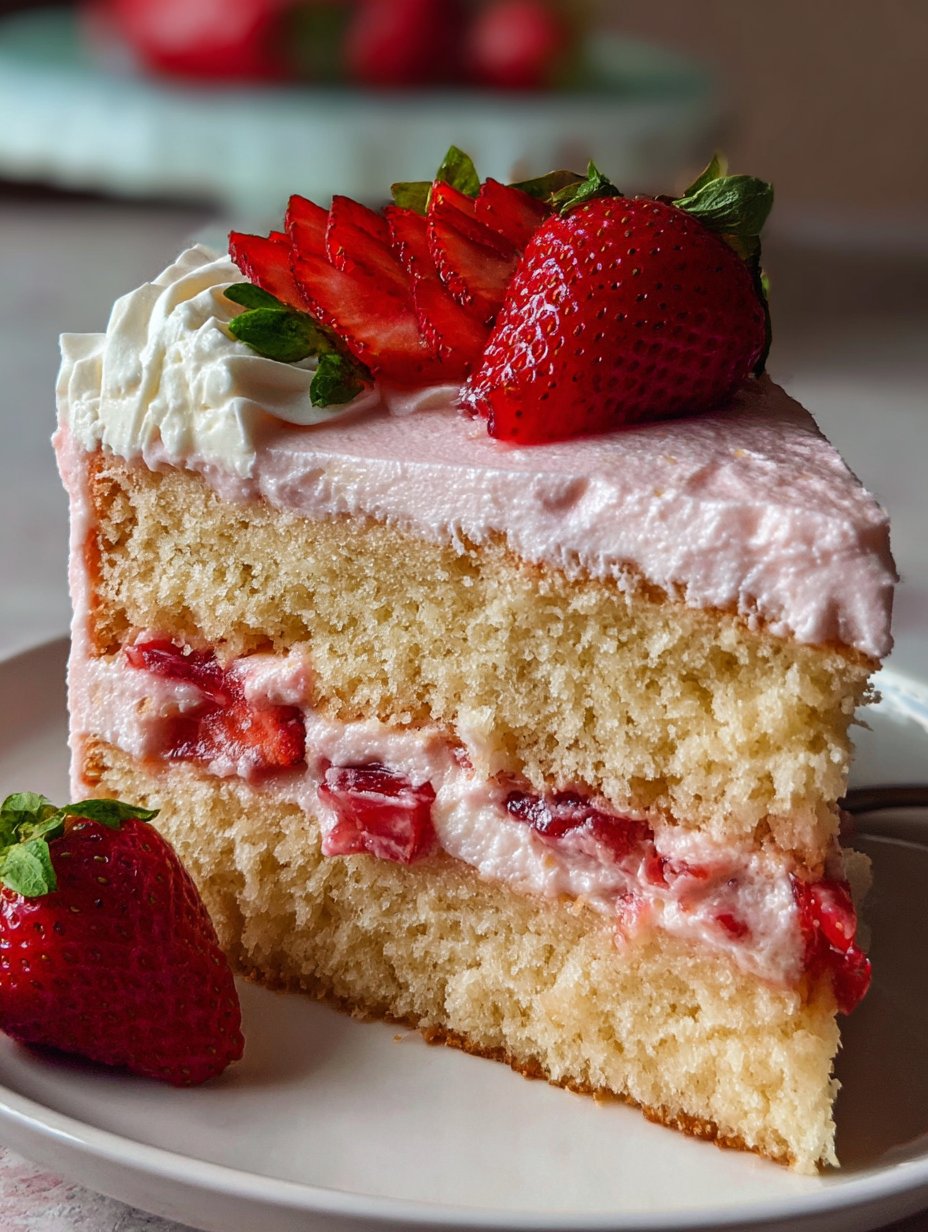
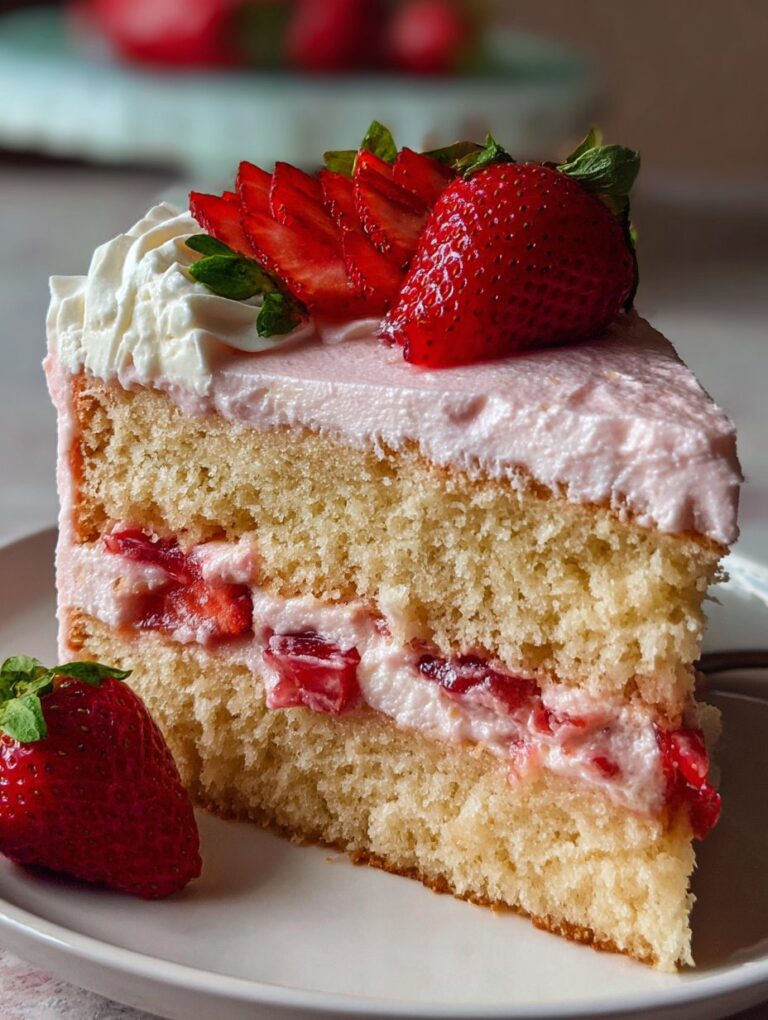
Cake Chat: Why This Easy Strawberry Cake Is My Go-To
Alright, let me tell you, this easy strawberry cake has saved my bacon more times than I care to admit. You know those days when you’re halfway through the afternoon and suddenly remember you promised dessert? Yeah, that’s when this cake swoops in like a superhero. I made it the first time after an epic fail with a complicated layer cake (let’s just say, the kitchen looked like a strawberry crime scene), and since then? I just keep coming back because it actually works. And hey, it feels nostalgic too—I remember picking strawberries at my Aunt Jilly’s farm as a kid, getting more in my mouth than in the basket. This cake? Tastes just like summer holidays with a few sticky fingers thrown in.
Why You’ll Love This (Or, Why I Keep Making It)
I honestly bake this when I’m short on time but still want something that feels homemade (without sweating buckets in the kitchen). My family goes bananas for this because it’s not too sweet, and you can basically eat it for breakfast or dessert, which I love. I mean, who’s judging? Plus, I’ve tried fancier recipes but, honestly, my kids like this simple one better. Oh, and sometimes the strawberries sink. Used to bug me, but now I just call it “rustic.”
What You’ll Need (A.K.A. The Stuff I Usually Have Around)
- 1 1/2 cups all-purpose flour (I’ve used whole wheat flour too — it’s fine, but more dense)
- 1 cup granulated sugar (sometimes I swap half for brown sugar if I’m feeling fancy)
- 1/2 cup unsalted butter, softened (my grandma insisted on Kerrygold, but any block butter does the trick)
- 2 large eggs
- 1/2 cup milk (I’ve used almond or oat milk when the fridge was looking empty — totally works)
- 1 tsp vanilla extract (sometimes I’m lazy and just pour a splash)
- 1 1/2 tsp baking powder
- 1/4 tsp fine salt
- 2 cups fresh strawberries, hulled and halved (frozen works if you thaw and drain them—do that or it’s a bit mushy)
- Powdered sugar for dusting (optional, but I like the look)
Let’s Bake: How I Actually Make My Easy Strawberry Cake
- Preheat your oven to 350°F (about 180°C). Grease a 9-inch round cake pan or line it with parchment. I always forget the parchment, but it’s handy for getting the cake out later.
- Beat the softened butter with sugar in a big-ish bowl until it’s fluffy. Sometimes I do this with a hand mixer for speed, sometimes just a wooden spoon if I’m feeling old-school. If it looks a bit gritty—don’t panic, it’ll smooth out.
- Add the eggs, one at a time, beating well in between. Honestly, sometimes I crack both in at once. It’s fine.
- Mix in the vanilla extract.
- In another bowl (I usually skip this and just sprinkle on top, but you do you), whisk together the flour, baking powder, and salt.
- Add the dry ingredients to the wet in two parts, alternating with the milk, starting and ending with flour. If you’re rushing, just dump it all in, but give it a good stir. The batter’s pretty forgiving.
- Spoon the batter into your prepared pan. It’ll be thick; just spread it out as best you can.
- Scatter the strawberry halves on top, cut-side down. Don’t worry if it looks crowded or the strawberries poke out awkwardly, they’ll sink a bit anyway.
- Bake for about 40-45 minutes, or until a toothpick comes out cleanish (a few crumbs are okay). This is where I usually sneak a taste of the batter left in the bowl—it’s half the fun.
- Let it cool in the pan for 10 minutes, then run a knife around the edge and pop it onto a plate. Or just eat it warm from the pan. Who’s watching?
Some Notes From My Messy Kitchen
- If your strawberries are super juicy, toss them in a teaspoon of flour. Actually, I find it works better if I pat them dry too.
- The cake tastes pretty good the next day (if it lasts that long), but the top might get a bit sticky. I don’t mind that, though.
- Once I tried using baking soda instead of baking powder—came out kinda weird and flat. Stick to baking powder!
Mix It Up: My Cake Experiments
- I’ve swapped strawberries for raspberries. Works, but the cake’s a tad more tart. My son liked it, though.
- Blueberries—fantastic. Just don’t overload, or it turns soggy in the middle.
- One time, I tried swirling in a bit of cream cheese. Wasn’t my favorite—felt heavy. Maybe I did it wrong?
- Oh, and I once tried gluten-free flour. It was… okay. A bit crumbly. Not my thing, but if you’re used to it, go for it!
About the Gear (And What to Do If You Don’t Have It)
- I use a 9-inch round cake tin, but honestly, I’ve made this in an 8-inch square pan. Just add a few minutes to the bake time.
- If you don’t have an electric mixer, no biggie—just use a sturdy spoon and some elbow grease. Good for the arms.
- Parchment paper is handy, but I’ve gotten away with butter and a sprinkle of flour in the pan many times.

Storing Your Cake (Not That It’ll Last Long)
This cake keeps pretty well at room temp for a day or two in an airtight container. Pop it in the fridge if you want it to last longer, but honestly, in my house it never makes it past day one. Sometimes I wrap slices and freeze them; they’re great for a snack later (if you remember they’re there).
How I Like to Serve It (And Family Traditions)
We almost always have it with a dollop of whipped cream, or ice cream if it’s hot out (which in July, it always is around here). Sometimes I sneak a slice for breakfast with coffee—no regrets. On birthdays, I add sprinkles and pretend it’s fancy. My cousin dips hers in Greek yogurt, but she’s always been the healthy one.
Lessons Learned: My Pro Tips
- I once tried rushing the cooling step and the cake fell apart—let it cool at least a bit before trying to lift it out.
- Don’t overmix the batter; it really does make the cake tough (I used to ignore this but you can taste the difference).
- Actually, tasting the batter is half the fun—but watch out for raw eggs, just in case your gran’s reading.
Your Questions, Answered (For Real!)
- Can I use frozen strawberries? Yup, just thaw and pat them dry. Or your cake turns out a bit soggy, which is fine if you like it that way.
- Can I make this vegan? I’ve tried swapping the eggs for flax eggs and used plant milk and vegan butter—worked pretty well! Texture’s a bit different, but it’s cake, so who’s complaining?
- What if I don’t have a round pan? Use whatever you’ve got—just check for doneness earlier or later, depending on the pan size. Honestly, my friend makes this as cupcakes.
- Can I double the recipe? I’d recommend making two separate cakes instead of one giant one—learned that the hard way; the center never quite baked through.
One Last Thing (Not Cake Related)
So, the other day I read this strawberry summer cake recipe on Smitten Kitchen (big fan!), and it made me realize how many ways you can twist a basic cake. If you’re curious about baking basics, Sally’s Baking Addiction is my go-to for troubleshooting. And, if you ever end up with too many berries, BBC Good Food has a bunch of ideas. Anyway, if you make this, drop me a note—always love to hear what toppings you try. Maybe next time I’ll remember to take a proper photo before it’s gone. Probably not.
Ingredients
- 1 1/2 cups all-purpose flour
- 1 cup granulated sugar
- 1/2 cup unsalted butter, softened
- 2 large eggs
- 1/2 cup milk
- 1 teaspoon vanilla extract
- 1 1/2 teaspoons baking powder
- 1/4 teaspoon salt
- 1 1/2 cups fresh strawberries, hulled and sliced
Instructions
-
1Preheat the oven to 350°F (175°C). Grease and flour a 9-inch round cake pan.
-
2In a medium bowl, whisk together the flour, baking powder, and salt.
-
3In a large bowl, cream the butter and sugar until light and fluffy. Add the eggs one at a time, beating well after each addition. Mix in the vanilla extract.
-
4Gradually add the flour mixture to the wet ingredients, alternating with the milk, and mix until just combined.
-
5Gently fold in most of the sliced strawberries, reserving a few for topping. Pour the batter into the prepared pan and arrange the remaining strawberries on top.
-
6Bake for 35 minutes or until a toothpick inserted into the center comes out clean. Allow to cool before serving.
Approximate Information for One Serving
Nutrition Disclaimers
Number of total servings shown is approximate. Actual number of servings will depend on your preferred portion sizes.
Nutritional values shown are general guidelines and reflect information for 1 serving using the ingredients listed, not including any optional ingredients. Actual macros may vary slightly depending on specific brands and types of ingredients used.
To determine the weight of one serving, prepare the recipe as instructed. Weigh the finished recipe, then divide the weight of the finished recipe (not including the weight of the container the food is in) by the desired number of servings. Result will be the weight of one serving.
Did you make this recipe?
Please consider Pinning it!!


