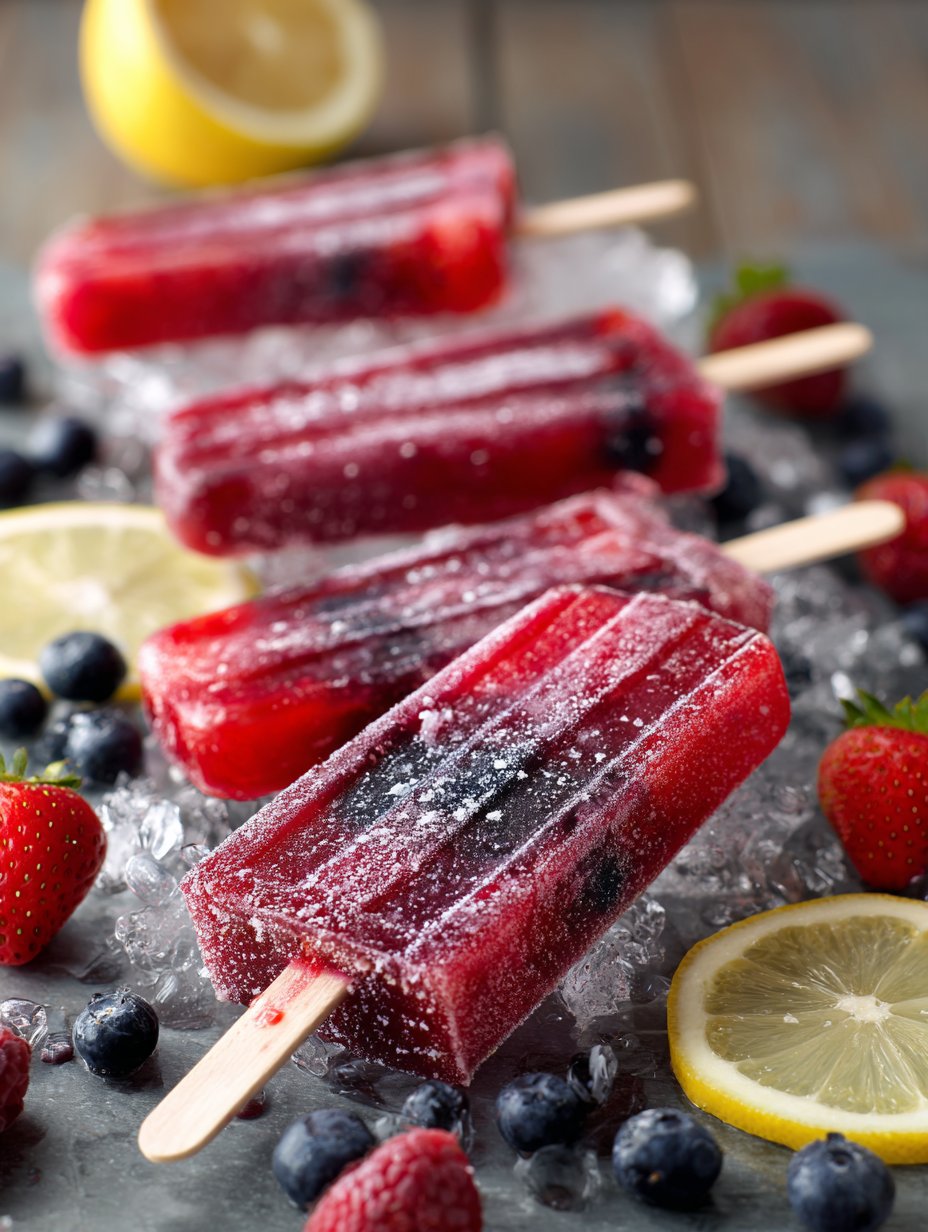
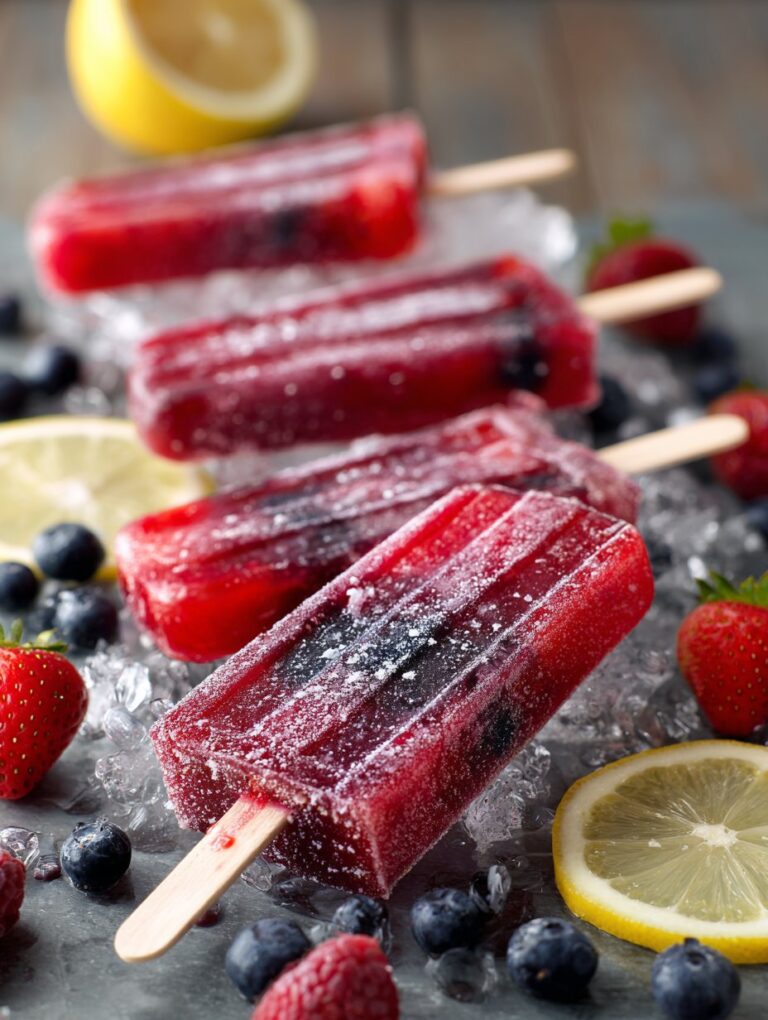
How Firecracker Berry Lemonade Pops Showed Up at My BBQ (and Never Left)
Alright, so, if you’re anything like me, summer means two things: melting in the sun and desperate attempts to keep everyone happy with cold treats. I remember the first time I made these Firecracker Berry Lemonade Pops—my nephew was running around the backyard with a water pistol (the old school kind that leaks everywhere), and the grown-ups were inching their chairs closer to the only patch of shade. In a moment of wild optimism, I thought, “hey, why not try homemade popsicles?”—and, well, let’s just say, nobody’s asked me to bring potato salad since. But these pops? Gone in a flash, every time.
Why You’ll Love This Recipe (Or, Why My Family Demands It)
I make these whenever it hits 80° and my window AC starts making that sad rattling noise. My family goes bananas (well, berries, really) for them because they’re sweet but not too sweet. Plus, the colors look kind of impressive for something that takes, what, 10 minutes to throw together? (Confession: I used to try those layered fancy pops but honestly, this version is less stressful.)
Also, if you’ve got picky eaters, or even just someone who likes to inspect every snack for “weird bits,” these seem to pass the test. No more half-eaten store-bought popsicles melting sadly into the lawn chairs. Oh, and if you forget about them in the freezer for a day or two, they actually taste even better (in my humble opinion!).
What You’ll Need (And What I Sometimes Sub In)
- 1 1/2 cups mixed berries (fresh or frozen—I’ve honestly used everything from supermarket blueberries to those slightly wrinkly strawberries hiding in the fridge)
- 1 cup fresh lemon juice (yes, bottled works in a pinch—my gran swore by Jif lemon, but it’s totally your call)
- 1/2 cup sugar (sometimes I swap in honey, or even maple syrup if I’m feeling fancy—just don’t tell my neighbor Sharon, she’s a sugar purist)
- 1 1/2 cups cold water
- 1 tsp lemon zest (optional, but I love a bit of zing; if you skip it, the world’s not ending)
- Pinch of salt (trust me here—it wakes up the flavors, but if you forget, nobody will stage a protest)
How To Make ‘Em (Winging It Encouraged)
- Blend Like a Boss: Toss your berries, lemon juice, sugar, water, zest, and salt in a blender. Blast it until smooth. If your blender sounds like it’s protesting, give it a little shake (lid ON, learned that the hard way…)
- Optional Step: If you’re anti-seeds—or just like smooth pops—pour the mixture through a sieve into a jug. I’m usually too impatient, but sometimes I go the extra mile if company’s coming.
- Pour it Out: Fill your popsicle molds. If you don’t have a jug with a spout, a measuring cup works; once I used a gravy boat and honestly, that was a moment of kitchen genius.
- Add Sticks: Pop in your sticks. If you’re using wooden ones, let the mixture freeze for about an hour first so they stand up straight. Or don’t—crooked pops taste just as good.
- Freeze: Chuck the whole lot in the freezer for at least 5 hours, overnight is even better. This is honestly the hardest part—waiting.
- Release and Enjoy: Run the molds under warm water for a few seconds, wiggle, and pop ’em out. This is where I usually sneak a taste and pretend I’m “checking for doneness.”
Notes: Lessons Learned from the Battlefield (i.e., my kitchen)
- Too tart? Add a splash more sugar next time, or just dip the finished pops in a bit of extra sugar—my cousin swears by this.
- If your pops are stuck, don’t yank them; a quick warm water bath is the kind way (and avoids sticky hands… mostly).
- Once, I tried to layer strawberries and blueberries for a “flag” look. It looked… abstract, but still tasted great.
Variations (A Few Experiments—And One Flop)
- Citrus Kick: Swap half the lemon juice for orange or lime. Kids loved it, adults said it was “zippy.”
- Swirled Yogurt: Marble a bit of Greek yogurt in for a creamy pop. It’s a bit messier but oh so good.
- The Flop: I tried adding chopped mint once—too grassy, like eating a garden. Wouldn’t recommend, unless you’re into that.
Equipment (Workarounds Totally Welcome!)
- Popsicle molds (or, honestly, paper cups and old-school wooden sticks—works in a pinch)
- Blender (or a food processor, or a good ol’ potato masher if you’re feeling retro and strong-armed)
- Fine mesh sieve (if you’re filtering out seeds, but sometimes I just don’t bother—and no one’s complained yet)

How to Store (But They Never Last…)
These will keep in the freezer, well wrapped, for up to a week. But, to be honest, in my house they’re usually gone in a day (maybe two if I hide a few at the back behind the frozen peas). If you want to stack them, just separate with a bit of parchment or wax paper so they don’t stick together like an unwanted science experiment.
How I Like to Serve Them (And a Family Quirk)
On especially hot days, I serve these right out of the mold, with a big bowl of extra berries on the side. My niece likes hers dunked in seltzer for a fizzy treat—personally, I think that’s just showing off, but it does taste good. Sometimes, if we’re feeling fancy, I’ll rim the pops with a little sugar and lemon zest. Messy, but fun.
Pro Tips (a.k.a. My Oops Moments)
- Don’t rush the freezing. I got impatient once, tried to unmold after three hours. Result? Berry lemonade slush. Still tasty, but not what I’d call a pop.
- Lemon juice: fresh is best, but if you’re running low, bottled works. I once used lemonade (the fizzy kind)—not my brightest moment, but it sure made a “pop.”
FAQ (Real Questions—And My Honest Answers)
- Can I use other fruit? Oh, absolutely. Peaches, mango, even cherries. Just keep the general measurements the same and have at it.
- How do I make these less sweet? Cut the sugar back, or use stevia or honey. But, heads up, honey sometimes makes it a bit icy. Not a dealbreaker, unless you’re a texture fanatic.
- Do I need fancy molds? Nope! I’ve used shot glasses, muffin tins, even those little yogurt pots. Just stick a spoon in for a handle—done.
- Are these okay for little kids? Sure are. Maybe skip the zest if your kiddos are fussy, but otherwise, it’s all wholesome stuff.
- Can I double (or triple) the recipe? Yep, though your blender might protest a bit—mine makes a weird “grrr” noise if I overfill it, but hasn’t quit on me yet.
- By the way, if you want to geek out on popsicle science, Serious Eats has a wild deep-dive—it’s actually worth a look. And for more bright summer recipes, I really like the Berry Lemonade Pops guide at Sally’s.
And oh, if you ever find yourself making a double batch just to “save for later,” let me know if you actually succeed. I’ve never managed it, but maybe you’re more disciplined than me.
Happy freezing, and remember: the best pops are the ones you make when you’re supposed to be doing something else. Cheers!
Ingredients
- 1 cup fresh strawberries, hulled and sliced
- 1 cup fresh blueberries
- 1 cup fresh raspberries
- 2 cups lemonade
- 2 tablespoons honey or agave syrup
- 1 tablespoon lemon juice
- 1 teaspoon lemon zest
- 8 popsicle sticks
Instructions
-
1In a medium bowl, combine the lemonade, honey or agave syrup, lemon juice, and lemon zest. Stir well until the sweetener is fully dissolved.
-
2Divide the sliced strawberries, blueberries, and raspberries evenly among 8 popsicle molds.
-
3Pour the lemonade mixture over the berries in each mold, filling almost to the top.
-
4Insert popsicle sticks into each mold. Tap the molds gently to remove any air bubbles.
-
5Freeze for at least 6 hours, or until completely solid.
-
6To serve, run the molds under warm water for a few seconds to release the pops. Enjoy immediately.
Approximate Information for One Serving
Nutrition Disclaimers
Number of total servings shown is approximate. Actual number of servings will depend on your preferred portion sizes.
Nutritional values shown are general guidelines and reflect information for 1 serving using the ingredients listed, not including any optional ingredients. Actual macros may vary slightly depending on specific brands and types of ingredients used.
To determine the weight of one serving, prepare the recipe as instructed. Weigh the finished recipe, then divide the weight of the finished recipe (not including the weight of the container the food is in) by the desired number of servings. Result will be the weight of one serving.
Did you make this recipe?
Please consider Pinning it!!


