Let Me Tell You About This Pudding
Okay, so banana pudding. Just saying it makes me think of those family gatherings where, if you didn’t hustle to the dessert table, you’d miss out entirely. I actually learned to make this from my aunt Sharon, who always claimed her secret was “just a little extra love”—which, honestly, I suspect was code for doubling the vanilla wafers. One time, I brought this to a potluck and, hand on heart, someone tried to hide the last serving for later (spoiler: I found it behind the breadbox). Anyway. This is real, cozy, Southern(ish) banana pudding the way I make it, full of all the sweet, creamy comfort. And, if you’re anything like me, you’ll be licking the spoon before it even hits the fridge.
Why I Keep Making This (And Maybe You Will, Too)
I make this when—well, honestly, whenever I have bananas that are about to go from perfectly spotty to full-on mush. My family goes totally bananas (sorry) for it because it’s like eating a hug. Plus, it uses up those vanilla wafers that seem to multiply in my pantry (how do they do that?). I used to get annoyed when the pudding wouldn’t set just right, but actually, I find if you chill it long enough, it always comes together in the end. And if it doesn’t, just call it ‘banana pudding trifle’ and everyone still loves it.
What You’ll Need (And What You Can Sub In)
- 3-4 ripe bananas (I’ve used two in a pinch—nobody complained)
- 1 box (about 5 oz) instant vanilla pudding mix (sometimes I grab banana flavor, but it’s a bit much for me)
- 2 cups cold milk (whole is best, but I’ve totally used 2%—even almond milk once, though it was a bit thinner)
- 1 can (14 oz) sweetened condensed milk (Grandma swore by Eagle Brand, but I’ll use whichever is on sale)
- 1 1/2 cups heavy whipping cream (you can get by with Cool Whip if you must; don’t let the food snobs shame you)
- 1 box vanilla wafers (Nilla are classic, but I once used shortbread cookies and it was, honestly, amazing)
- 1 tsp vanilla extract (Mexican vanilla if you can find it—makes a difference, or maybe that’s in my head?)
- Pinch of salt (optional, but I think it brings the flavors out)
How I Throw It All Together
- First off, in a big-ish bowl, whisk the instant pudding and cold milk until it thickens up—about 2 minutes. (This is where I usually sneak a taste. Just to make sure it’s not too sweet, you know?)
- Stir in the sweetened condensed milk and vanilla extract. Don’t panic if it looks a bit weird at this stage—it always does!
- In another bowl (or honestly, just rinse the first one), whip the heavy cream until you get soft peaks. If you’re using Cool Whip, just, well, scoop it out and call it a day.
- Gently fold the whipped cream into the pudding mix. Take your time. Unless you’re in a rush. But don’t rush—trust me—it’s fluffier this way.
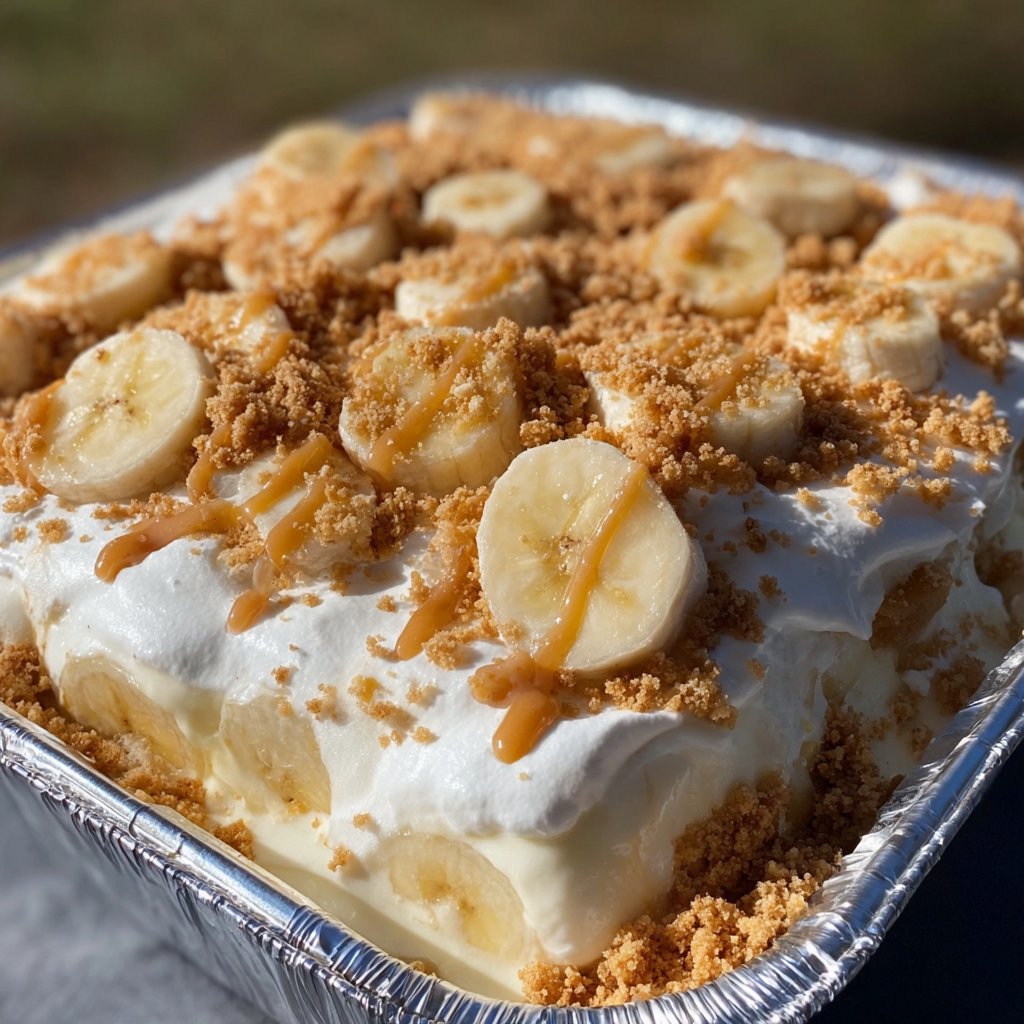
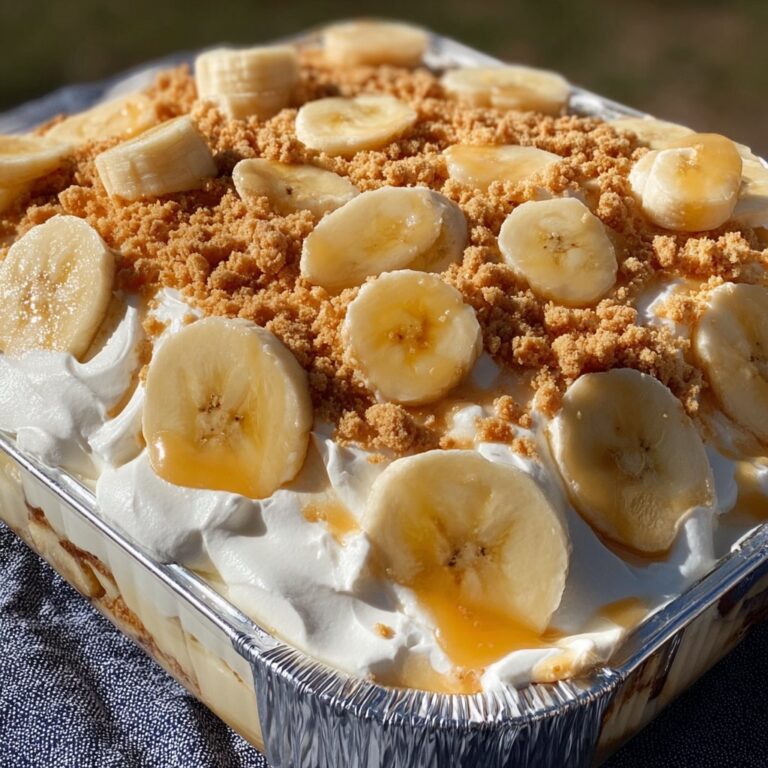
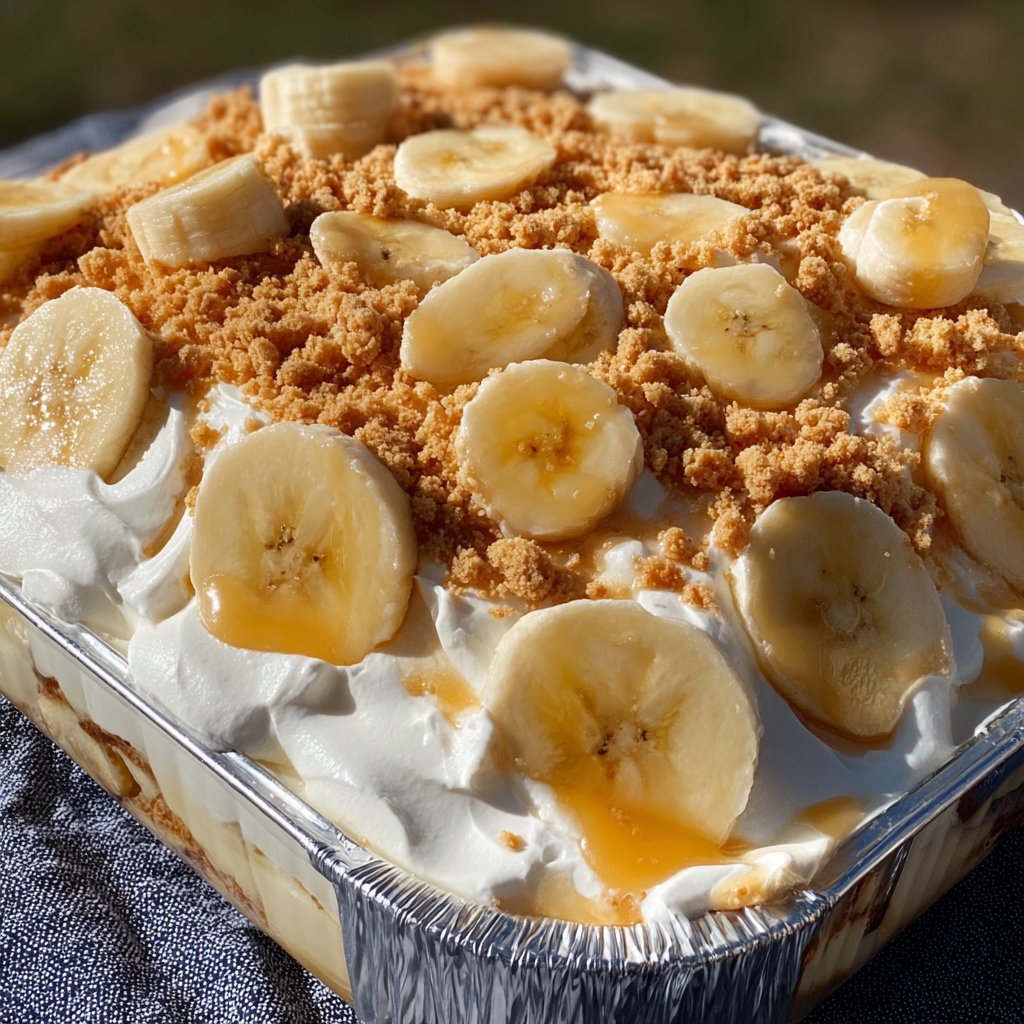
- Now, grab your dish (8×8 or 9×13, up to you). Layer vanilla wafers on the bottom, then add half the sliced bananas. Pour over half the pudding mixture. Repeat those layers again with the rest of the goodies. Top with a few extra banana slices and some crushed wafers, if you’re feeling fancy.
- Cover and refrigerate at least 4 hours, or overnight if you can stand to wait. I think it tastes better the next day, but my willpower? Questionable.
What I’ve Learned Along the Way
- If your bananas are too ripe, the pudding gets kinda mushy. Still tasty, just less pretty. I once tried overripe plantains—let’s call that my ‘experimental phase’ and never speak of it again.
- Lining the dish with parchment makes cleanup easier, but mostly I’m too lazy for that step.
- Don’t assemble the day before if it’s super humid—cookies get weirdly chewy. (Unless you like chewy. I’m not here to judge.)
Ways to Change It Up (Some Worked, Some Didn’t)
- I’ve swapped the vanilla wafers for graham crackers—tastes a bit like banana cream pie, not mad about it.
- Crushed up Biscoff cookies once for a little spice—surprisingly good.
- Chocolate pudding instead of vanilla? Tried it, not my cup of tea, but my neighbor’s kids loved it. Go figure.
- Once, I added a splash of bourbon to the whipped cream. Let’s just say, adults only. Yum.
Equipment (And If You Don’t Have It, No Worries)
You’ll need a couple mixing bowls, a whisk, and something to whip cream if you’re going all out. I’ve totally used an old-school fork and elbow grease, though my arm wasn’t pleased. Any baking dish works—a glass one is pretty if you want to show off the layers, but a Tupperware container is fine if you’re just after the taste.

How I Store It (If There’s Any Left)
Keep it covered in the fridge for up to 3 days—but honestly, in my house it never lasts more than a day! The cookies get softer the longer it sits, which is nice, but after about two days it gets a bit too soggy for my liking. (I once tried freezing it; don’t bother. Not great.)
How We Serve It at My Place
I like it best straight from the fridge, piled high in a bowl, maybe with a little whipped cream on top. My cousin insists on a dusting of cinnamon, which I think is overkill, but hey, live and let live. Sometimes we’ll eat it after BBQ, sometimes for breakfast. Don’t tell anyone.
My Hard-Earned Pro Tips
- I once tried rushing the chilling step and regretted it because the pudding was soupier than a British winter. Give it time.
- Don’t layer bananas on the very top if you’ll be storing it overnight—they brown fast.
- If you’re using store brand wafers, check they’re fresh. Stale ones turn to paste. Learned that the, uh, hard way.
Your Questions, Answered (Mostly)
- Can I make this ahead?—Yep! Actually, I think it tastes better the next day, though the bananas will brown a bit. You can prep the pudding and slice bananas last minute if you want to keep things looking sharp.
- Is there a way to make it less sweet?—Sure! Use less condensed milk, or swap in unsweetened whipped cream. Or try Greek yogurt instead of some of the cream—makes it a bit tangy, and, weirdly, I kind of like it.
- Can I make it vegan?—Probably? I haven’t tried, but I’ve seen folks use almond milk and coconut whipped cream. This blog has some ideas: Minimalist Baker’s Vegan Version.
- What if my pudding doesn’t set?—Don’t sweat it! Just call it ‘banana pudding parfait’ and serve in glasses. Looks intentional, trust me.
- Where do I get the best vanilla wafers?—Honestly, any grocery store, but if you like online shopping, Walmart usually has them for cheap.
So there you go. Banana pudding, straight from my not-too-fancy kitchen to yours. If you make it, let me know how it turns out! Or if you discover a genius variation, I’m all ears—unless I’m elbows deep in pudding, in which case, just wait a sec.
Ingredients
- 3 large ripe bananas, sliced
- 1 package (3.4 oz) instant vanilla pudding mix
- 2 cups cold milk
- 1 cup heavy whipping cream
- 1/4 cup granulated sugar
- 1 teaspoon vanilla extract
- 30 vanilla wafer cookies
- 1 tablespoon butter (optional, for garnish)
Instructions
-
1In a large mixing bowl, whisk together the instant vanilla pudding mix and cold milk for about 2 minutes until thickened. Set aside.
-
2In a separate bowl, beat the heavy whipping cream, granulated sugar, and vanilla extract until stiff peaks form.
-
3Fold the whipped cream gently into the prepared pudding mixture until well combined and smooth.
-
4In a 2-quart serving dish, layer vanilla wafers, sliced bananas, and pudding mixture. Repeat layers until all ingredients are used, finishing with a layer of pudding on top.
-
5Refrigerate the banana pudding for at least 2 hours before serving to allow flavors to meld. Garnish with additional banana slices, vanilla wafers, and a drizzle of melted butter if desired.
Approximate Information for One Serving
Nutrition Disclaimers
Number of total servings shown is approximate. Actual number of servings will depend on your preferred portion sizes.
Nutritional values shown are general guidelines and reflect information for 1 serving using the ingredients listed, not including any optional ingredients. Actual macros may vary slightly depending on specific brands and types of ingredients used.
To determine the weight of one serving, prepare the recipe as instructed. Weigh the finished recipe, then divide the weight of the finished recipe (not including the weight of the container the food is in) by the desired number of servings. Result will be the weight of one serving.
Did you make this recipe?
Please consider Pinning it!!


