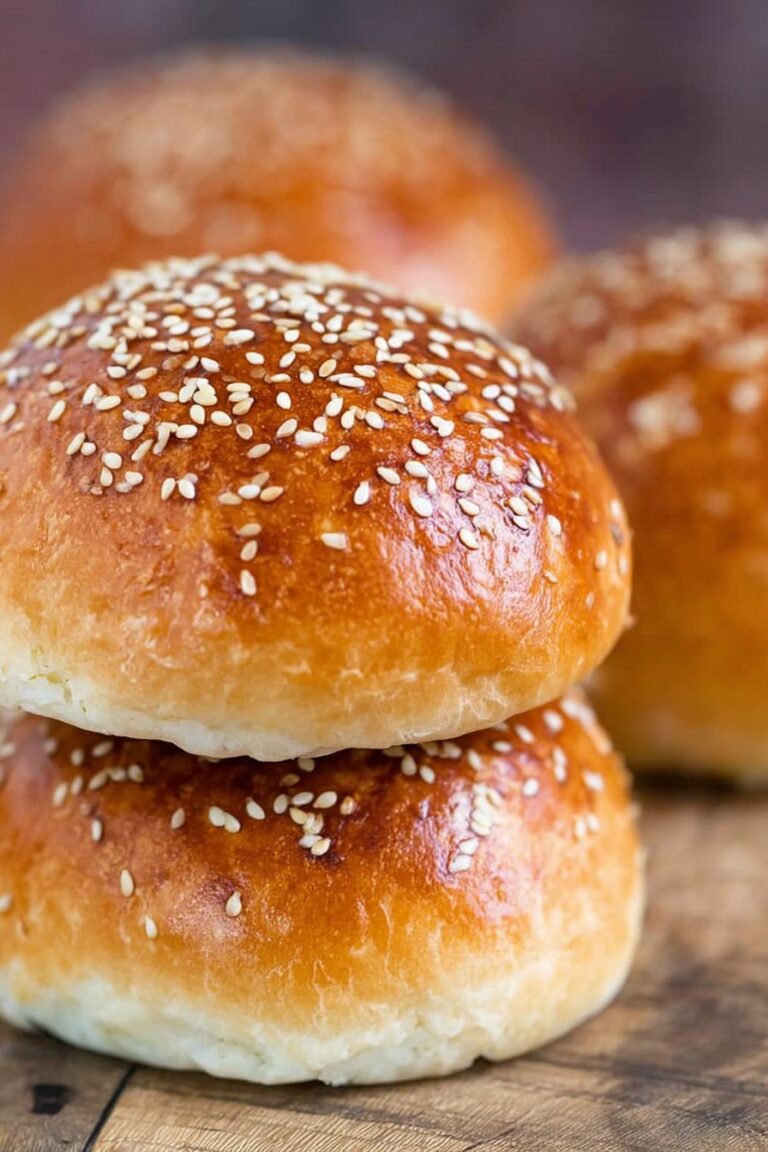
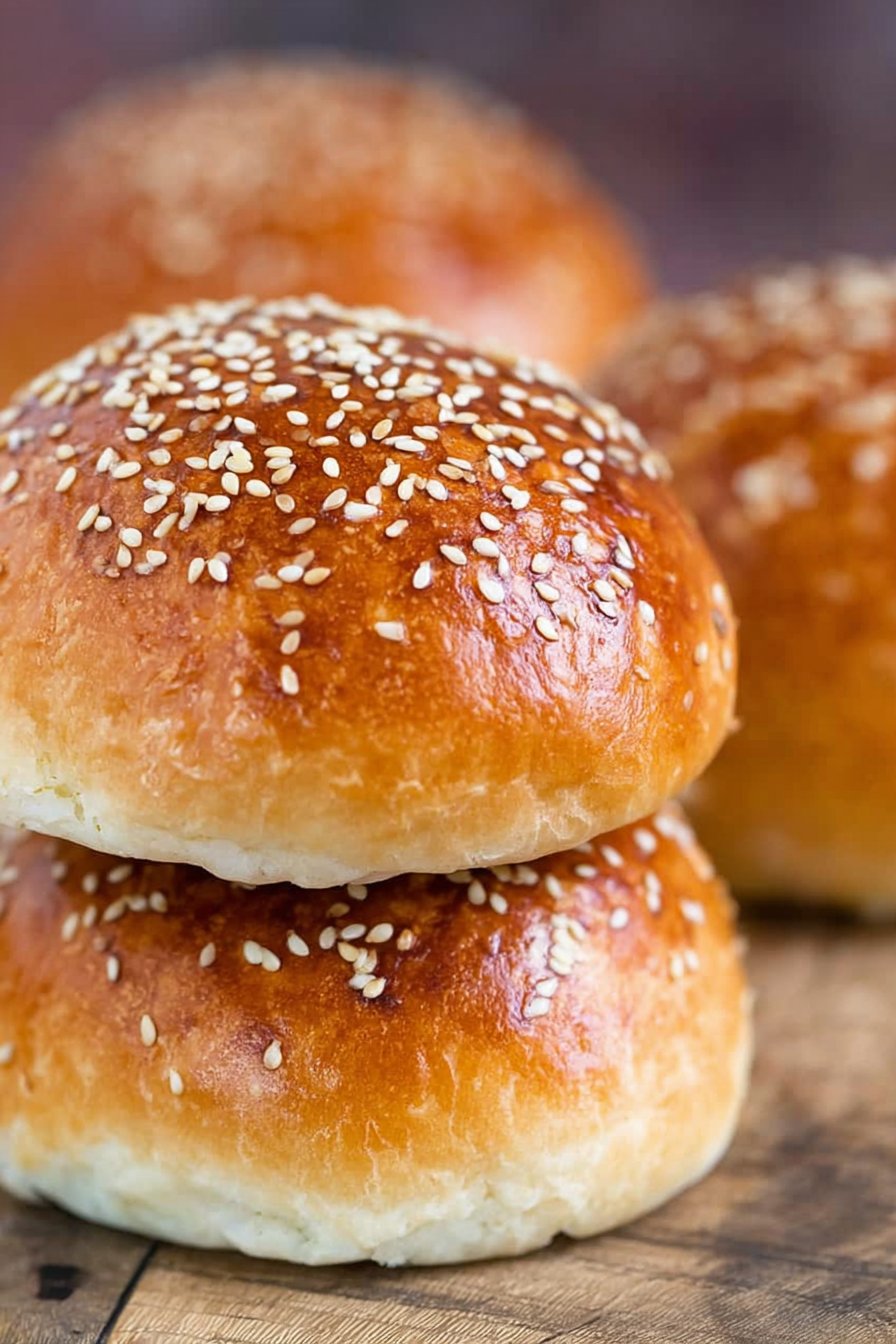
The Tale of My Keto Hamburger Bun Quest
Okay, can I just say—I’d happily eat burgers every week if my jeans would let me? But, you know, those fluffy buns from the bakery down the street are a no-go on keto. So one rainy Saturday, after the dog stole my last lettuce leaf (yep, really), I set out to make my own keto hamburger buns. At first, it was chaos—almond flour everywhere, and I may or may not have accused the oven of being ‘sneaky.’ But after a few tries, these buns came together and, honestly, I haven’t looked back. My family says they’re almost as good as the “real thing”—which I think is code for “stop making us eat lettuce wraps.”
Why You’ll Love This (Or At Least Not Hate It)
I make these keto hamburger buns when I’m just craving a classic burger but want to avoid the carb crash. My partner, who’s always a bit skeptical about “healthy” recipes, actually asks for these now, which is saying something. Oh, and if you’re like me and sometimes get frustrated with crumbly keto breads—these hold together! (Mostly. Just don’t go wild with the toppings.) I’ve even brought them to a backyard BBQ and, yeah, someone tried to sneak one for a second burger. Flattering, right?
Ingredients (With a Few Swaps and Stories)
- 1 1/2 cups almond flour (Sometimes I use hazelnut flour if I’m feeling fancy, but it’s pricier, so…)
- 1/4 cup coconut flour (My grandmother swore by Bob’s Red Mill, but honestly, any brand’s fine)
- 2 tsp baking powder (I forgot this once—don’t do that. Flat as a pancake!)
- 1/2 tsp salt (I just eyeball it, but that’s probably bad advice)
- 4 large eggs (Room temp, but I sometimes forget and use cold ones; it’s ok)
- 3 tbsp melted butter (Or ghee, or even olive oil in a pinch)
- 1/2 cup Greek yogurt (Full fat for best flavor, but sour cream works too—I’ve used both!)
- 1 tbsp apple cider vinegar (I’ve used lemon juice when out; it’s close enough)
- 2 tbsp sesame seeds (Optional, but I like the look—and the crunch!)
How I Actually Make These (Plus a Few Mishaps)
- Preheat your oven to 350°F (180°C). I always forget to do this first, then stand around waiting—don’t be like me.
- Line a baking sheet with parchment paper. Or, you know, just butter it if you ran out. Been there.
- In a big-ish bowl, whisk together almond flour, coconut flour, baking powder, and salt. Don’t worry if it looks lumpy.
- Crack eggs into another bowl. Beat them with the melted butter, Greek yogurt, and apple cider vinegar. I usually get egg on the counter at this point, so keep a rag nearby.
- Pour the wet mixture into the dry. Stir until it comes together—it’s thick and a bit sticky. If it seems too dry, add a splash more yogurt. (I always do this, not sure if it’s just me…)
- With damp hands (trust me), shape into 5 or 6 bun-ish rounds and plop them onto your baking sheet. They won’t spread much, so make them the size you want.
- Sprinkle with sesame seeds if you’re feeling fancy.
- Bake about 22-25 minutes—sometimes mine need a bit longer. Tops should look golden and feel firm-ish. Don’t panic if they look a little weird, they perk up as they cool.
- Let cool completely before slicing. Or, if you’re like me, cut one while it’s still warm and regret it (still tasty, but crumbly!).
Notes from My Kitchen Experiments
- If the dough feels too dry, a splash of water or extra yogurt helps a lot. First time I made these, I thought “how’s this going to work?” but it does.
- I used to add a pinch of sweetener, thinking it’d taste more like regular bread… but honestly, didn’t notice a difference, so I stopped.
- Letting them cool is key. I get impatient every time, but they really do hold up better if you wait.
Variations I’ve Tried (Some Winners, Some Not So Much)
- Subbing Greek yogurt with ricotta—surprisingly good, though a bit heavier.
- Adding a handful of grated cheddar and some chives—actually makes a nice savory bun for breakfast sandwiches.
- I tried replacing almond flour with sunflower seed flour once. Um, it turned green (science, apparently). Still edible, but looked odd.
Equipment (And a Few Cheeky Workarounds)
- Baking sheet (though I’ve baked these straight on foil in a pinch—bit sticky, but works)
- Mixing bowls (I’ve used old salad bowls—the dough doesn’t mind)
- Parchment paper (or just butter the pan, as above)
- Whisk and spoon
If you have burger bun rings, great! If not, just make rounds by hand. They won’t be Instagram-perfect, but who cares?
How I Store These (When They Even Last)
These buns keep in an airtight container in the fridge for up to 4 days. Or so I’ve heard. Truthfully, mine vanish the same day, especially if my kids are home. They also freeze well, just separate with a bit of parchment or wax paper. Toasting them after thawing brings back the fresh-from-the-oven vibe, or at least close enough.
Serving These Up—My Favorite Ways
I love slicing these and grilling the insides for a minute before piling on burger patties, cheese, and—don’t judge me—a fried egg. Sometimes we do “build-your-own burger night” and let everyone go mad with toppings. Oh, and if you’re feeling extra, slather with homemade keto mayo (I use this recipe). Or dip in some keto BBQ sauce.
Pro Tips from My Many “Learning Moments”
- Don’t try to make these smaller for sliders without adjusting the bake time. I learned that the hard way—rock solid!
- I once tried to rush the cooling step and ended with buns that fell apart. Actually, I find it works better if you wait a good 15 minutes or so.
- If you forget the parchment, soak your pan straight away. Trust me, dried almond flour is like cement.
FAQs—Because People (And My Mum) Always Ask
- Can I make these dairy-free? Yep! Sub in plain unsweetened coconut yogurt and use olive oil instead of butter. They’re a bit more fragile, but it works.
- Do these taste like real bread? Well… not exactly, but they’re close enough for a burger fix. Plus, you don’t get that weird aftertaste some keto breads have. At least, I don’t notice it.
- Can I toast them? Definitely! I actually like them better toasted, especially the next day (if you have the willpower to wait that long).
- Can I double the recipe? For sure. Just don’t crowd the baking sheet, or you’ll end up with one giant bun. Not the worst thing, come to think of it.
- Help! My buns are crumbly. Try a bit more Greek yogurt next time, or let them cool completely before slicing. Patience is a virtue—so they say.
So there it is—my go-to keto hamburger buns, with all the wobbles and wins. If you want more keto baking ideas, I do recommend checking out KetoConnect; they have loads of fun experiments (and a few flops—just like me). If you give these a spin, let me know how they turn out, or if you discover a wild variation I should try. Happy bun-making!
Ingredients
- 1 1/2 cups almond flour
- 1/4 cup coconut flour
- 2 teaspoons baking powder
- 1/2 teaspoon salt
- 4 large eggs
- 1/4 cup unsalted butter, melted
- 1/2 cup unsweetened almond milk
- 1 tablespoon sesame seeds (optional, for topping)
Instructions
-
1Preheat your oven to 350°F (175°C) and line a baking sheet with parchment paper.
-
2In a large bowl, whisk together almond flour, coconut flour, baking powder, and salt.
-
3In a separate bowl, beat the eggs, then add melted butter and unsweetened almond milk. Mix well.
-
4Combine the wet and dry ingredients, stirring until a thick batter forms.
-
5Divide the batter into 6 portions and shape into buns on the prepared baking sheet. Sprinkle with sesame seeds if desired.
-
6Bake for 18-20 minutes or until the buns are golden brown and firm to the touch. Allow to cool before slicing and serving.
Approximate Information for One Serving
Nutrition Disclaimers
Number of total servings shown is approximate. Actual number of servings will depend on your preferred portion sizes.
Nutritional values shown are general guidelines and reflect information for 1 serving using the ingredients listed, not including any optional ingredients. Actual macros may vary slightly depending on specific brands and types of ingredients used.
To determine the weight of one serving, prepare the recipe as instructed. Weigh the finished recipe, then divide the weight of the finished recipe (not including the weight of the container the food is in) by the desired number of servings. Result will be the weight of one serving.
Did you make this recipe?
Please consider Pinning it!!


