
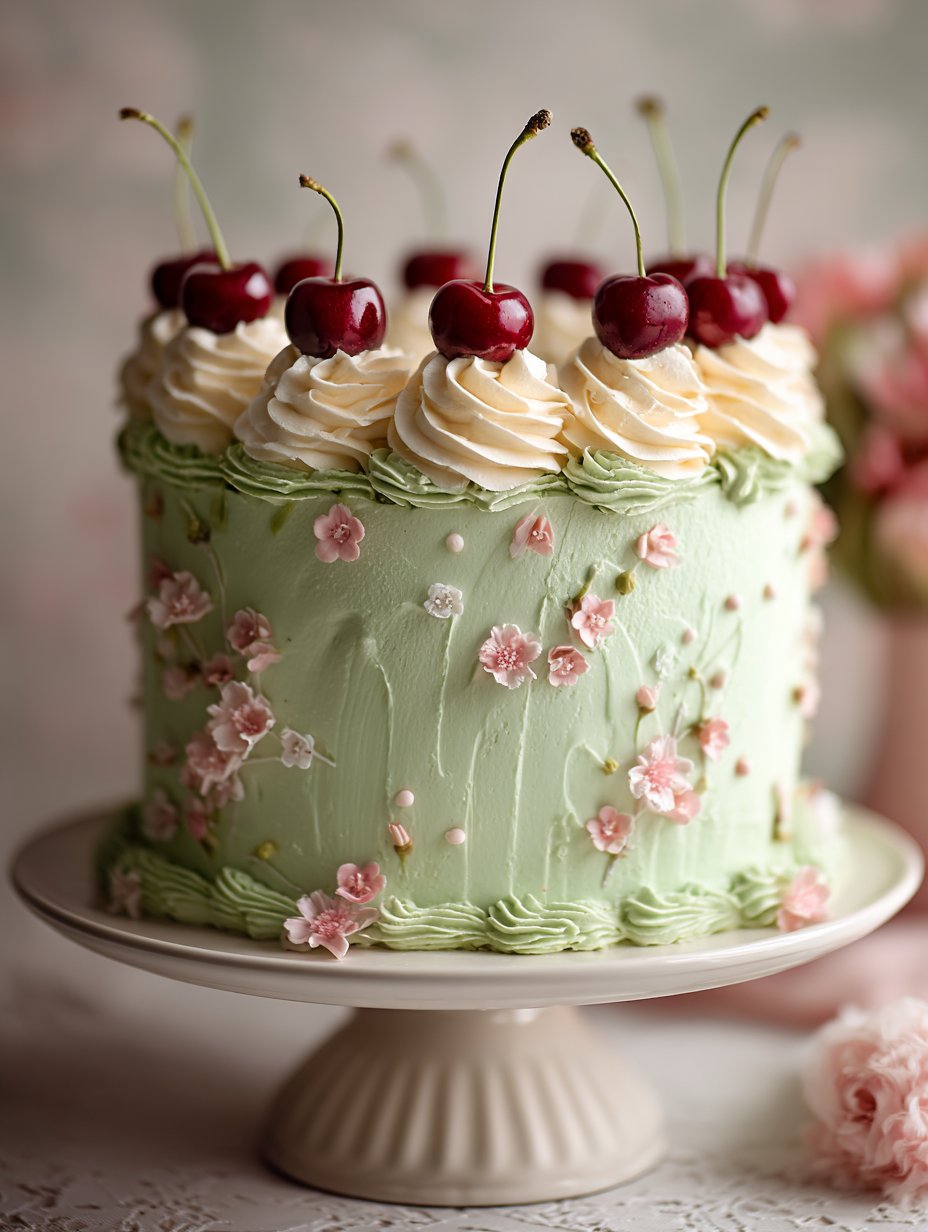
So, Let Me Tell You About This Pastel Green Cherry Birthday Cake
Alright, picture this: it’s my sister’s birthday (again), and for some reason she’s obsessed with cherries and mint green things—honestly, it’s now just her color. Three years ago, I decided to combine the two and make a pastel green cherry birthday cake. The result? Everyone lost their minds (in a good way, thankfully). It was almost too pretty to slice, but let’s be real, the knives came out fast. If you’ve ever wanted a cake that looks like springtime and tastes like a cherry daydream, you’re in the right place. Oh, and I’ll admit, the first time my frosting looked like guacamole, but hey, live and learn.
Why You’ll Love This (or At Least I Hope You Do)
I make this when I want something that feels a little special but isn’t a full-on culinary marathon, you know? My family goes nuts for this pastel green cherry birthday cake—mainly because it’s got that sweet cherry bite, but also because it’s just fun to look at. And honestly, sometimes I’m just in it for the maraschino cherries (no shame, right?). Plus, if the coloring goes a bit wonky, everyone just calls it ‘artisanal.’
What You’ll Need (And What You Can Swap)
- 2 cups all-purpose flour (sometimes I sneak in cake flour if I have it, but not always)
- 1 1/2 tsp baking powder
- 1/2 tsp baking soda
- 1/2 tsp salt (sea salt is nice, but regular is totally fine)
- 3/4 cup unsalted butter, room temp (I’ve used salted in a pinch—just skip the added salt)
- 1 1/4 cups sugar (honestly, I’ve tried brown sugar for a slight twist)
- 3 eggs
- 1 tsp vanilla extract (my grandmother swore by the Nielsen-Massey stuff, but use whatever you’ve got)
- 1/4 tsp almond extract (optional—if you hate almond, just leave it out)
- 1/2 cup milk (full-fat or even oat when I’m in a mood)
- 1/2 cup sour cream (or Greek yogurt, same vibes)
- 20-24 maraschino cherries, chopped (sometimes I just toss in a handful and hope for the best)
- Pastel green food coloring (Wilton gel is what I use; liquid gives a paler color, still cute)
- For the frosting: 1 cup unsalted butter, 3-4 cups powdered sugar, 2-3 tbsp milk, green coloring, splash of vanilla
Let’s Get Baking (It’s Easier Than It Looks)
- First off, preheat your oven to 350°F (175°C). Grease and line two 8-inch round cake pans. I always forget to line the bottom and, well, that can get messy.
- In a bowl, whisk together flour, baking powder, baking soda, and salt. Set aside. This is the part where I inevitably spill a bit onto the floor. Oh well.
- Beat the butter and sugar together in a big bowl until pale and fluffy—takes about 3 minutes if you’re using a mixer (hand or stand, whichever’s not in the back of your cupboard). If you’re using a wooden spoon, may the force be with you.
- Add eggs, one at a time. Scrape the bowl and add vanilla and almond extract (if using). If it looks a little curdled, don’t worry; it always does at this point.
- Mix in the flour mixture in three parts, alternating with milk and sour cream. So flour, milk/yogurt, flour, milk/yogurt, flour. I kind of eyeball it sometimes, but shhh.
- Fold in the chopped cherries. Actually, I sometimes sneak a few to eat here. Don’t tell anyone.
- Add green food coloring, a little at a time, till it’s the shade you want. If it looks a bit too green, add a smidge more batter. Or just go with it—pastel is a state of mind.
- Pour batter into pans and smooth the tops. Don’t worry if it’s not perfectly even—it’ll level out in the oven. Bake for 25-30 minutes, or until a toothpick comes out clean (or, you know, mostly clean).
- Let cakes cool in the pans for 10 minutes, then turn out onto racks. I usually get impatient here, but seriously, let them cool or the frosting melts into a puddle.
- For the frosting: Beat butter till creamy, then add powdered sugar a cup at a time. Toss in vanilla and a splash of milk as needed. Add green food coloring till you hit pastel perfection. If it’s too stiff, add more milk; too runny, more sugar. I always make a mess here, but it’s part of the fun.
- Frost the cake once completely cool. I like to do a crumb coat (thin layer first), chill for 20 min, then go wild with the rest. Decorate with whole cherries or even some sprinkles if you’re feeling extra.
Some Notes I Wish I Knew Earlier
- If you use too much food coloring, the green gets a bit cartoonish (learned that the hard way—twice).
- Chopping cherries is sticky work. I once wore gloves, which helped… until I realized I’d grabbed the gardening kind.
- The cake tastes better the next day (if you can wait—my family never does, so I guess I’m just guessing).
Variations (Aka Experiments—Some Winners, Some Fails)
- Swap in fresh cherries when they’re in season—more work, but feels fancier (plus, you get to snack as you pit).
- Once, I tried using pistachios for an extra crunch; honestly, it overpowered the cherries, but maybe you’ll like it.
- Cherry jam swirls in the middle? Delightful, but a little messy—tastes like childhood summers.
- Once used coconut yogurt instead of sour cream. Didn’t love it. But, hey, live and learn.
Equipment (Or Workarounds, Because Who Has Everything?)
- Two 8-inch round cake pans (I’ve totally used a 9-inch and just watched the bake time)
- Mixing bowls (one big, one medium, or just rinse one out halfway through if you’re like me)
- Electric mixer (or strong arms and a wooden spoon, but that’s a workout)
- Spatula or butter knife for swirling on the frosting
- Wire rack for cooling—actually, I’ve used the back of a cookie sheet in a pinch
How to Store This (But Ours Disappears Fast)
Store covered at room temp for 1-2 days, or in the fridge for up to 4 days. Honestly, in my house, it never lasts more than a single day. I did freeze a slice once—wasn’t the same, but maybe I’m picky?
Serving: What Works for Us
I love it cold, straight from the fridge, with extra cherries on the side (because why not?). My sister insists on a scoop of vanilla ice cream—she says it’s ‘tradition’ now. Sometimes we light way too many candles and make a mess but that’s part of the fun, right?
Pro Tips (Learned the Hard Way, Trust Me)
- Don’t rush cooling the cakes before frosting—I once did, and the whole thing slid apart like a landslide. Not my best moment.
- Actually, I find the cake is more moist if you wrap it while it’s still a little warm and chill it for a bit. Contradictory? Maybe, but it works for me.
- Watch out for overmixing—if you get too enthusiastic, it gets a bit dense.
FAQ—Let’s Clear Up Some Stuff
- Can I use fresh cherries? Yeah! Just pit and chop them, but they can be juicier, so maybe toss them in a bit of flour first.
- Can I make it gluten-free? I haven’t tried it, but maybe swap in a 1-for-1 GF blend? (If you do, let me know if it works!)
- Is the food coloring necessary? Technically, no. But then it’s not pastel green, is it?
- Why is my cake sinking? Probably overmixing or opening the oven door too soon—I’ve done both, more than once.
- Can I use a sheet pan instead of round pans? You can! Just watch the bake time; it may be a bit quicker, and thinner (but still tasty).
If you want to check out the food coloring I use, here’s the Wilton gel. Oh, and for a guide on making cakes extra fluffy, I swear by this post from Sally’s Baking Addiction—super helpful, not sponsored or anything. And if you’re curious about cherry varieties, Cherries.org has a fun rundown.
Anyway, hope you love this as much as we do. And if your kitchen looks like a pastel green tornado hit it by the end—well, you’re doing it right.
Ingredients
- 2 1/2 cups all-purpose flour
- 2 cups granulated sugar
- 1 cup unsalted butter, softened
- 4 large eggs
- 1 cup whole milk
- 2 teaspoons vanilla extract
- 1/2 cup maraschino cherries, chopped
- 1/2 cup cherry preserves
- 1 teaspoon baking powder
- 1/2 teaspoon salt
- 2 cups powdered sugar (for frosting)
- 1/2 cup unsalted butter (for frosting)
- 2 tablespoons milk (for frosting)
- Green food coloring
Instructions
-
1Preheat the oven to 350°F (175°C). Grease and flour two 9-inch round cake pans.
-
2In a large bowl, cream together the softened butter and granulated sugar until light and fluffy. Add eggs one at a time, beating well after each addition. Stir in vanilla extract.
-
3In a separate bowl, whisk together flour, baking powder, and salt. Gradually add the dry ingredients to the wet mixture, alternating with milk, beginning and ending with flour. Mix until just combined.
-
4Fold in the chopped maraschino cherries. Divide the batter evenly between the prepared pans and bake for 30-35 minutes, or until a toothpick inserted in the center comes out clean. Let cakes cool completely.
-
5For the frosting, beat together powdered sugar, butter, and milk until smooth. Add green food coloring until the desired pastel shade is achieved.
-
6Spread cherry preserves between the cooled cake layers. Frost the cake with the pastel green buttercream and decorate with additional cherries if desired.
Approximate Information for One Serving
Nutrition Disclaimers
Number of total servings shown is approximate. Actual number of servings will depend on your preferred portion sizes.
Nutritional values shown are general guidelines and reflect information for 1 serving using the ingredients listed, not including any optional ingredients. Actual macros may vary slightly depending on specific brands and types of ingredients used.
To determine the weight of one serving, prepare the recipe as instructed. Weigh the finished recipe, then divide the weight of the finished recipe (not including the weight of the container the food is in) by the desired number of servings. Result will be the weight of one serving.
Did you make this recipe?
Please consider Pinning it!!


