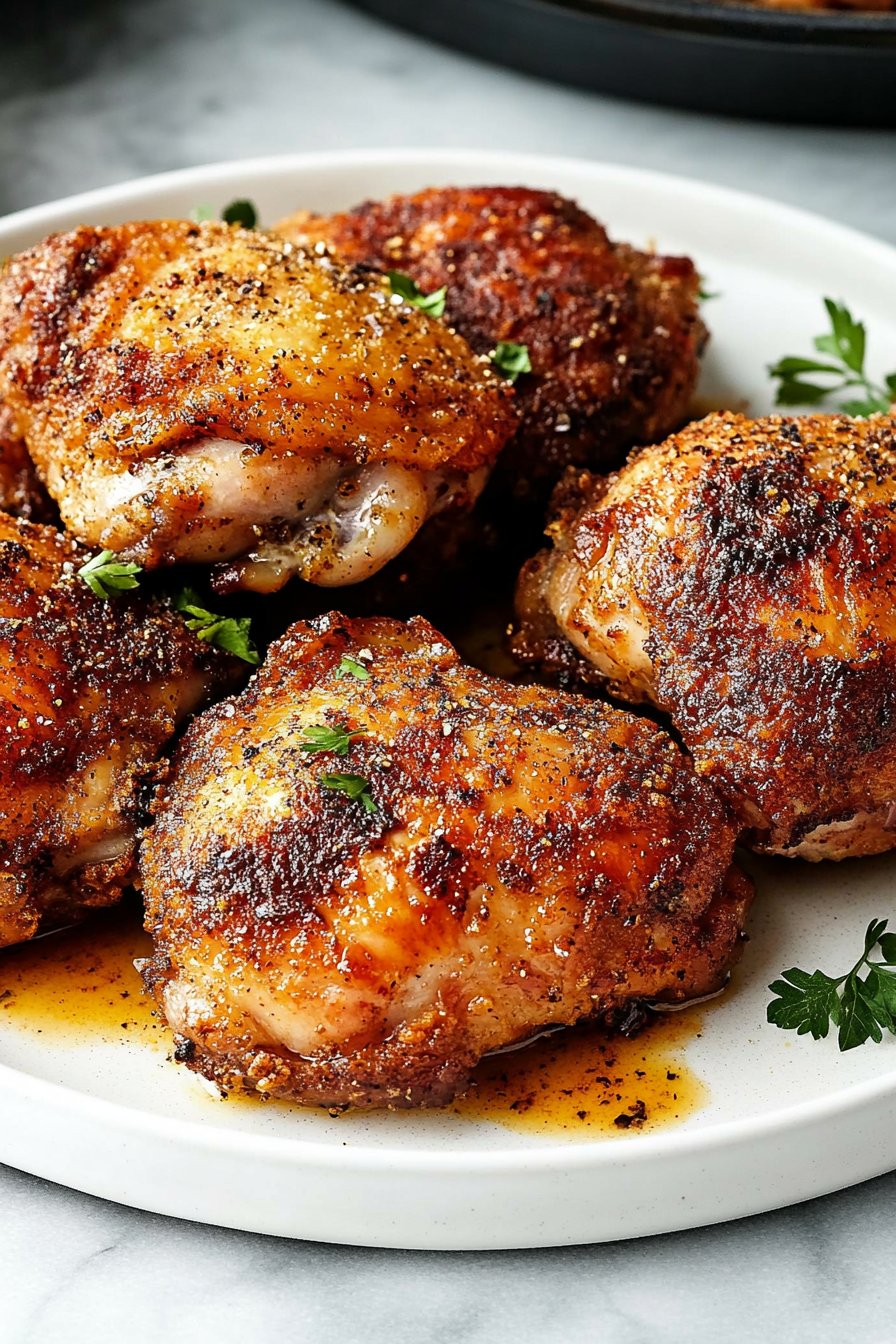
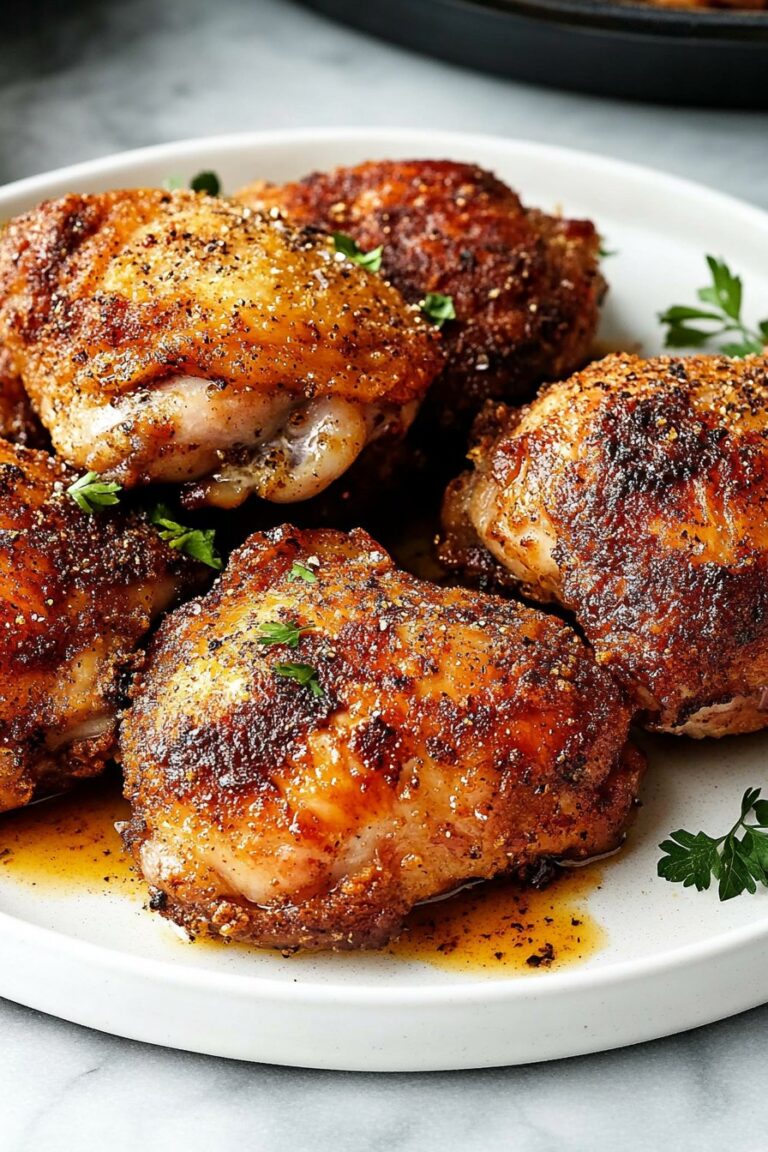
Let’s Chat About Perfect Crispy Chicken Thighs
Okay, so you know those evenings when you’re just craving something crunchy and savory, but you also don’t want to deep fry anything because—well, who wants to clean up that oily mess? That’s when these perfect crispy chicken thighs come to the rescue. Honestly, I landed on this method after one too many attempts at rubbery skin (don’t ask about the oven fire of 2019). Now, whenever I make these, the whole place smells like a Sunday at my parents’ house, plus my kids swoop in—like actual seagulls—before I can even set the table. Sometimes I hide an extra thigh for myself. Is that bad? Eh, what they don’t know… Also, side note: if you burn your finger on the skillet, there’s no shame in yelping. Trust me.
Why You’ll Love This (Or At Least, Why I Do)
I make this when I want maximum flavor with, let’s be real, minimum faff. My family goes absolutely bananas for the shatter-y skin (even my picky nephew who once declared he was a vegetarian for about four hours). Sometimes I throw them together on a busy weeknight because, let’s face it, thighs are way more forgiving than breasts. Plus, if you’re on a tight grocery run, this recipe is a real pantry-pleaser; it’s super flexible—I mean, one time I used Italian seasoning and it was still great. Oh, and the leftovers? They practically vanish (unless you have a lock on your fridge, which, honestly, I’ve considered).
All the Stuff You’ll Need (And What You Can Sub In)
- 6 bone-in, skin-on chicken thighs (you can use boneless, but the crispy skin is the best part—my grandmother always insisted on Bell & Evans, but I usually just grab whatever’s on sale, to be honest)
- About 2 teaspoons kosher salt (regular table salt works in a pinch, just use a little less)
- 1 teaspoon black pepper (sometimes I go heavy, sometimes just a sprinkle, depends on my mood)
- 1 teaspoon smoked paprika (plain paprika is fine, or I’ve even used chili powder if I’m out)
- 1/2 teaspoon garlic powder (if you hate garlic, skip it, but I love the stuff)
- A splash of olive oil (or canola, or, once in a mad dash, I used bacon grease—seriously tasty)
How I Actually Cook ‘Em (With a Few Tangents)
- First, preheat your oven to 425°F (that’s about 220°C for my mates in the UK). If your oven is like mine and takes its sweet time, maybe put the kettle on, too.
- Pat the chicken thighs dry with paper towels. This part is not negotiable if you want crispy skin. Actually, sometimes I do this hours ahead and leave them uncovered in the fridge for extra dryness—works wonders, but you don’t have to get that fancy.
- Rub the thighs all over with salt, pepper, paprika, and garlic powder. I usually do this with my hands, but tongs work if you don’t fancy getting seasoned yourself.
- Heat a big oven-safe skillet (cast iron is my weapon of choice, but any heavy pan will do) over medium-high. Pour in just enough oil to coat the bottom.
- Place the thighs skin-side down in the hot pan. Warning: it will sizzle and spit, so use a splatter screen if you have one—or just dodge like I do. Don’t crowd the pan, otherwise, you’ll end up steaming them. Let them cook for about 7-9 minutes until the skin is deeply golden. This is where I sneak a peek (and sometimes a taste of the pan juices—don’t judge).
- Flip the thighs over—use tongs so you don’t lose your fingerprints—and then pop the whole skillet in the oven (no fancy baking dish needed). Roast for 15-18 minutes, until the juices run clear and the meat is cooked through. Don’t worry if the skin looks a tad dark; it’s supposed to be deeply crispy.
- Let them rest for 5 minutes before serving. Or don’t, if you like burning your tongue as much as I apparently do every single time.
Notes From My Kitchen (Not The TV Kind)
- If you ever wonder if you can skip the oven part—well, I tried that once and the thighs were chewy instead of crispy. Lesson learned.
- Sometimes I use a wire rack over a foil-lined sheet pan if I’m making a big batch; it’s less mess, but the skillet gives better browning. Up to you.
- And just so you know, if your chicken splatters all over the stovetop, that’s totally normal. I just call it “decorating.”
Experimenting? Here’s What I’ve Tried (And What Flopped)
So, one time I swapped in lemon pepper and honey—honestly, it was delicious, but the skin didn’t get quite as crisp. Cajun spices are a big hit in my house, though. Oh, and once I tried marinating the thighs overnight; it was fine, but sort of a faff and didn’t make a huge difference. I would not recommend brining for this, even though I love brining turkey—it just made the skin less crispy.
What If I Don’t Have That Fancy Skillet?
Truth be told, I’ve made this in a regular nonstick and even a Pyrex dish. If your pan can go from stove to oven, great; if not, just transfer the thighs to a baking dish after browning. It’s a bit more washing up, but hey, whatever works.

Storing Leftovers (If There Are Any Left)
Store cooled chicken thighs in an airtight container in the fridge for up to 3 days. But honestly, in my house it never lasts more than a day; someone always nabs the last piece for a midnight snack (me, it’s usually me). If you want to reheat, pop ‘em in the oven at 375°F for about 10 minutes so they crisp up again—microwave makes the skin sad.
How We Serve These Around Here
I love them over mashed potatoes with a mountain of green beans—classic, right? But sometimes we do them taco-style in warm tortillas with a quick slaw. My son likes his with ketchup, which I try not to take personally. Oh, and if you want a cozy side, check out these mashed potatoes from Serious Eats; they’re ridiculous. Or for a lighter touch, this green salad is ace.
Hard-Learned Lessons (AKA Pro Tips From My Own Goofs)
- I once tried rushing the browning step; big mistake, the skin was soggy and sad. So, let it go golden.
- And don’t skip patting the chicken dry, or you’ll have more steam than sizzle.
- Actually, I find it works better if the thighs are close to room temp before you start. But if you forget—like I do half the time—they’ll still work, just maybe not quite as crunchy.
FAQ—Real Questions I’ve Actually Gotten (No, Really!)
- Can I use chicken breasts instead? You can, but honestly, they won’t get the same crispy skin. Thighs have more fat, which is the secret sauce (not literal sauce).
- Is it okay to eat the skin? Mate, the skin’s the whole point! But if you’re not into it, just peel it off and send it my way.
- How do I know when they’re done? I check with a thermometer (165°F in the thickest part), but sometimes I just poke with a fork and see if the juices run clear. Not the most scientific, but it works.
- Can I make this ahead? I think this tastes better the next day, but the skin will soften a bit in the fridge. If you want it super crisp, reheat in the oven.
- What about air fryer? Actually, I’ve tried it and it’s solid—just do skin-side up the whole time, about 20 mins at 400°F. But you don’t get the same pan juices, which I kind of miss.
And there you go! If you want to geek out on chicken science, I love this deep dive from The Kitchn. But honestly, just get stuck in and enjoy the sizzle. If you end up with one charred thigh, just call it “extra flavor,” like I do. Happy crunching!
Ingredients
- 8 bone-in, skin-on chicken thighs
- 2 tablespoons olive oil
- 1 teaspoon kosher salt
- 1/2 teaspoon freshly ground black pepper
- 1 teaspoon garlic powder
- 1 teaspoon smoked paprika
- 1/2 teaspoon dried thyme
- 1/2 teaspoon onion powder
Instructions
-
1Preheat your oven to 425°F (220°C). Pat the chicken thighs dry with paper towels to ensure crispiness.
-
2In a small bowl, mix together salt, pepper, garlic powder, smoked paprika, dried thyme, and onion powder.
-
3Rub the chicken thighs all over with olive oil, then sprinkle the seasoning mixture evenly on both sides.
-
4Place the chicken thighs skin-side up on a wire rack set over a baking sheet.
-
5Bake for 35 minutes, or until the skin is golden and crispy and the internal temperature reaches 165°F (74°C).
-
6Let the chicken rest for 5 minutes before serving. Enjoy your perfect crispy chicken thighs!
Approximate Information for One Serving
Nutrition Disclaimers
Number of total servings shown is approximate. Actual number of servings will depend on your preferred portion sizes.
Nutritional values shown are general guidelines and reflect information for 1 serving using the ingredients listed, not including any optional ingredients. Actual macros may vary slightly depending on specific brands and types of ingredients used.
To determine the weight of one serving, prepare the recipe as instructed. Weigh the finished recipe, then divide the weight of the finished recipe (not including the weight of the container the food is in) by the desired number of servings. Result will be the weight of one serving.
Did you make this recipe?
Please consider Pinning it!!


