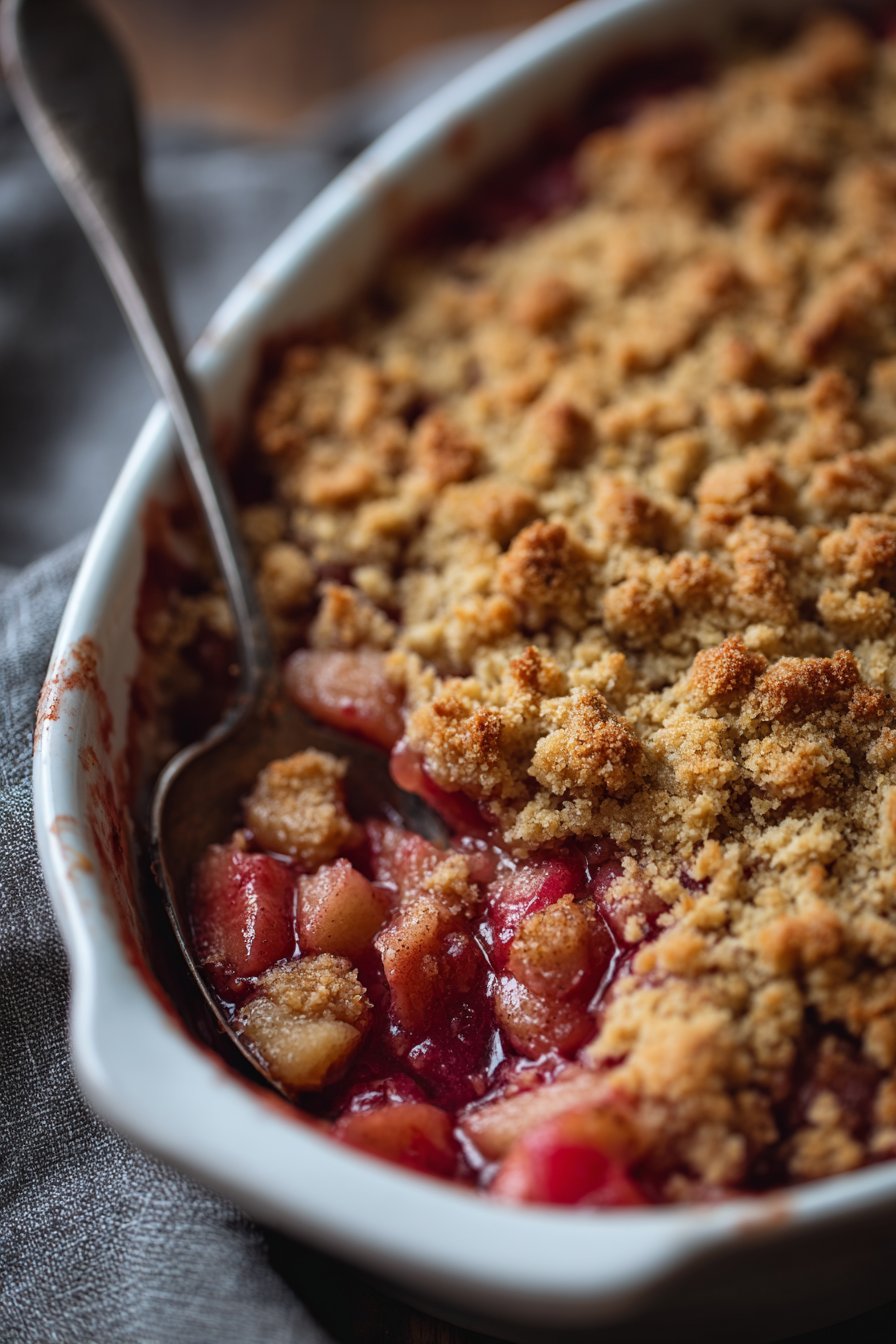
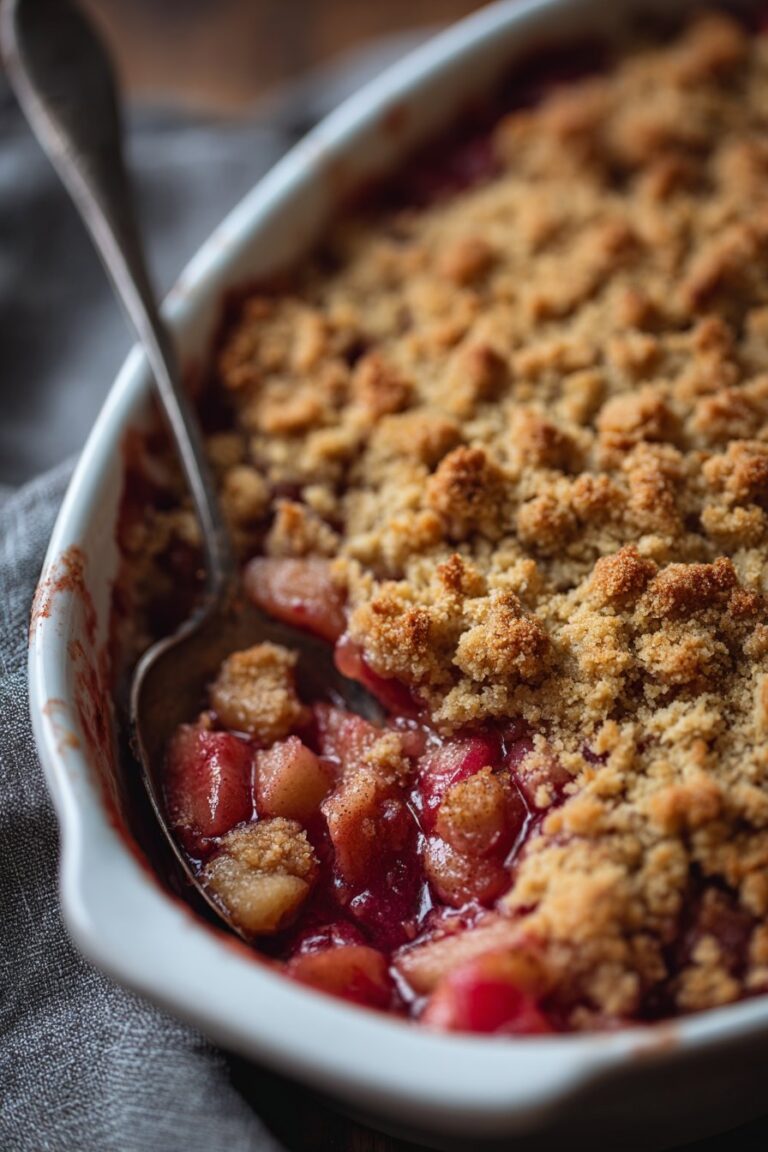
Hey friend, let’s talk about rhubarb (and why it’s actually fun)
Alright, so rhubarb season hits and suddenly you’re staring at a pile of red-green stalks wondering what on earth to do with them. I’ve been there. My first rhubarb crisp disaster nearly glued my teeth shut—too much sugar, not enough patience. But honestly, once you figure out the balance between tart and sweet, this dessert goes from “maybe I’ll try it” to “why didn’t I double the batch?!” My aunt Rita used to whip this up in an ancient Pyrex dish and, for reasons I still don’t completely understand, it always tasted best at her house. Maybe it was the retro wallpaper. Or maybe just the extra scoop of vanilla ice cream (more on that later).
Why I keep making this (even when nobody’s looking)
I make this rhubarb crisp when I want something cozy but not fussy—like, midweek when I’ve already given up on meal planning. My partner claims he doesn’t like rhubarb, but somehow manages to “taste test” half the pan before it cools. (It’s a mystery.) Even my kid will eat it, which is saying something because she once declared broccoli illegal in our kitchen. Oh, and it’s forgiving—forgot the lemon juice? It’ll survive. Little too much cinnamon? Eh, could be worse. Plus, it makes the house smell amazing (even if you accidentally burn the topping a little—been there).
What you’ll need (with my usual substitutions)
- 4 cups rhubarb, sliced—fresh is great, but I’ve used frozen and it’s fine. Just thaw and drain so it’s not a puddle.
- 3/4 cup granulated sugar—I’ve swapped in brown sugar before; makes it a bit richer, but you do you.
- 1 tablespoon cornstarch—my grandma swore by tapioca, but I never have it on hand. Cornstarch works just dandy.
- 1 teaspoon lemon juice—optional, but it brightens everything up. I’ve forgotten it more times than I care to admit.
- For the topping:
- 1 cup rolled oats—quick oats work if that’s what’s rattling around in your pantry.
- 3/4 cup flour—any all-purpose; I’ve tried half whole wheat and, honestly, it’s not bad.
- 2/3 cup brown sugar—sometimes I mix cane and brown sugar if I’m low on one.
- 1/2 teaspoon cinnamon—more if you’re feeling bold. Or none, if you just can’t stand it.
- 1/4 teaspoon salt—skip if you’re using salted butter.
- 1/2 cup (1 stick) butter, cold and cubed. I’ve used margarine in a pinch (don’t tell Aunt Rita).
How I actually make it (and what always goes sideways)
- Preheat your oven to 350°F (about 180°C if you’re across the pond). Grease a baking dish—8×8 works, or anything close.
- Toss the rhubarb, sugar, cornstarch, and lemon juice right into the dish. (This is where I always wonder if I should’ve used a bigger bowl. I never do.) Stir it up so the rhubarb’s pretty well coated. Don’t stress if it looks like a sugary mess—it sorts itself out.
- In a separate bowl, stir together oats, flour, brown sugar, cinnamon, and salt. Then, add your butter cubes—this is the messy-but-fun part. Use your hands, a pastry blender, or two forks (if you like chasing butter bits around the bowl) to smash everything together until it’s crumbly but still has some chunks. Honestly, if you get bored, just leave a few bigger bits. Crisp is forgiving.
- Scatter that oat mixture right over the rhubarb. Don’t pack it down too much—light and loose works best.
- Bake for 35 to 40 minutes, or until it’s bubbling at the edges and golden on top. This is where I usually sneak a taste with a spoon—watch your tongue, it’s lava-hot.
- Let it cool for at least 10 minutes (if you can wait; I rarely do). The sauce thickens up as it sits.
A few lessons I learned the hard way (Notes)
- If your crisp looks soupy, don’t panic—it thickens up as it cools. Actually, I find it works better if you resist the urge to add more thickener.
- Extra rhubarb? Check out this guide for more ideas—I learned a thing or two myself.
- If you use frozen rhubarb, measure after thawing and draining, or the ratios get wonky.
Stuff I’ve tried that mostly worked (and once didn’t)
- With Strawberries: I sometimes swap a cup of rhubarb for strawberries (fresh or frozen). The color is brighter and the taste is, um, less divisive with kids.
- Gluten-free: I’ve used almond flour in the topping. It’s a bit softer, but tasty.
- Less sugar: I once tried cutting the sugar in half. The results: super tart. Not for the faint of heart, but my neighbor loved it. (She eats lemons as snacks.)
- Using apples: Tried half apples, half rhubarb. Honestly, it was fine—but the apples took over. Wouldn’t bother again unless out of rhubarb.
Do you need fancy gear? (Equipment)
I use a battered old Pyrex, but honestly, any oven-safe dish works. Don’t have a pastry blender? Two knives or even your fingers do the job. (Just watch for butter under your nails—it happens!)

How long does it actually keep? (Storage)
Technically, this keeps up to three days in the fridge, covered. But, in my house it never lasts more than a day—usually just long enough for breakfast the next morning (don’t judge; it’s basically oatmeal, right?). If you do have leftovers, pop them in the microwave for 30 seconds. Still good cold, too, if you’re feeling impatient.
How we eat it here (Serving ideas)
Best served warm, with a big scoop of vanilla ice cream. Or, for a classic British touch, try custard—there’s a solid recipe here I keep coming back to. Sometimes, if I’m feeling health-adjacent, I’ll add thick Greek yogurt. My daughter likes it for dessert and, oddly, breakfast. (She’s onto something.)
Things I only learned after messing up (Pro Tips)
- I once tried melting the butter for the topping to save time. Regretted it—the crisp was more like cake. Stick with cold butter, even if it’s a faff.
- Don’t overbake! If you see the top getting too brown, loosely tent it with foil (I always forget this and end up with burnt edges). Live and learn.
- And, seriously, don’t skip cooling time. I know it’s hard, but the filling thickens up and tastes way better.
Let’s answer some real-life questions (FAQ)
Q: Can I use just frozen rhubarb?
Yeah, no problem. Just thaw and drain it first, or you’ll get a swampy crisp (learned that one the messy way).
Q: Is this too sour for kids?
Maybe, maybe not—depends on your kids. Mine likes it with ice cream. If you’re worried, swap in some strawberries or up the sugar a smidge.
Q: What’s the best way to cut rhubarb?
Honestly, just chop it into 1/2-inch pieces. Nothing fancy. If the stalks are weirdly tough, peel off the strings like you would with celery.
Q: Can I double this recipe?
Absolutely! It’s a good idea, actually, if you’ve got a crowd. Just use a bigger pan—like a 9×13. Bake time might go up by 5-10 minutes.
Q: Does this work with other fruit?
Sort of. Strawberries or a little apple, sure. Blueberries? I tried once, wasn’t wild about it. But hey, experiment away!
For more rhubarb facts and how to grow your own, I really like this resource from the RHS.
Ingredients
- 4 cups fresh rhubarb, chopped
- 3/4 cup granulated sugar
- 1 tablespoon cornstarch
- 1 teaspoon vanilla extract
- 1 cup old-fashioned rolled oats
- 3/4 cup all-purpose flour
- 1/2 cup packed brown sugar
- 1/2 cup unsalted butter, cold and cubed
- 1/2 teaspoon ground cinnamon
- 1/4 teaspoon salt
Instructions
-
1Preheat the oven to 375°F (190°C). Lightly grease an 8×8-inch baking dish.
-
2In a large bowl, toss the chopped rhubarb with granulated sugar, cornstarch, and vanilla extract. Spread the mixture evenly in the prepared baking dish.
-
3In another bowl, combine oats, flour, brown sugar, cinnamon, and salt. Add the cold butter and use your fingers or a pastry cutter to blend until the mixture resembles coarse crumbs.
-
4Sprinkle the oat mixture evenly over the rhubarb filling.
-
5Bake for 40 minutes, or until the topping is golden brown and the filling is bubbling.
-
6Allow to cool slightly before serving. Enjoy warm, optionally with a scoop of vanilla ice cream.
Approximate Information for One Serving
Nutrition Disclaimers
Number of total servings shown is approximate. Actual number of servings will depend on your preferred portion sizes.
Nutritional values shown are general guidelines and reflect information for 1 serving using the ingredients listed, not including any optional ingredients. Actual macros may vary slightly depending on specific brands and types of ingredients used.
To determine the weight of one serving, prepare the recipe as instructed. Weigh the finished recipe, then divide the weight of the finished recipe (not including the weight of the container the food is in) by the desired number of servings. Result will be the weight of one serving.
Did you make this recipe?
Please consider Pinning it!!


