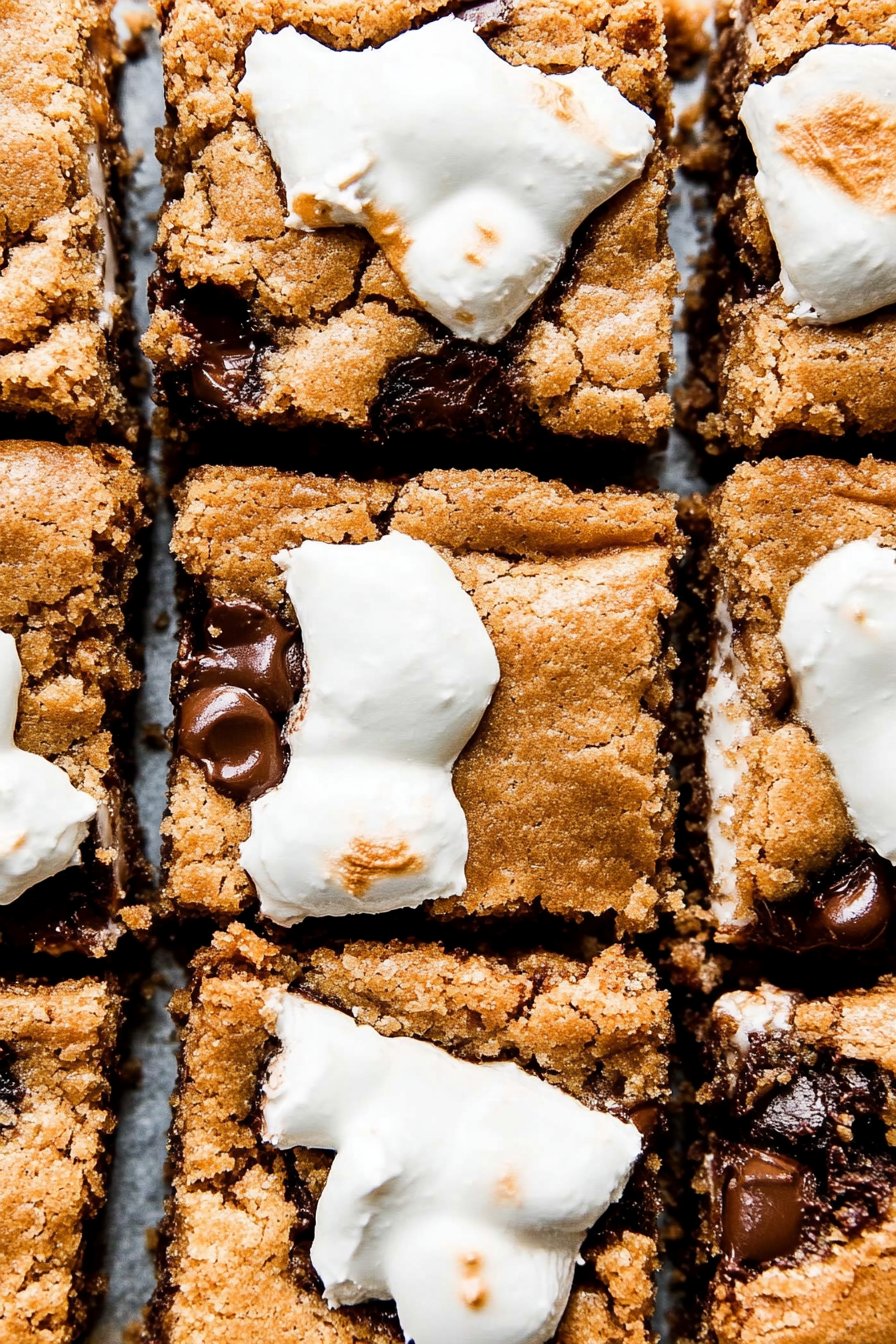
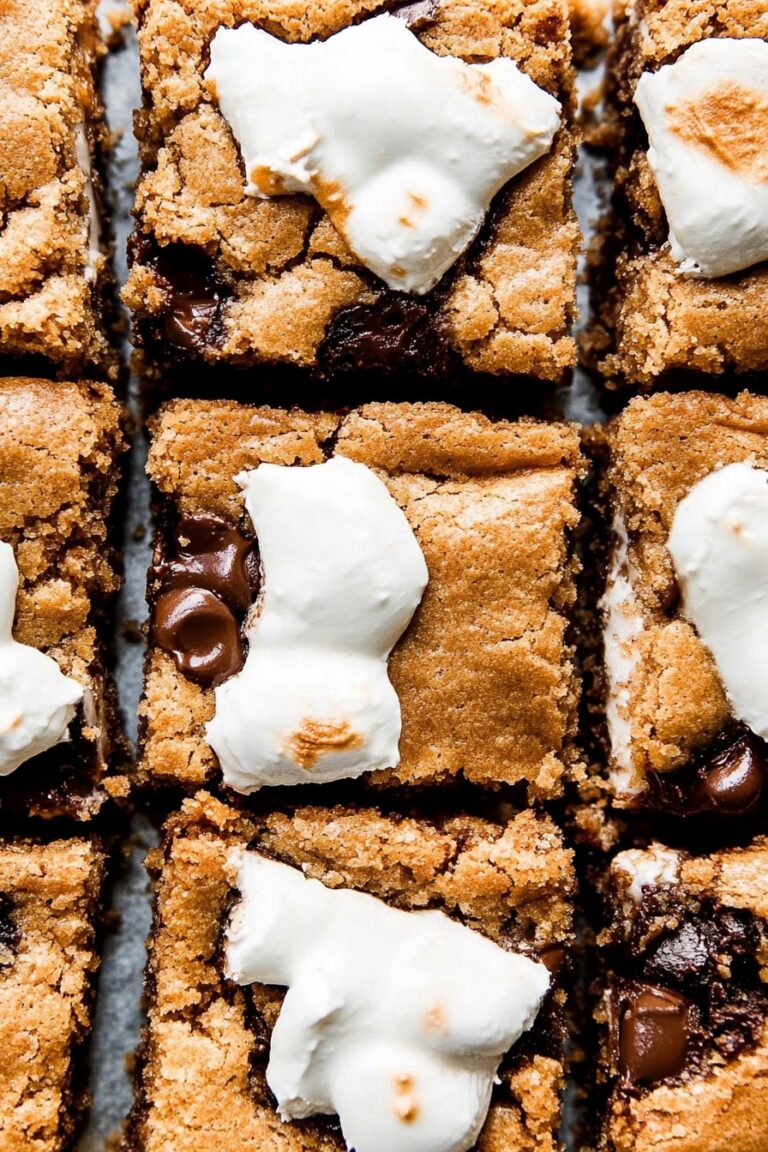
Let Me Tell You About S’mores Bars (and Why I Always Make Too Many)
Alright, so here’s the thing—I grew up thinking the best part of camping was, hands down, the s’mores (okay, and maybe scaring my little brother with ghost stories, but mostly the s’mores). But after my last camping trip ended with a marshmallow in my hair and sand in every pocket, I figured, why not just make s’mores in my kitchen, where the only wildlife is my cat swiping at crumbs? That’s how these S’mores Bars were born. And honestly, if you’ve ever tried to wrangle a flaming marshmallow while holding a flashlight with your teeth, this recipe might just save your sanity. Plus, oven—no raccoons. Win.
Why I Keep Making These (and Why You’ll Probably Love Them Too)
I whip up these bars on rainy days, or just whenever I want to feel like a kid again without, you know, leaving the couch. My family goes a bit bonkers for them—my partner swears it’s the gooey middle but I maintain it’s all about the crunchy graham cracker bits. (And let’s be real, sometimes I just need chocolate and don’t want to fuss with a campfire. Life’s too short.) If you’ve got picky eaters, these somehow work for everyone. Except that one time I tried vegan marshmallows and, well, let’s just say…they didn’t exactly melt so much as evaporate. Lesson learned!
What You’ll Need (and a Few of My Lazy Swaps)
- 1 and 1/2 cups graham cracker crumbs (I’ve used digestive biscuits in a pinch, and my grandmother swore by Honey Maid, but honestly, most brands do just fine)
- 1/2 cup unsalted butter, melted (sometimes I use salted if that’s what I have—just skip the extra pinch of salt later)
- 1/4 cup brown sugar (white sugar is okay, but brown makes it taste, well, toastier)
- 1 and 1/2 cups milk chocolate chips (dark works if you’re feeling fancy; I once accidentally used semi-sweet and everyone pretended to like it)
- 2 cups mini marshmallows (big ones torn up kind of work, but it gets messy—like, stick-to-your-elbows messy)
- Pinch of salt (leave it out if you used salted butter)
How I Actually Make These (and Where I Usually Snack on the Crust)
- Preheat your oven to 350°F (or about 180°C if you, like me, sometimes forget which dial is which). Line an 8×8 inch pan with parchment paper—honestly, don’t skip this, it makes life easier later.
- In a bowl, mix graham cracker crumbs, melted butter, brown sugar, and that wee pinch of salt. Press this mixture into the bottom of the pan. It might look crumbly at first but, trust me, it all comes together. (This is the bit where I sneak a taste. Don’t tell.)
- Bake the crust for about 8-10 minutes—just until it smells like a campfire, minus the smoke. Let it cool for a few minutes. Or don’t, if you’re impatient like me, but you might burn your fingers. (Ask me how I know.)
- Sprinkle the chocolate chips evenly over the crust. Pop it back in the oven for 2-3 minutes, just until the chips get shiny and soft but not totally liquid. Spread them out with a spatula or the back of a spoon. It doesn’t need to be perfect, just roughly smeared around.
- Scatter the marshmallows over the melty chocolate layer. (Try not to eat too many at this stage.) Put the pan under your oven’s broiler for 1-2 minutes—watch it like a hawk! The marshmallows go from golden to, well, on fire, in seconds. But a little char is part of the fun, right?
- Let the whole thing cool for at least 30 minutes (actually, longer is better, but who waits?). Pull it out using the parchment sling, slice, and try not to eat half before anyone else sees.
Notes from a Serial Recipe Tweaker
- If your marshmallows get too toasty, just call it “artisan.”
- I tried adding a dash of cinnamon once—nobody noticed, but I liked it.
- Don’t skip the parchment. Cleaning stuck marshmallow off a pan is my personal culinary nightmare.
- Actually, it’s easier to cut if you refrigerate for a bit, but then the chocolate gets sort of hard. Your call!
Things I’ve Tried That Worked (and Didn’t)
- Peanut butter chips instead of chocolate: Kids loved it, adults were divided (I liked it, for what it’s worth).
- Graham cracker crust with a layer of Nutella: Not really s’mores, but not bad.
- Gluten-free graham crackers: Honestly, pretty close to the original. You can check out Celiac.com for some good options.
- Once tried caramel bits. They melted into a puddle. Tasted great, but you’ll need a spoon.
Do You Really Need Special Equipment?
An 8×8 inch pan is what I use (metal or glass, doesn’t matter). No mixer or anything high-tech. I did once forget my parchment paper and used foil with a LOT of butter—kind of worked, but not as slick. If you don’t have an 8×8, just use what you’ve got—bake times might change a bit, but it’s not rocket science. And if you don’t have a broiler, you can just bake the marshmallows for a couple extra minutes. They won’t get as toasty, but hey, close enough.

How Long Will These Last? (No, Seriously…)
Technically, you can store s’mores bars in an airtight container at room temp for up to 3 days. But honestly? In my house, they’re gone by the next morning (if you’ve got teens, you know the drill). If you somehow have leftovers, you can freeze them, but the marshmallows get a bit…chewy. Still tasty, though!
How We Eat S’mores Bars (Other Than Straight Off the Tray)
I like to cut them into little squares and stack them on a plate with a drizzle of caramel sauce (overkill? Maybe). My friend dunks hers in coffee, which I thought was odd until I tried it—now I get it. Sometimes we warm them up for a few seconds in the microwave for extra gooeyness. The kids, of course, like theirs with a scoop of vanilla ice cream. Oh, and on birthdays, I stick a candle in one and call it dessert. Works a treat.
Stuff I’ve Learned the Hard Way (So You Don’t Have To)
- If you rush the cooling, you’ll end up with a hot, sticky mess that won’t cut cleanly. Ask me how I know (again).
- Don’t leave the broiler unattended—even for a second. Marshmallows are drama queens.
- It actually tastes even better the next day, but who can wait that long?
- For a gluten-free option, this recipe is my go-to (though sometimes I just buy whatever’s on sale).
Questions People Always Ask Me (and My Not-So-Perfect Answers)
- Can I double the recipe?
- Yep, just use a 9×13 pan and add a few minutes to the baking time. But, uh, be ready for a LOT of s’mores bars.
- Are these super sweet?
- Oh, you bet. You can use darker chocolate to tone it down a bit if you want. Or just embrace the sugar rush!
- Do they travel well?
- Actually, yeah—they’re great for potlucks. Just keep them cool or they get a bit sticky if it’s hot out.
- Can I make these dairy free?
- Probably, if you swap in vegan butter and dairy-free chocolate, but I haven’t tried it (yet). If you do, let me know how it turns out!
- What if I don’t have graham crackers?
- Digestives work, or even Oreos in a pinch, though it’s more…well, just different. Still tasty.
And that’s it—I think. Or wait, did I forget something? Oh, right—don’t stress if they look messy. That’s half the charm. Happy baking, and if you end up with chocolate on your cheek, you’re doing it right.
Ingredients
- 1 1/2 cups graham cracker crumbs
- 1/2 cup unsalted butter, melted
- 1/4 cup granulated sugar
- 1 1/2 cups milk chocolate chips
- 2 cups mini marshmallows
- 1/2 cup all-purpose flour
- 1/2 teaspoon baking powder
- 1/4 teaspoon salt
Instructions
-
1Preheat the oven to 350°F (175°C). Line an 8×8-inch baking pan with parchment paper.
-
2In a medium bowl, mix together graham cracker crumbs, melted butter, and granulated sugar until combined. Press the mixture evenly into the bottom of the prepared pan.
-
3Sprinkle half of the chocolate chips over the crust, followed by half of the mini marshmallows.
-
4In a separate bowl, whisk together flour, baking powder, and salt. Sprinkle this mixture evenly over the marshmallows and chocolate.
-
5Top with the remaining chocolate chips and marshmallows. Bake for 18-20 minutes, or until the marshmallows are golden and the bars are set.
-
6Allow to cool completely before cutting into bars and serving.
Approximate Information for One Serving
Nutrition Disclaimers
Number of total servings shown is approximate. Actual number of servings will depend on your preferred portion sizes.
Nutritional values shown are general guidelines and reflect information for 1 serving using the ingredients listed, not including any optional ingredients. Actual macros may vary slightly depending on specific brands and types of ingredients used.
To determine the weight of one serving, prepare the recipe as instructed. Weigh the finished recipe, then divide the weight of the finished recipe (not including the weight of the container the food is in) by the desired number of servings. Result will be the weight of one serving.
Did you make this recipe?
Please consider Pinning it!!


