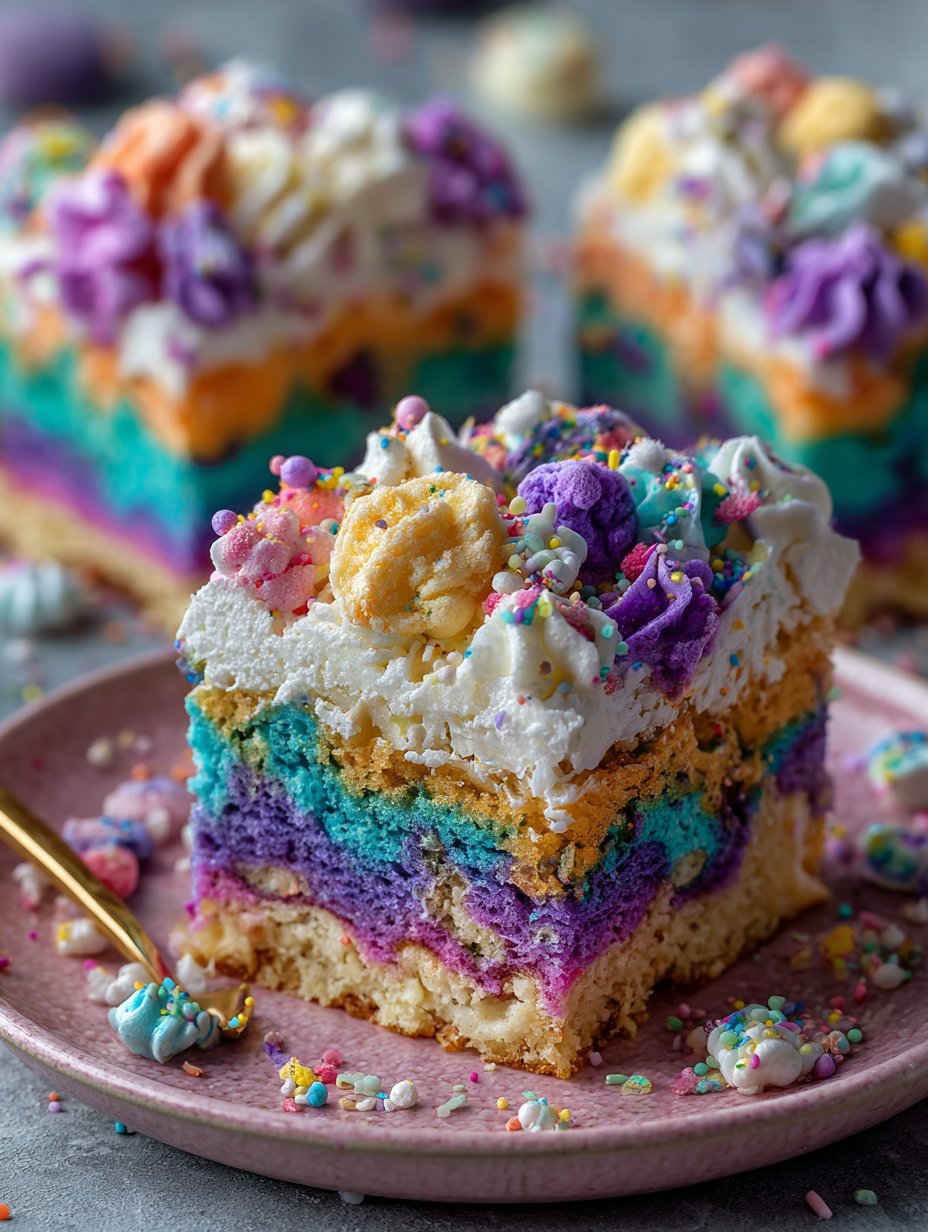
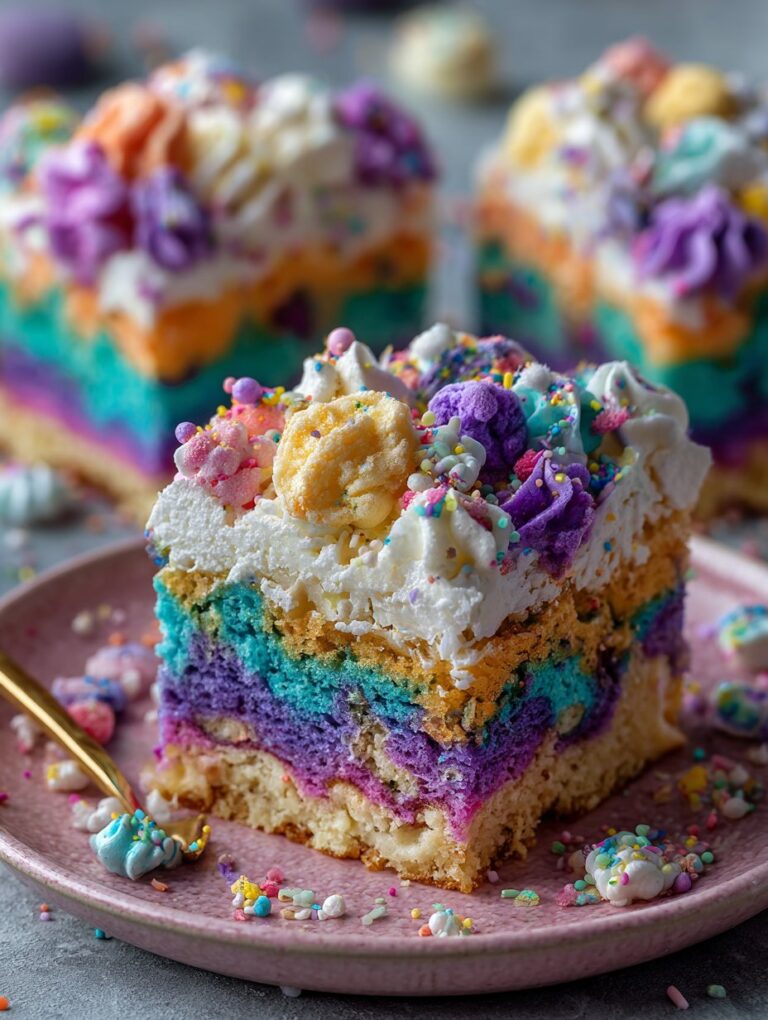
Alright, Let’s Talk About This Whimsical Chaos Cake
To be honest, the first time I made these Whimsical Chaos Cake Squares, it was pure chaos. I had flour on my nose and managed to drop the eggshell right into the batter (don’t worry, fished it out…I think). It was for my niece’s birthday, and I wanted something colourful, fun, and just a bit ridiculous. These squares came out looking like a unicorn threw a party in my oven, and everyone loved them—even my brother, who claims he “doesn’t eat cake” (yeah, right). Anyway, that’s how these became my favourite way to bring a little magic to rainy afternoons or, honestly, any day that needs cheering up. You could say they’re my edible mood-lifters.
Why You’ll Love This (Or At Least Why I Do)
I make this whenever the kids are bored and I’ve run out of ideas—somehow, swirling all those colourful batters together turns a dull day into, well, less of a dull day. My family goes a bit wild for the crunchy edge pieces (I’ve been known to hide a few for myself). And if you’re the type who finds frosting cakes a pain in the backside, you’ll love that these just need a quick glaze or even nothing. Oh, and I used to hate recipes that called for a stand mixer (mine’s ancient and only works if you jiggle the cord), but this one’s all doable by hand—just a bit of elbow grease and maybe a good playlist.
What You’ll Need (Substitutions Galore)
- 2 cups all-purpose flour (I tried half whole wheat once… not my best decision, but you do you)
- 1 and 1/4 cups sugar (sometimes I use brown sugar for a deeper flavour, especially if I’m out of white)
- 3/4 cup unsalted butter, melted (Grandma swore by Kerrygold, but honestly, supermarket own-brand is fine)
- 3 large eggs (room temp, but if you forget, just stick ’em in warm water for a bit)
- 1/2 cup milk (I’ve used oat milk when out of the real stuff—it works!)
- 1 tablespoon vanilla extract (or almond, if you fancy a twist)
- 1/2 teaspoon salt
- 2 teaspoons baking powder
- Food colouring gels (whichever colours make you happy; honestly, I once used turmeric for yellow and it worked… sort of)
- Optional: 1/2 cup chocolate chips, sprinkles, or chopped nuts (or skip it if you want less chaos in your chaos cake)
How to Make It (Chaotic, but in a Good Way)
- Preheat your oven to 350°F (180°C). Grease a 9×13 inch pan. Or, if you forget and have to fish it out halfway through baking, line it with parchment—trust me, I’ve done both.
- In a big ol’ bowl, whisk together the flour, sugar, salt, and baking powder. I usually splash a bit of flour on the counter, but that’s optional, really.
- Pour in your melted butter, eggs, milk, and vanilla. Stir until just combined—don’t go wild, just enough so you can’t see any dry patches. This is where I usually sneak a taste—no shame.
- Now, here’s the fun bit: divide your batter into 3 or 4 bowls (or more, if you want even more chaos). Tint each one with your chosen food colouring. Don’t worry if the colours aren’t perfect, it all swirls together anyway.
- Spoon big dollops of each colour randomly into the pan. Then, take a knife or chopstick and swirl it all about—just don’t overdo it or you’ll get beige. Unless you like beige, then swirl away.
- Scatter on any extras—chocolate chips, nuts, whatever feels right. Or skip this if you’re a cake purist.
- Bake for about 25-30 minutes. I start checking at 25; a toothpick should come out with just a few crumbs. If you’re not sure, give it another 2 minutes. Don’t worry if the top looks a little wonky, it always settles as it cools.
- Let cool before slicing into squares. Or don’t—just know it’ll be a bit messy if you’re impatient (which I usually am).
What I Learned (a.k.a. Notes)
- If you forget to divide the batter evenly, it really doesn’t matter—just call it “extra whimsy.”
- I once subbed in Greek yogurt for half the butter, and actually, I find it makes it a tad lighter. On second thought, I still prefer full butter when I’m going for comfort food vibes.
- Don’t stress if your swirls look more like blobs. It’ll taste great anyway.
Variations (Some Good, Some…Not So Much)
- I tried a lemon zest version once—super zingy and bright. Loved it.
- Once I used cocoa in one bowl for a chocolate swirl. The kids said it looked like mud but ate it anyway.
- I thought adding shredded coconut would be clever, but it went weirdly chewy. Wouldn’t do that again.
What If I Don’t Have the Equipment?
A stand mixer is nice but not necessary. I usually just use a big wooden spoon and a bit of muscle. If you don’t have a 9×13 pan, just split it between two smaller pans—bake time will be a bit less, so keep an eye out. And if you’re in a pinch, those disposable trays from the supermarket work fine too. I once used a roasting tin; bit of a faff but hey, cakes is cake.

How to Store (But Honestly…)
In a perfect world, you’d store these in an airtight container at room temp, and they’d keep for 2-3 days. But honestly, in my house they never last more than a day, so who knows. If you want them to last longer, you can freeze them (just wrap individual squares in cling film). I think they taste better the next day, but that’s just me.
How I Serve These (And Other Ideas)
I love to dust these with a bit of icing sugar, just before serving. Or drizzle a quick glaze (powdered sugar plus a splash of milk and a dash of vanilla—no measuring, just eyeball it). Sometimes we pile them up with strawberries and call it dessert-for-dinner. If it’s someone’s birthday, we stick in a bunch of candles and sing, off-key as usual.
If You Want to Be a Pro (Sort Of)
- I once tried rushing the cooling step and ended up with a crumbly mess. Patience, as my mum says, is a virtue (even if it’s not my strong suit).
- If you’re swirling the batter, less is more. Otherwise, you’ll lose all definition and just get, well, chaos without the whimsical part.
- Don’t be shy with the colours. The first time, I was all subtle—now I go wild, and it’s much more fun.
Questions Folks Have Actually Asked Me
Can I use self-raising flour?
Yep, just skip the baking powder and salt. It’ll be fine—maybe a tad fluffier.
Does this work gluten-free?
I haven’t tried, but a friend swears by Bob’s Red Mill 1-to-1. Let me know if you do—I’m curious!
How do I get really vibrant colours?
Use gel food colouring, like Wilton’s. The liquid stuff from the supermarket is ok, but the gels are where the magic happens.
Can I double this?
Sure can, though make sure you’ve got a big enough pan—or just make two batches, which is what I usually do to avoid disasters.
Why is it called ‘Chaos Cake’?
Honestly, I made it up. But it fits, doesn’t it?
If you want more kitchen distractions, I sometimes browse Food52 for inspiration—or just to drool over other folks’ bakes. Anyway, let me know if you give these a go. And if you find a way to get the kids to help clean up after, do tell. That’s the real kitchen magic!
Ingredients
- 1 1/2 cups all-purpose flour
- 1 cup granulated sugar
- 1/2 cup unsalted butter, softened
- 2 large eggs
- 1/2 cup whole milk
- 1 teaspoon vanilla extract
- 1 teaspoon baking powder
- 1/4 teaspoon salt
- 1/3 cup rainbow sprinkles
- 1 cup vanilla frosting
Instructions
-
1Preheat the oven to 350°F (175°C). Grease and line an 8×8-inch baking pan with parchment paper.
-
2In a large bowl, cream together the softened butter and sugar until light and fluffy.
-
3Add eggs one at a time, beating well after each addition. Mix in the vanilla extract.
-
4In a separate bowl, whisk together the flour, baking powder, and salt. Gradually add the dry ingredients to the wet mixture, alternating with milk, and mix until just combined.
-
5Gently fold in the rainbow sprinkles. Pour the batter into the prepared pan and smooth the top.
-
6Bake for 28-32 minutes, or until a toothpick inserted in the center comes out clean. Let cool completely, then spread vanilla frosting over the top. Cut into squares and serve.
Approximate Information for One Serving
Nutrition Disclaimers
Number of total servings shown is approximate. Actual number of servings will depend on your preferred portion sizes.
Nutritional values shown are general guidelines and reflect information for 1 serving using the ingredients listed, not including any optional ingredients. Actual macros may vary slightly depending on specific brands and types of ingredients used.
To determine the weight of one serving, prepare the recipe as instructed. Weigh the finished recipe, then divide the weight of the finished recipe (not including the weight of the container the food is in) by the desired number of servings. Result will be the weight of one serving.
Did you make this recipe?
Please consider Pinning it!!


